Another Millennial Small Shop

I'm going to ramble here but I want to be real: I am slightly annoyed with myself as a "creative" for giving in. I'm literally scoffing because I've gotten this deep into the commercial art game on a more personal level bc I need the extra cash (graphic designers are commercial artists so I guess I already fell into the trap. Cringy!). How fucking #millennial. 

It's an endless introspection for me (I mean, I've shared some of my thoughts on this matter various times in past posts). I want to put shit out into the world but most of the time I feel like I am an ad. I hate promoting myself. I'm already promoting others — it's my job. As a marketer, I'd like to think I do it well...but I don't necessarily like doing it for myself. 

What do I do about that? I've had conversations with people about how trivial this worry is. Is social media this important? Probably not. Is what I am making now considered art? I used to make shit that means something. To lose sight of that is really sad to me. But maybe me making things (meaningful or meaningless) is inspiring to others? I guess if I can help conjure those feelings, maybe that's enough? 

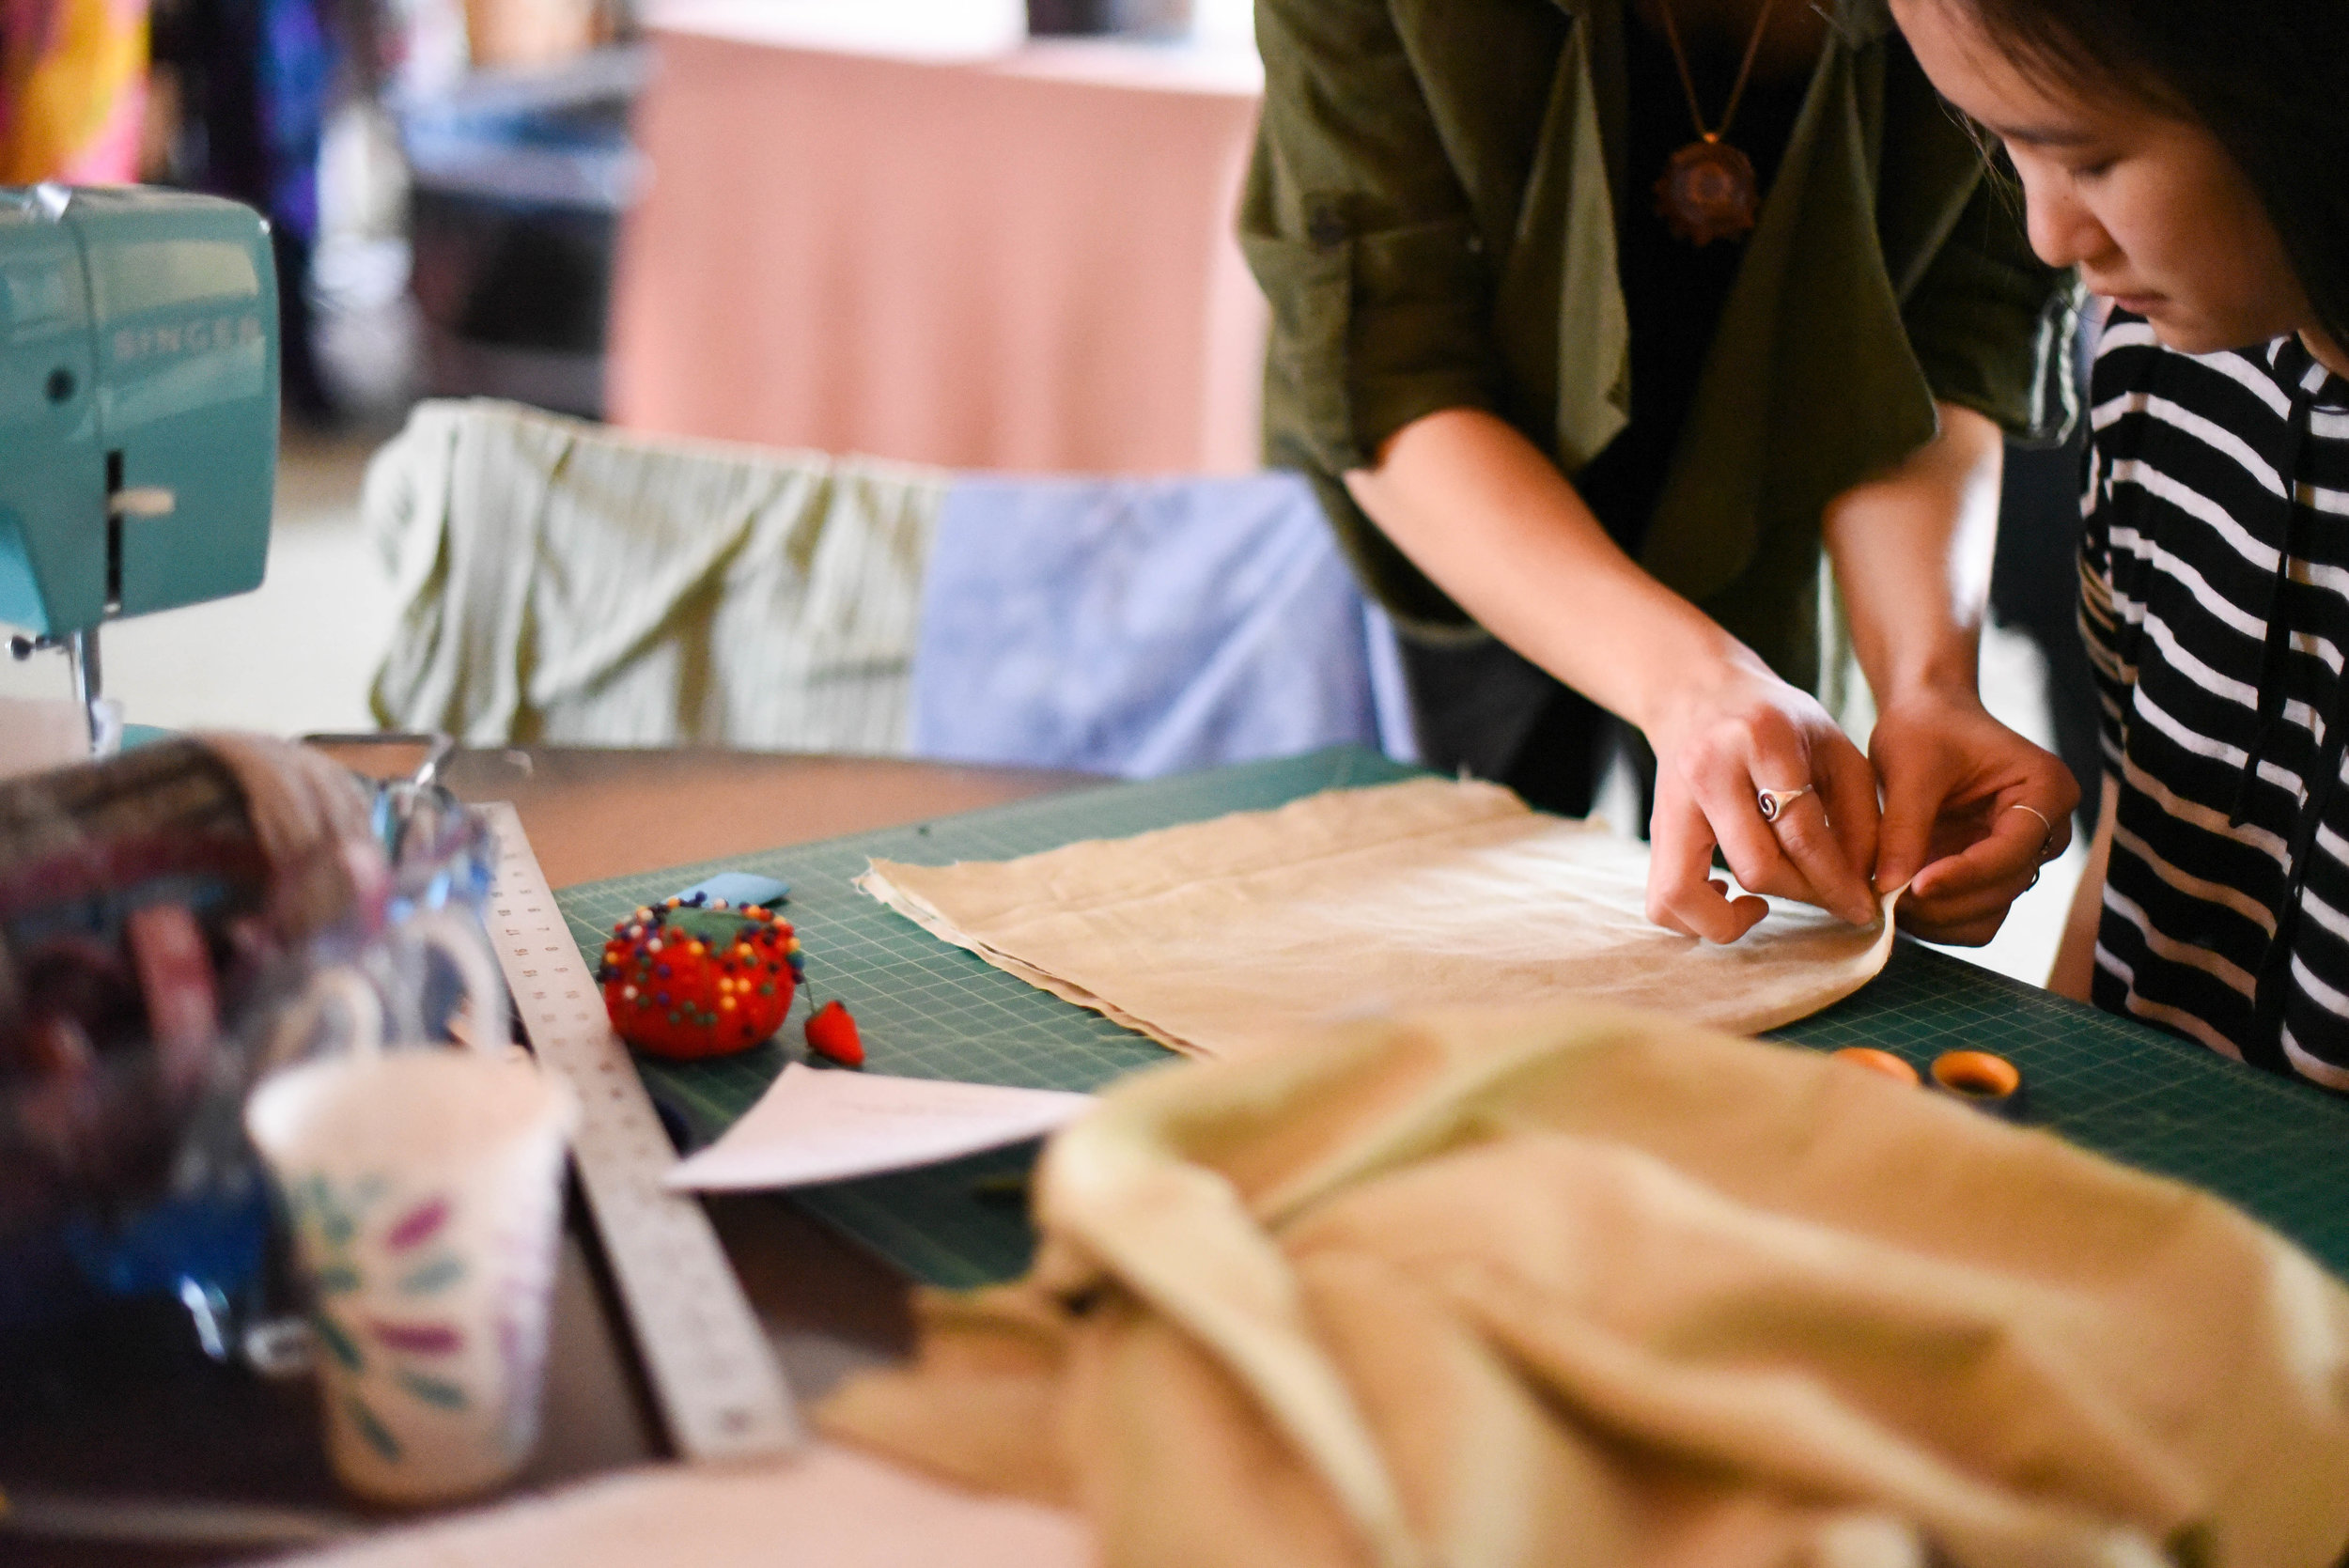
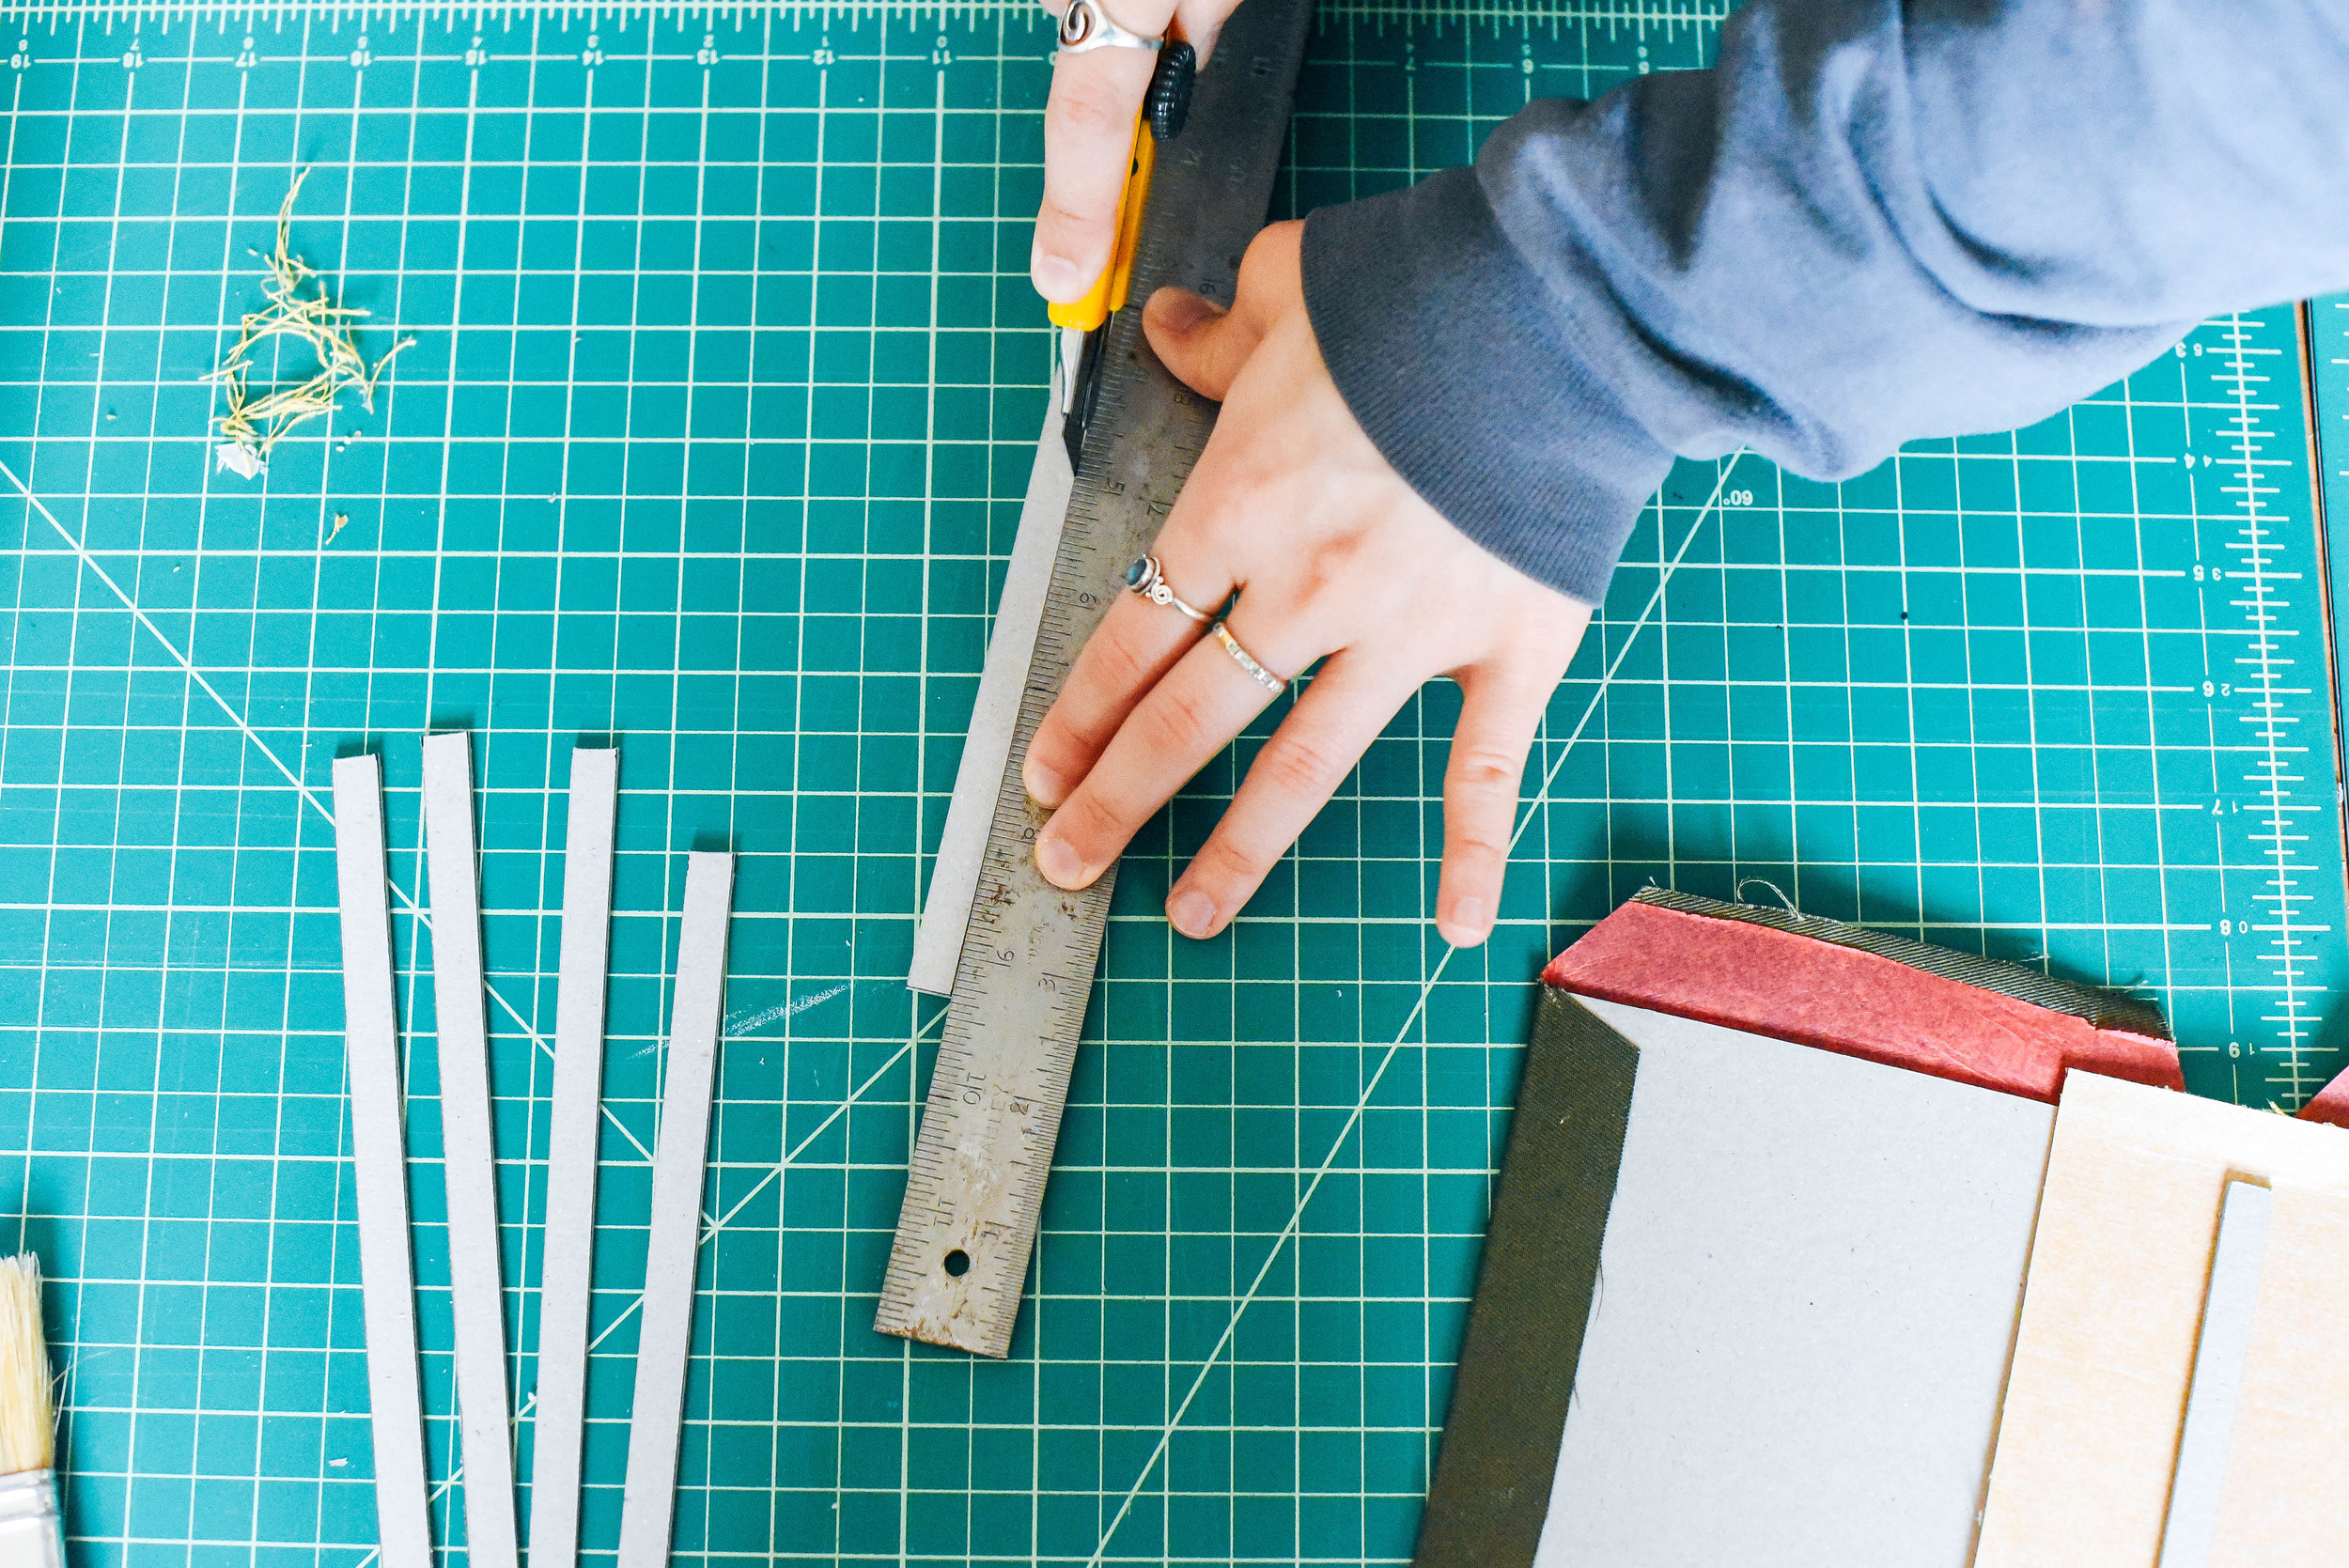
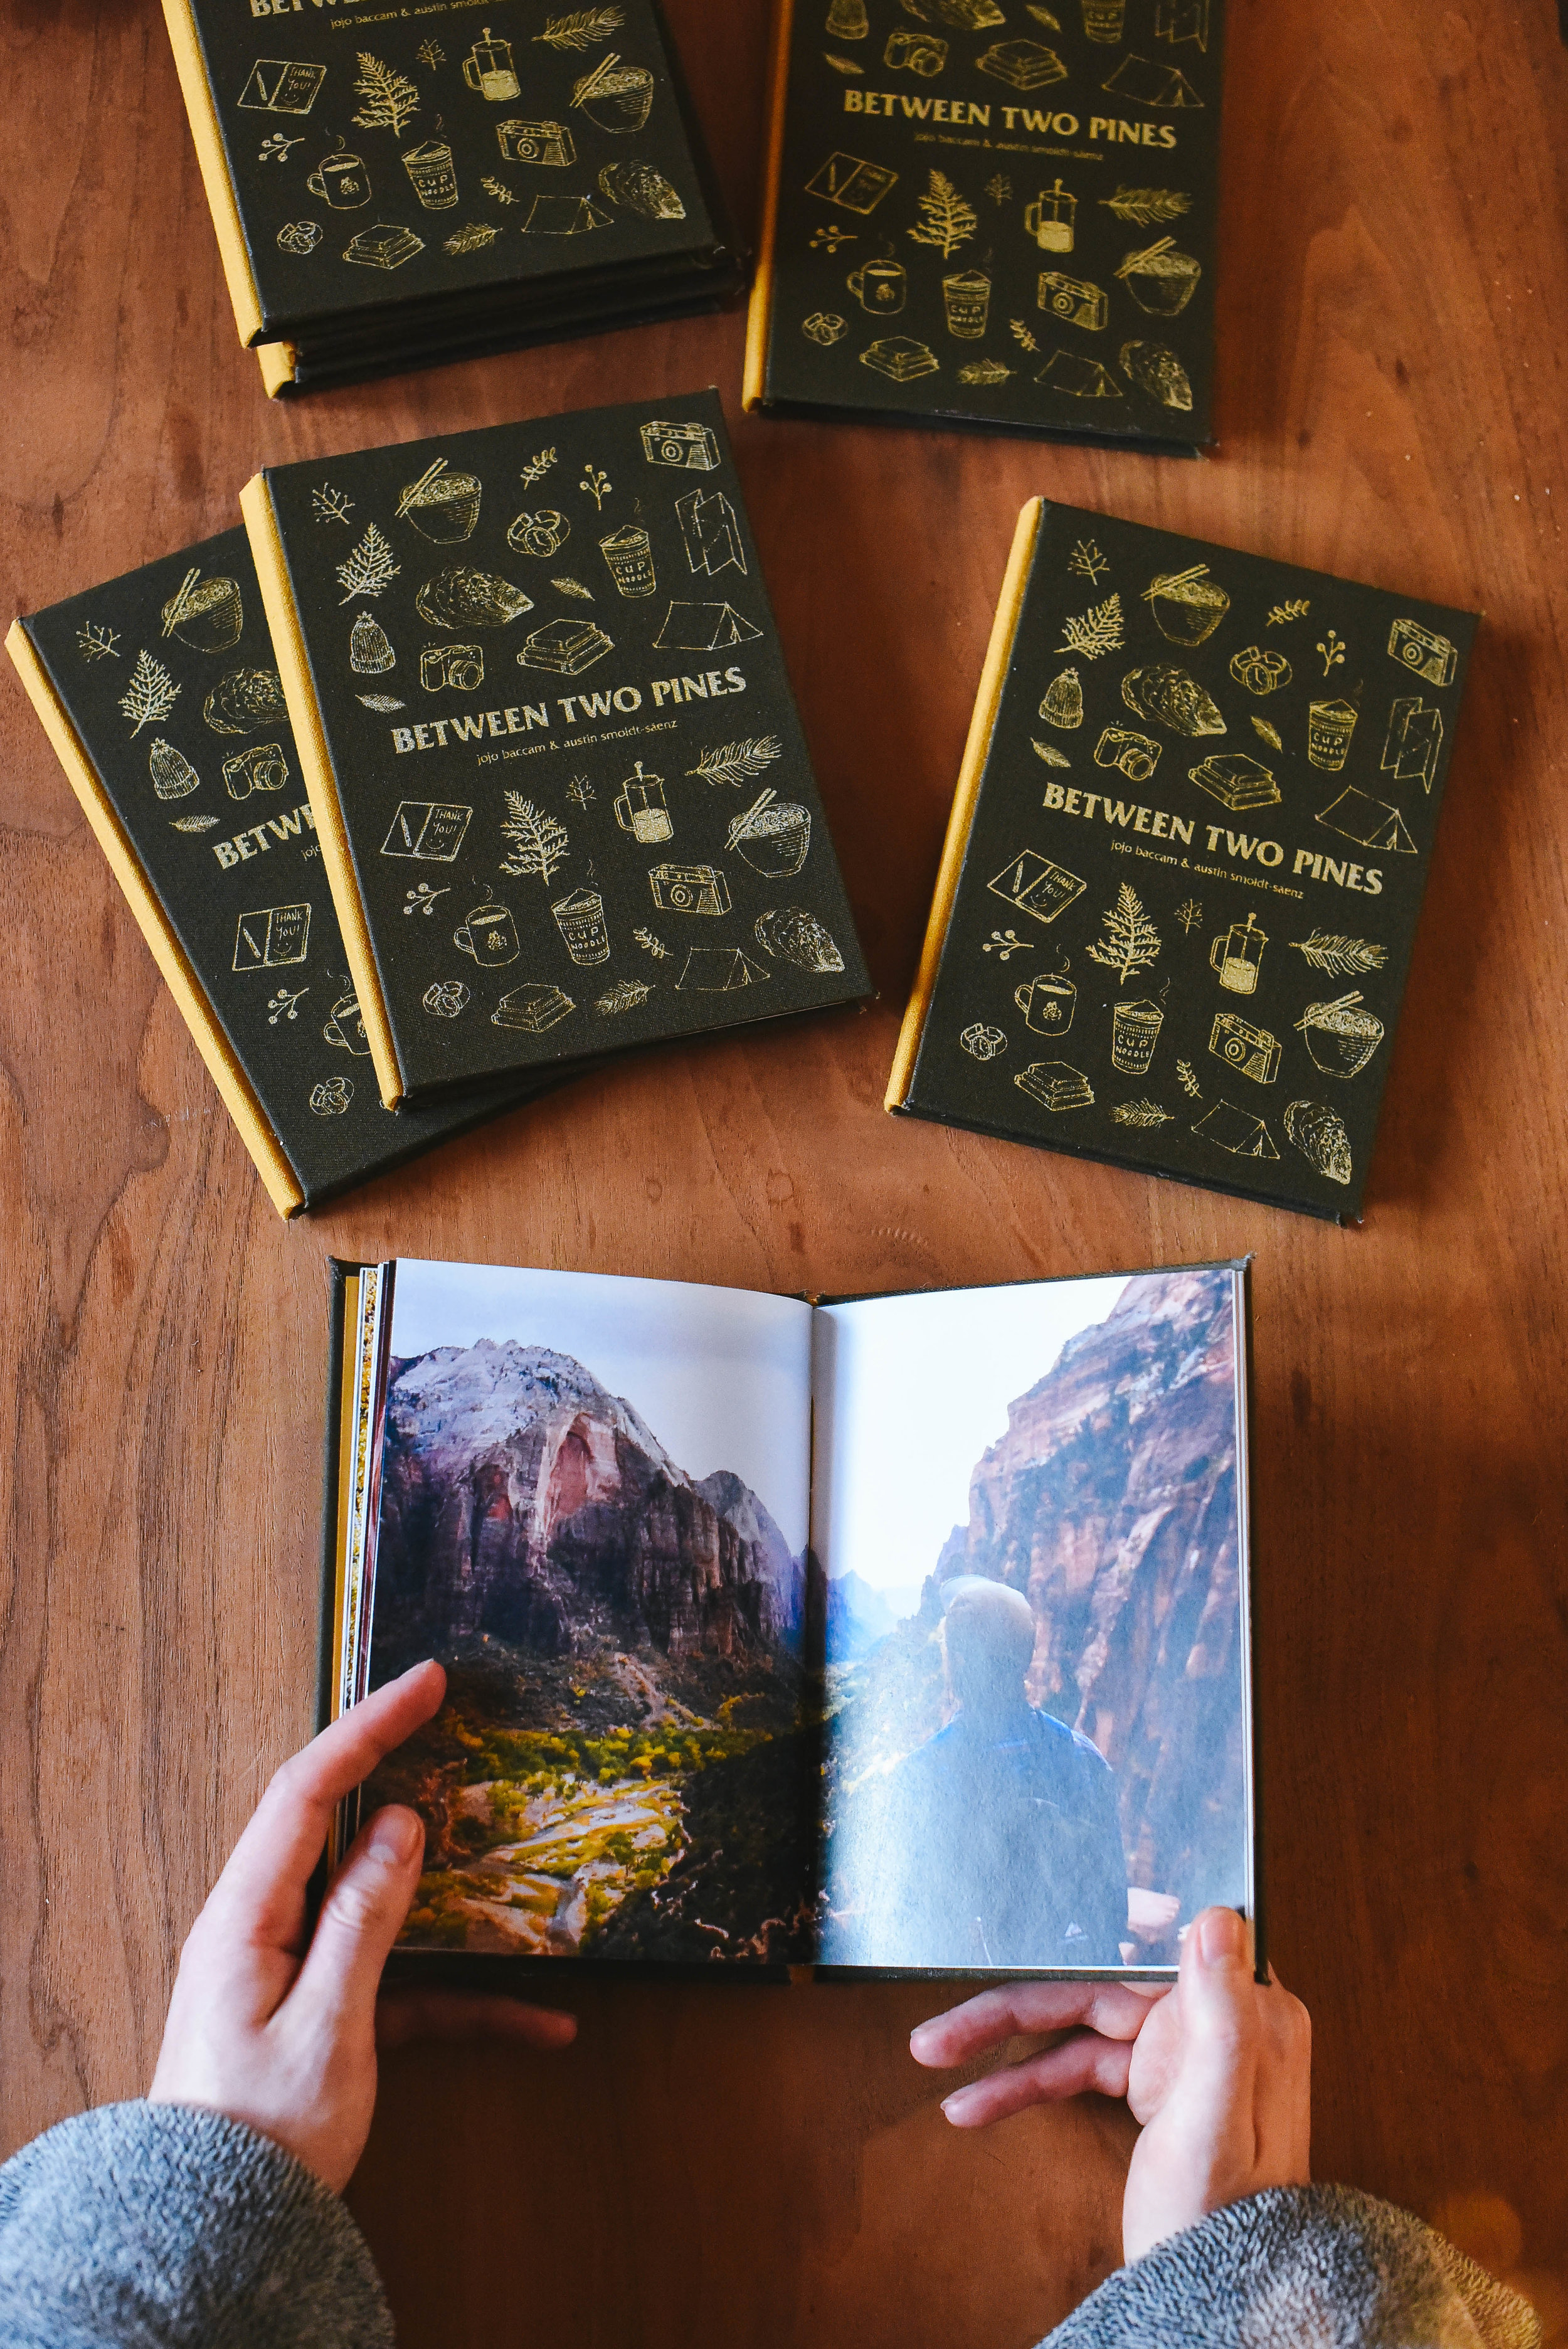
I'm writing this post because I am about to start selling some stuff I made online. It's a scary next step and I wanted to share my aforementioned concerns. It took a long time for me to actually bring this to fruition. I weighed out the pros and cons a lot. Upon reading and researching, I found out that I have a legacy plan with Squarespace since I launched my website three whole years ago (!!!) so with my current plan, I am able to sell my work on my personal site. This info is basically what helped make my decision to sell online easy. It was already all there for me so I thought I would take advantage of my resources. Plus, I've created and learned many new things this summer so diving into this endeavor only makes sense.

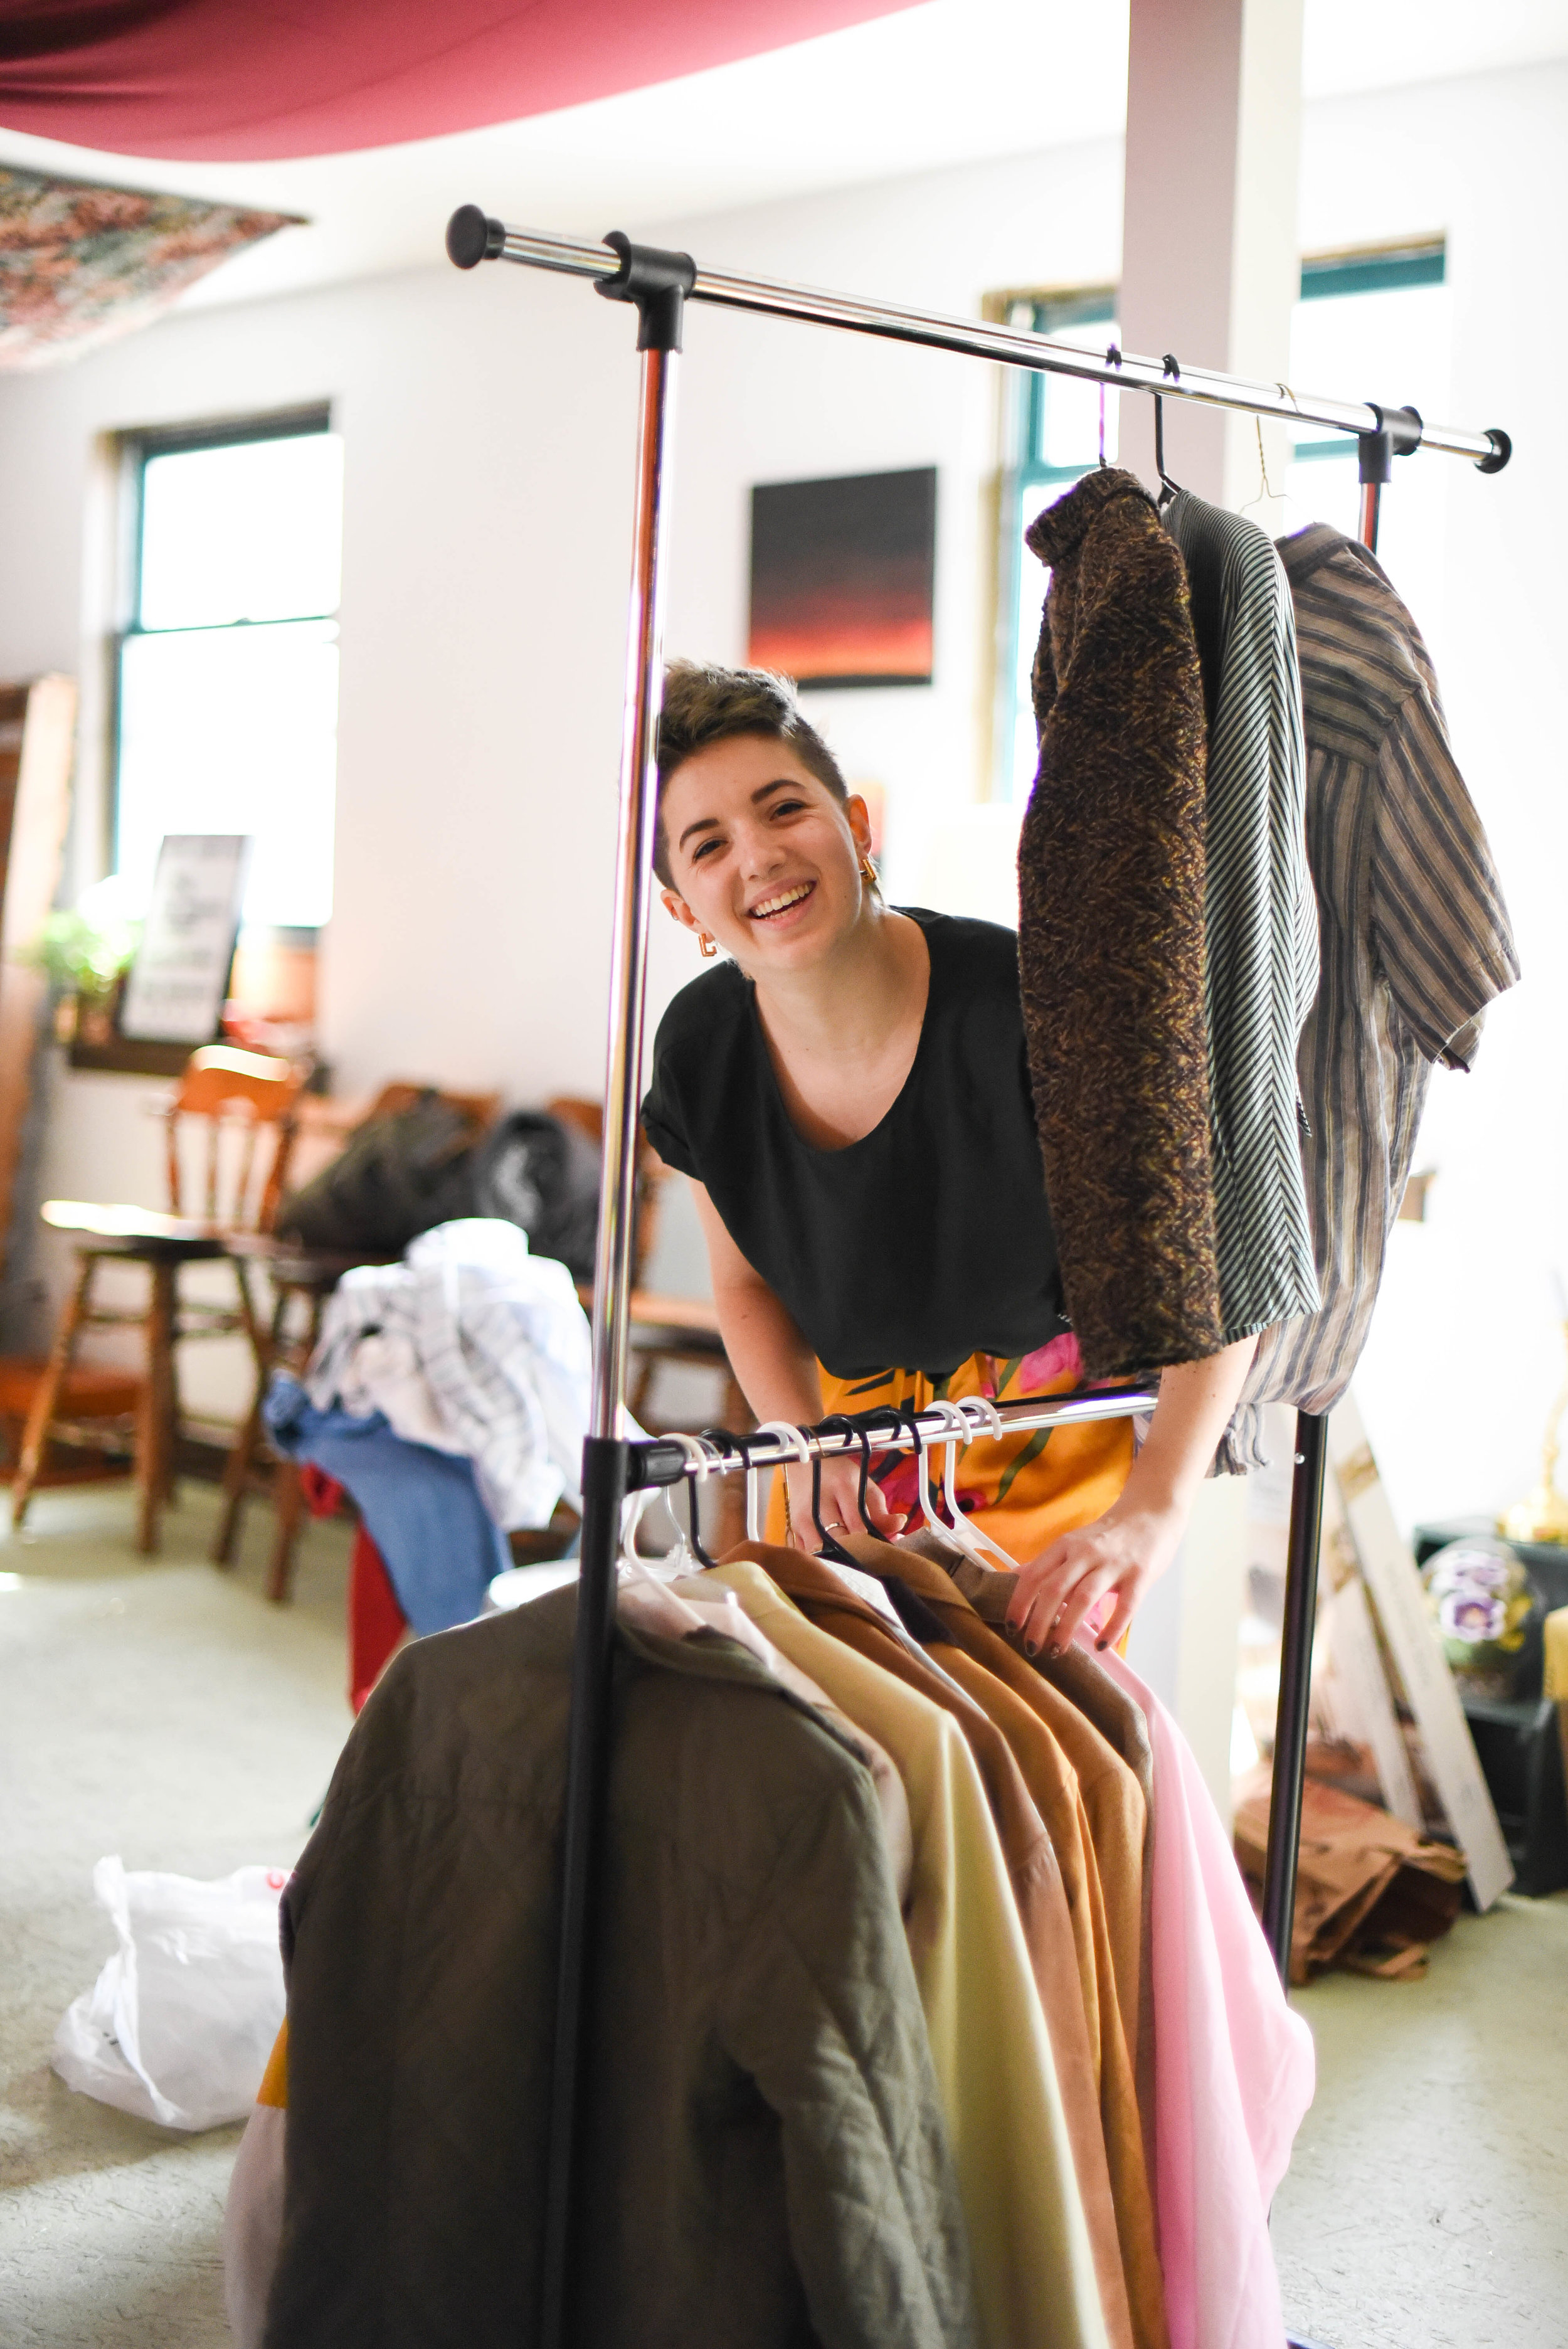
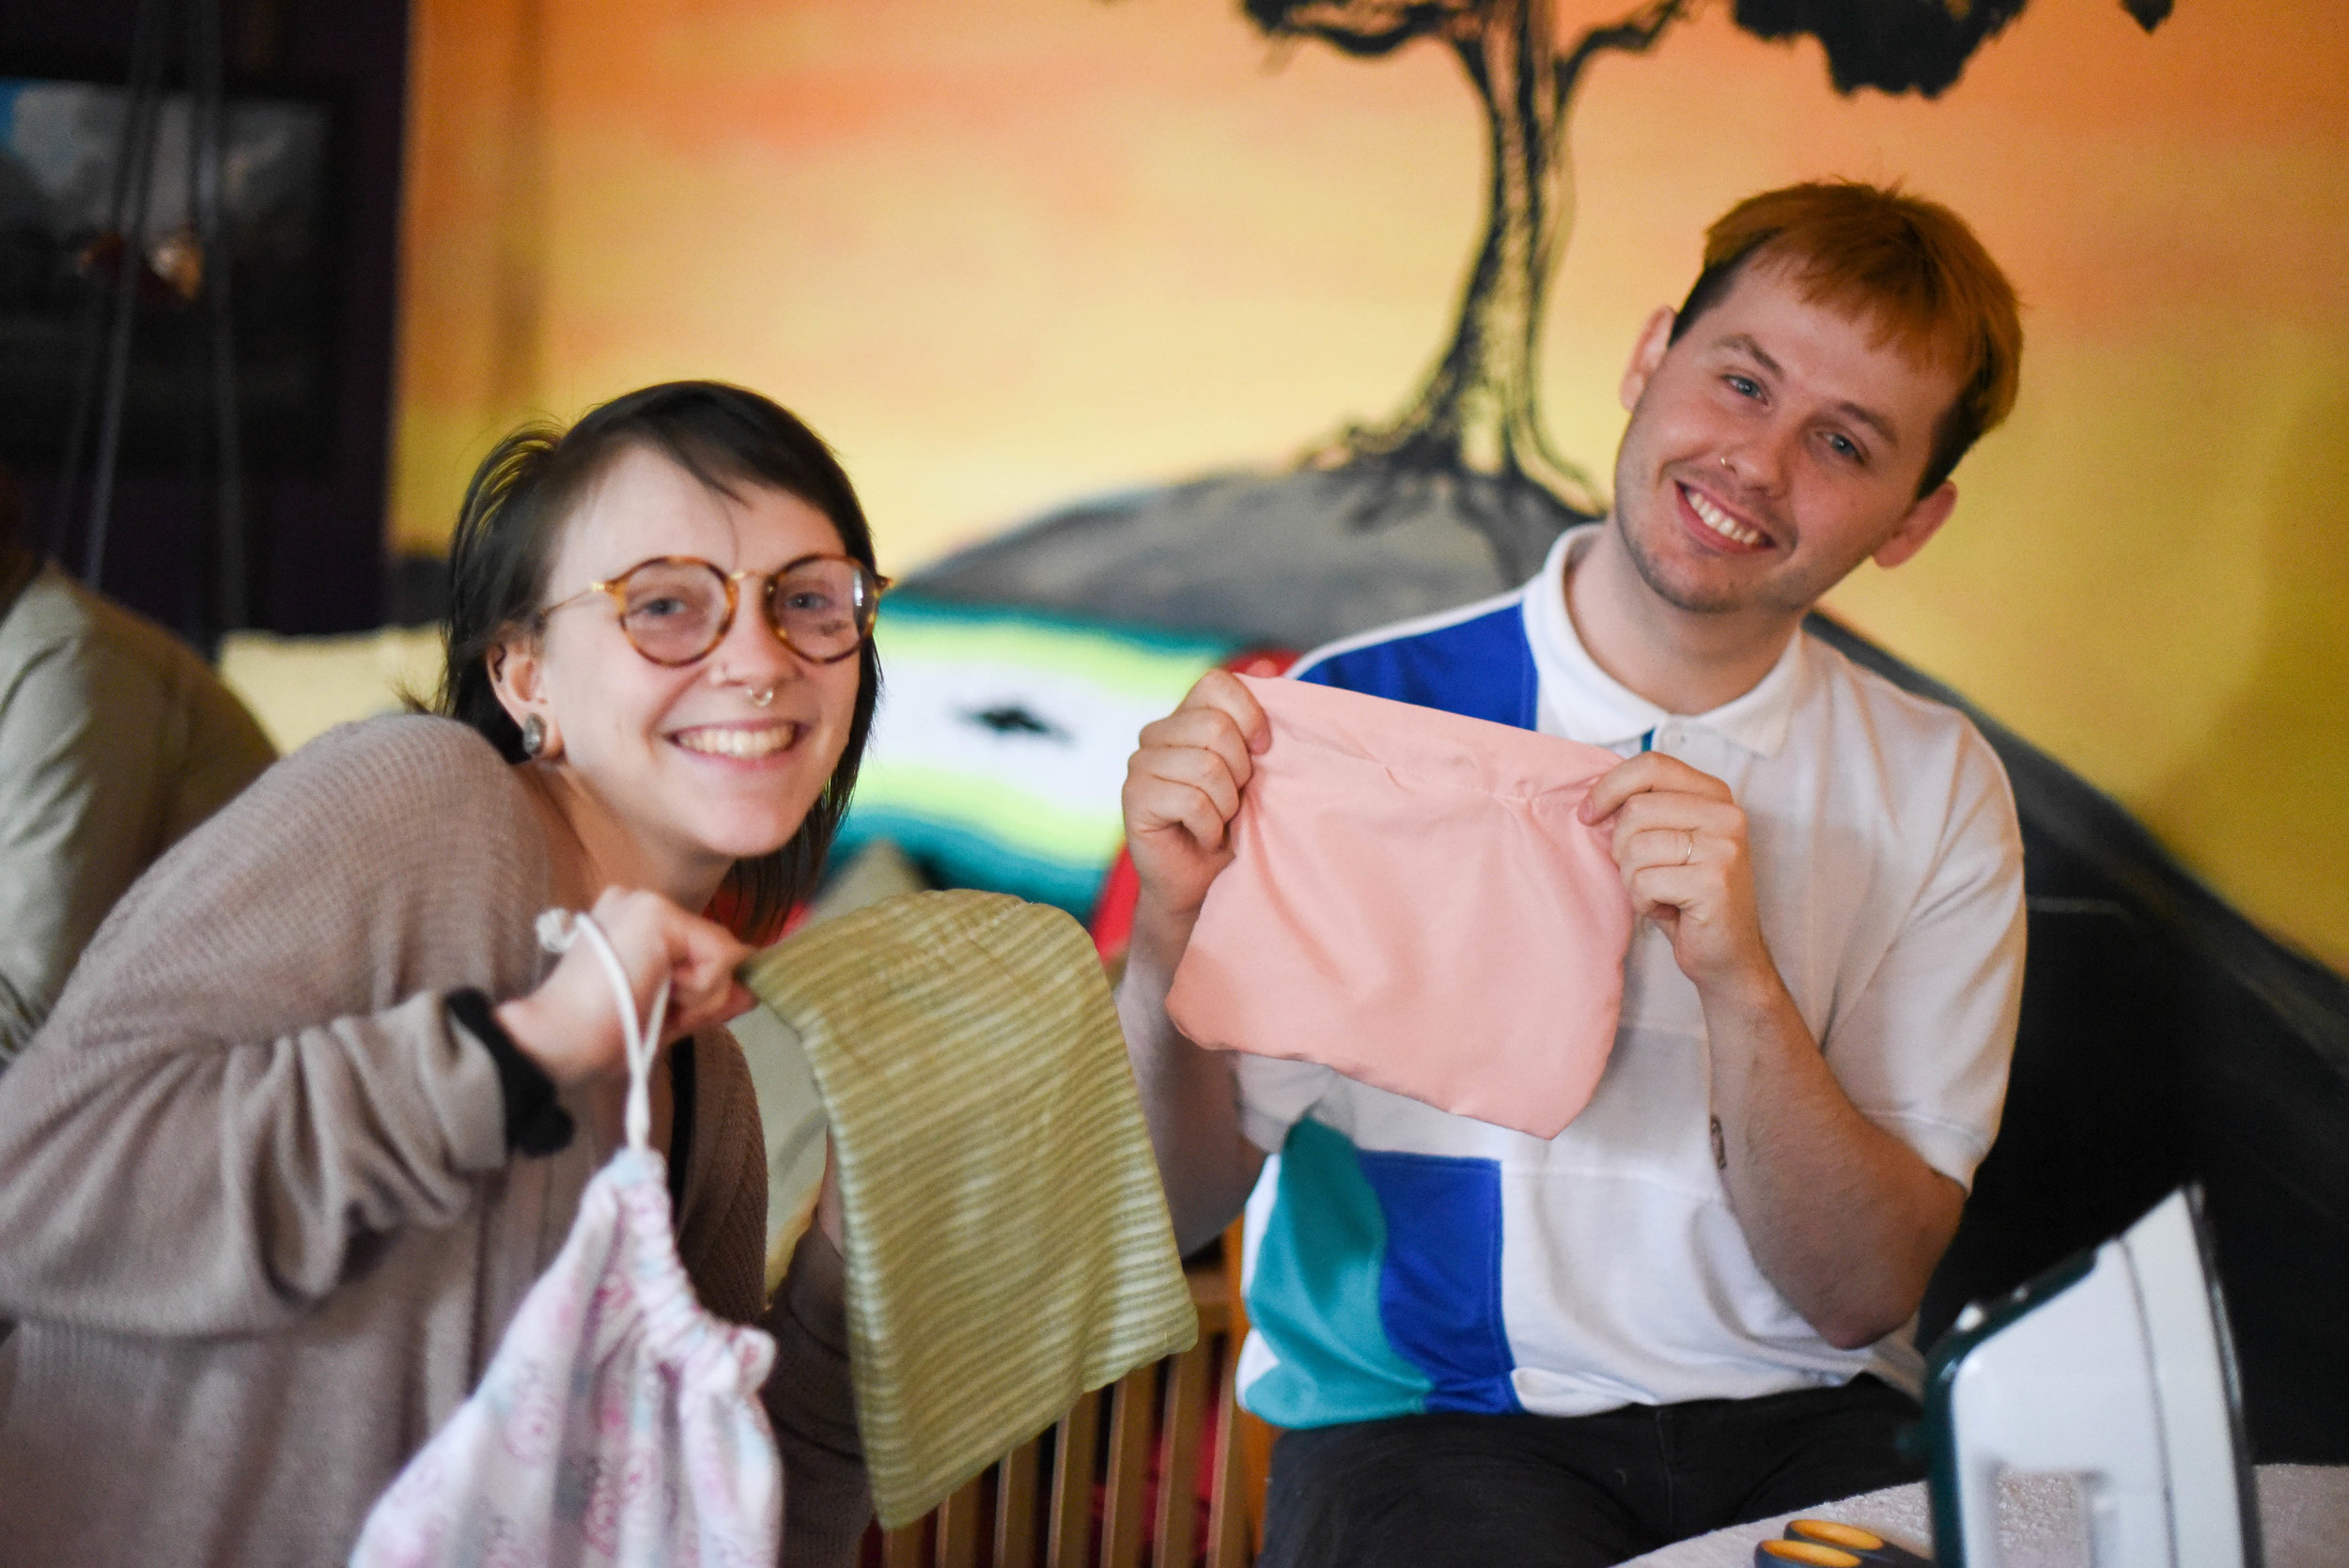
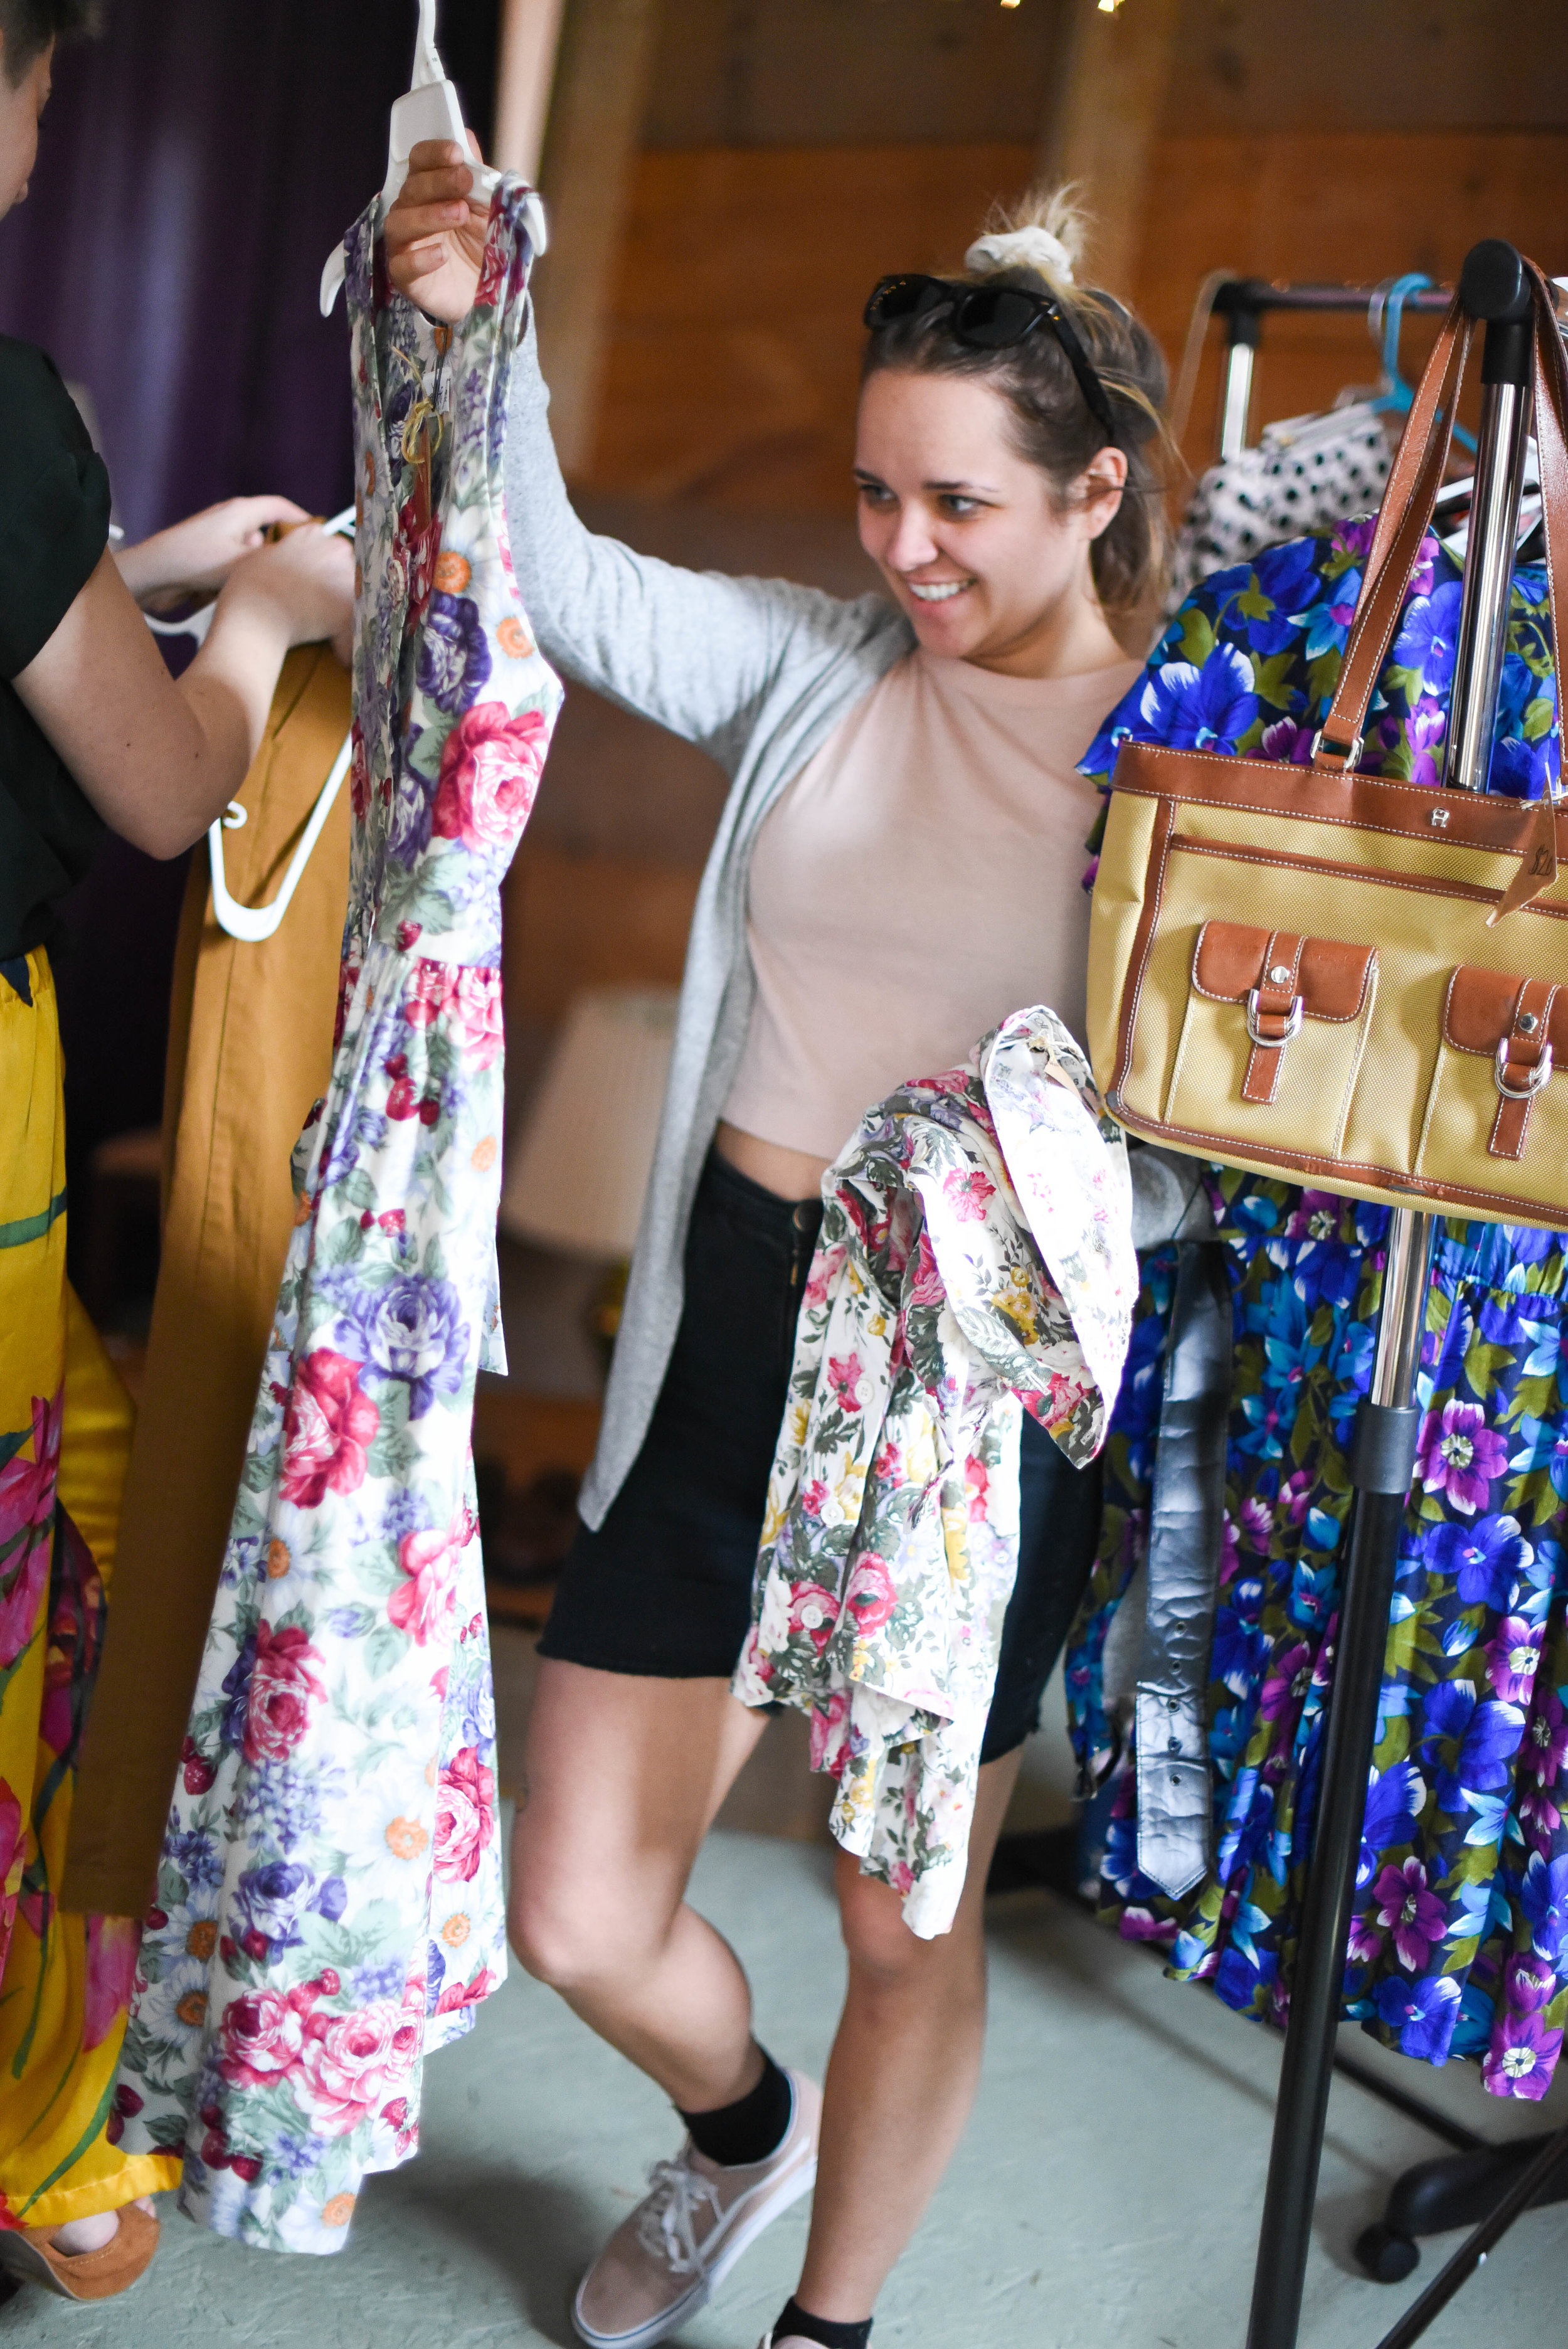
Last week, I made some fun tassel earrings. I can now say they're in my "shop". Weird. I'll be selling other items down the line as well so hop on over, browse around, shop away, & stay tuned! I promise I'll be complaining less in my next posts.

xxo

----------
EDIT:
 You know what?? As I was leaving this draft, I made a realization. Why am I being so serious? After all, I've been having fun with it. It's a good way to keep myself busy, creating, and learning. It doesn't have to mean anything and it's all good practice. I mean, I had a lot of fun with those photos the morning I took them. It's all part of the process! Have I forgotten? Aren't we all just practicing life? 


Archive

Trust Your Work

Trust Your Work

Burnside Bibs

AHH! I can't believe it's DONE. Remember when I said I would never sew a jumpsuit without a pattern again? That was true. So I decided my very first pattern would be Sew House 7's burnside bib because, I mean look at this thing! Peggy's design is so irresistible, I had to make myself face any doubt and just do it. Though I probably won't be making another one anytime soon (need a break from roughly 10 hours spent on this guy), I couldn't be more excited! My mantra the during the entirety of making of this piece was, "trust your work," and I am so glad I did.

Having never picked up a pattern before, I started by questioning where to even dive in (shout out to Youtube tutorials and “sewists” that are so generous about sharing their wisdom with the web!). I learned what all of the symbols meant (darts, notches), where to cut, and eventually it all came together to make sense. Cutting the pattern itself was a mess at first. I aimed for a size 0 based on my measurements and this made me nervous because I wanted to keep the sizes up to 20 (in case I wanted to kick it up a few sizes in the future or make a pair for other people). Eventually I talked myself into thinking I would be comfortable enough one day to not need a pattern (ha!) or bank on my muscle memory to help grade the pattern a size or two up. Once everything was cut, it was a breeze! 

Peggy's patterns are so easy to follow. Like most patterns (apparently) the burnside bib comes with a small comprehensive instruction packet with a glossary of terms, images (YES), and options. I love options. There were two versions of the bib. I mixed a version #1 top (a more curved neckline) with a version #2 bottom (no zipper — didn't want to mess with an invisible zipper quite yet, though I had sewn one once before). I decided on cropped legs and I used a linen blend fabric. It is lightweight and feels super comfy. The pattern also suggests canvas or denim for a thicker, utilitarian feel. The finish was "seamless" heh. This thing goes well with basically anything and I am so excited to basically live in it!

The hardest part of the pattern (besides the cutting — which was honestly more tedious than difficult), was the ties. There's a method of making the ties where you sew a tube and flip it inside itself. Since it was so narrow, it was a little tricky. After that, it was all fine!

The bib is an intermediate level pattern (!!!). For a person that just picked up this sewing thing, I am proud to say I can look for patterns that are that same level or lower with confidence, yay! I already have fabric for another upcoming piece! 

More soon. Thanks for the love!

xxo

Consumer Critical Thinking

Consumer Critical Thinking

Happy (already late) June, everyone! May seemed like such a short month! I've been very behind on the blog for really no reason at all...and that's okay. Usually the excuse is that I have a huge project I am working on (which I kind of do...and cannot disclose quite yet!) but after all of that sewing, I put myself in a sort of stunned state of being. Besides wrapping up some events for work last month, I've been trying to just "be". 

Allowing myself to do nothing is very difficult though. So, I've been watching my mini garden, repotted some new plants (!), hurt my knee from doing too much yoga (yes, possible), cooking, sewed another market tote, made a face lotion (turned salve), I've been slumping around, and I even started two new books. One is called, Forest Bathingwritten by a Japanese author (and the world's foremost expert in Forest Medicine), Dr. Qing Li. The book came out early April of this year and I had it held at the library – it is already proving to be quite popular since someone else held it before me and someone else has it on hold after me. It's an interesting concept about the way Nature is medicine and Nature heals. Shinrin-yoku is the medicine of simply being in the forest. If you've spent any time in the woods or somewhere green, you know it to be true. The book, from what I can tell so far, is filled with lovely colored photos of trees, gardens, flowers, parks, and eventually Dr. Qing will talk about how to begin the practice. The other book is about an Australian homesteading couple who trades their flowers for goods (they discuss other awesome things I vibe with). 

Anyway, I am writing today to share a special recipe (the face salve I mentioned just previously)! I meant to write this post in May when I was going through all of my body care products again – a spring cleaning if you will. I do this from time to time to rid myself of expired products, discard any prescriptions, and to simply evaluate my load. I've doing well to begin with in terms of transitioning to more natural products and allowing my natural oils to come back. I've been on a "natural" regimen for about two years now but I wanted to step it up. What really made me anxious and pushed me to want to take it further was when I read the label on a product that my health care provider recommended to me. The product contained parabens.

A couple of years ago, before “going natural”, my skin went through a tough year and I broke out with the worst eczema that I had ever experienced. On top of that, I had seasonal allergies for the first time. It felt debilitating. I was uncomfortable, upset, embarrassed, and so, SO itchy. I had to take Zyrtec every single day, moisturized 2-3 times a day, and to make matters even worse, the eczema spread to my eyelids and irritated my eyes to a point where this created another health condition and the redness and inflammation made it look like I was crying. Which, at that point, I did a few times – I was just so miserable.

I went to a health care provider and she was good to me as I was bawling in her office. She helped me find proper treatment and gave me a regimen that would control it. I learned eczema is hereditary, chronic, and I will never be free of it. That sucked. She prescribed various steroid creams and a medication for my face called Elidel, which I ended up being allergic to. She also recommended a moisturizer I could buy off the shelf called, CeraVe. CeraVe has the seal of approval from the National Eczema Association. It comes in a tub and it's pretty much a thicker, scentless lotion. Those things are like $14 a tub but I was desperate and doggone it, the product worked for me. Really well, too. It wasn't as heavy as Aquaphilic was (believe me, I tried a lot). Unfortunately, this product contains parabens.

Parabens are a group of chemical compounds used as preservatives and are found in most pharmaceutical and cosmetic products. Parabens also mimic estrogen in the body as stated in this article from Scientific American, "What worries public health advocates is that while individual products may contain limited amounts of parabens within safe limits set by the U.S. Food & Drug Administration (FDA), cumulative exposure to the chemicals from several different products could be overloading our bodies and contributing to a wide range of health problems. “Of greatest concern is that parabens are known to disrupt hormone function, an effect that is linked to increased risk of breast cancer and reproductive toxicity,” reports the non-profit Campaign for Safe Cosmetics (CSC). “Parabens mimic estrogen by binding to estrogen receptors on cells.” Research has shown that the perceived influx of estrogen beyond normal levels can in some cases trigger reactions such as increasing breast cell division and the growth of tumors."

So yeah, I mean there is definitely reason to be mindful, but honestly, probably not reasonable to have all-consuming concern because some of these studies suggest a very weak estrogenic disrupting effect of parabens. I don't know...I guess I'd rather not deal with parabens at all if they are in question.

As much as I understand the faults within the world of Western med (that's another story for another time), it can be pretty amazing. Fortunately, after the regimen provided by my HCP, my eczema is a little more tame now. I still have my spots and occasional flare ups here and there but it is much better than it was and it is my continuous goal to maintain this control. However, I do not want to depend on strong topical steroid creams or products with ingredients lists that are twelve lines long anymore. Your skin is your largest organ and you'll want to be able to nourish it and protect it properly. With that in mind, I decided to make my own face lotion/salve with super simple ingredients and I've transitioned from using CeraVe on my body to using organic sweet almond oil. So far, they both work really well! I've tried coconut oils, olive oils, and homemade body whipped body butters, but sweet almond oil absorbs well and isn't as greasy. It is light and feels great – plus it has vitamin E!

Again, working for the Co-op has its perks. I would say a lot of my consumer behavior is due to working here. Educating myself about the products I pick up is key and knowing where it comes from is also huge. Minding these things gets me in the habit of being alert and aware of my purchases, of my impact, and even of my surroundings. It's like consumer critical thinking. All of the ingredients are organic, fair trade, or local. 

Face Salve:
1/4 c. sweet almond oil, or jojoba oil
2-3 TBS. beeswax
30-40 drops of bee propolis (truly amazing stuff!)
1 TBS raw, local honey
1 TBS or less shea butter
optional: a few drops of vitamin E oil

Directions:
Slowly heat sweet almond oil in a double broiler and stir in the beeswax pearls. Remove from heat and continue to stir until you can see it start to thicken, then add propolis, honey, and shea butter until thick. That's it!

This recipe was adapted from Stevie who based her recipe from one of her favorite beauty products, Egyptian Magic Cream. Stevie is a zero-waste advocate and lover of the earth (yay!). You can visit her blog here or follow her on Instagram.

#WhoMadeMyClothes?

Who Made
My Clothes?

A Tribute to Fashion Revolution & Earth Month

I’ve been sewing like crazy the entire month of April in honor of Earth Month and Fashion Revolution Week. My little study is currently filled with recycled yarns, thread, & fabrics from the many market totes, boxy tops, tank tops, drawstring produce bags, & grocery bags I’ve been producing. The scraps have been weaved into more wall hangings and the best part is, my former coworker has gifted me her old loom! Now I can double the amount of pieces! She said a friend of hers built it from harvested local walnut and it is in really nice condition. 

The hardest project so far has been this jumpsuit (I will note that this fabric was purchased new. I allowed myself a couple new yards for practice). Let’s just say it’s definitely something I will never attempt to do without a pattern again. The back closes with an invisible zipper (my very first one!) and a metal clasp. The torso is a little long but wearable with a belt tied at the waist. The only trouble I have when I make a garment is that I don’t have a serger. Hooray zigzag stitching (and overcast stitching)! It’s been decent so far but definitely not the kind of finish a garment should have.

Regardless, I am truly having fun making these pieces with the Earth in mind. Throughout Fashion Revolution week I posted a series of photos on my Instagram of my finished pieces with the hopes of inspiring others to think twice about their purchases (or up-cycle/shop second-hand). It doesn’t have to happen during Fashion Revolution Week. Be curious! Ask questions. Be vocal! Even if it is something as simple as sharing on social media or asking #WhoMadeMyClothes Awareness does make a difference. In fact, this year's Fashion Revolution was the biggest by far in terms of participation with as well as over 1,000 events taking place in more than 100 countries! If you'd like to contribute more, donate to Fashion Revolution as they continue to work year-round to raise awareness of the fashion industry's most pressing issues and inspire people to take action.

As the month of April wraps up, I wanted to share some pieces of my collection so far. They are all made from thrifted pillow cases, bed sheets/linens, unused second-hand fabrics, -- even fitted sheets! For those of you who have been watching my IG, thanks for putting up with the mess of posts and for following along! xxo

Reduce, Reuse, Re-Sale

Reduce, Reuse, Re-Sale

A Pop-Up Thrift Store & Up-cycling Workshop

DID YOU KNOW: It takes 500 (or more) years for a plastic bag to degrade in a landfill? Up to 80% of ocean plastic pollution enters the ocean from land. Unfortunately bags don’t break down completely but instead, they become micro-plastics that absorb toxins and continue to pollute the environment. Although most grocery stores encourage reusable shopping bags, consumers still put lots of small plastic bags into their shopping carts.

This past weekend I held a workshop on Earth Day on how to sew your own reusable drawstring produce bags from recycled bed linens. These cloth produce bags can be used for certain bulk foods, freezing/storing breads, buying baked goods, packed lunches, and of course, produce. They are easy to wash and durable, too! It took place at the Garden Club IC - a small collaborative space. My workshop was in conjunction with Your Thrifted Closet’s pop-up sale. YTC is a second-hand clothes and accessories reseller. It was a happy time! Here’s a glimpse of the event:

Earth Day Every Day

Earth Day Every Day

Happy April, everyone! Happy month of rebirth, renewal, and rejuvenation! April just so happens to be my favorite month of the year -- it's great. There's so much blooming, growing, raining, and many green things! I've been working on growing some starter plants in my apartment. I've never had much success because there is barely any adequate light that comes in. My plants always stretch too tall and look a little weak. The etiolating is pitiful. This year, I'm going to try to be better about it. I don't know if that means investing in a small grow light or tending to my starters until they are big enough to transplant them into raised beds outside. I'll keep you posted.

Another reason why April is so great is because April is an action month commemorating some of the most important causes that I believe in. It is Sexual Assault Awareness Month (SAAM); EARTH MONTH -- obviously; it is when Iowa City's Take Back the Night protest takes place; and April also has a week dedicated to garment workers' rights. April 23-29 is Fashion Revolution Week (taking place right after Earth Day).

Fashion Revolution is a non-profit global fashion activism movement (Whew! A mouthful.) that campaigns for reform in the fashion industry. It aims to encourage clothing manufacturers to increase transparency in the fashion supply chain. The movement began in 2014 as a response to 2013's Rana Plaza collapse in Bangladesh -- a horrendous atrocity. The plaza was home to many clothing factories, stores, apartments, and due to the poor structure of this multi-level building, it completely crumbled with workers inside. More than 1,100 people died and many more were injured. A number of Western retailers sourced labor from Bangladesh. These Western companies consumed literally thousands of pounds of clothing produced from the Rana Plaza before the building collapsed. It has been over 5 years since the catastrophe and there has been slow and steady change but, of course, challenges remain. I highly encourage you to research and read more about the movement on their website or follow my links for more info. If anything, be aware of what's going on.

As the movement continued, the hashtag, #WhoMadeMyClothes caught wind. According to their website, the non-profit believes that, "this simple question gets people thinking differently about what they wear. We need to know that our questions, our voices, and our shopping habits can have the power to help change things for the better. With more citizens encouraging brands to answer ‘who made my clothes?, we believe Fashion Revolution has the power to push the industry to become more transparent." Brands began participating across the globe and responded with, #IMadeYourClothes -- to encourage communication between consumer and retailer. 

This year, to acknowledge the importance workers' rights, expose the corruption and unsustainable demands of Fast Fashion, all while celebrating Earth Month, I decided to create, of course! As if I needed more hobbies, I've taken up sewing and I have tons to share later this month (eep!). My creativity is impulsive, that I know. I also know that sewing is a practical skill to have. This is something I dabbled in a few months ago but I fully invested in recently when I finally got around to purchasing my own machine. It just makes sense.

I don't have to buy a new shirt just because it's missing a few buttons. I don't have to toss a pair of pants because there's a gaping hole you-know-where. With sewing, I can mend ripped seams, holes, and missing buttons. I don't have to contribute to this idea of always needing to keep up with the trends. I very rarely buy new anymore and I haven't for a while. Sewing my own garment feels new and awesome! Thrifting is the way to go. In fact, my garments are all made from repurposed bed linens, pillow cases, and yes, even fitted sheets! If I'm lucky, I can find some unused fabric! Now, I'm no purist. I'm not completely boycotting consumerism. I'm simply being conscious of how and where I spend my money. I read labels! Fair Trade? I'm all about it. Made locally? Even better. 

Here are some other ways I am contributing to a healthier earth and I hope it inspires you to make some changes!

  • Thrift/Buy Second-hand/Used
  • Repurpose Goods -- Bed sheets, linens for new garments, a picture frame made into a loom, you name it!
  • Recycle -- Yes it can be time-consuming but worth it and it feels good! Honestly, I feel lighter after every trip to the recycling center.
  • Conscious of Water & Energy Consumption/Usage -- You'd be shocked to know how many times a week I shower (only half kidding).
  • Compost -- This one is tricky but once you get into the habit, it is a breeze. OR find a local organization that will take your compost (for Linn & Johnson County, there is Compost Ninja). OR talk to a neighboring farm. Do your research! I've made an indoor vermicomposting bin which I can write about sometime. Now I have castings (natural fertilizer) for my houseplants! 
  • Reusable Bags -- I have TONS! Working at a co-op has it's perks.
  • Avoiding Plastic -- This one I need to be more conscious of...Like bringing a glass container/jar with me to a restaurant to skip the doggy bag! But hey, I've been pretty good about using my stainless steel straw!
  • Home Cooked Meals -- I kid you not, like every night. It feels wrong not to!
  • Bulk Buys -- It's way more affordable.
  • Environmentally Safe Cleaning Products -- No harsh chemicals!
  • Plants, plants, plants!
  • Bike -- Great, quick exercise especially when commuting to work.
  • Read Labels!
  • Buy Local! -- Knowing where your product comes from.
  • Buying Quality Material -- For example, never plastic stone jewelry. These things don't last.
  • Donating
  • A wardrobe with Neutral Palette Clothing and jewelry will last the times.
  • Palm Oil Free Bar Soap

With all of this in mind, I want you to ask yourself what YOU do for the environment at home? Comment below (or just take the time to self-assess your actions).

Earth Day is coming up. Spread love & do good!

xxo

Kombucha Fruit Leather

Kombucha Fruit Leather

I use a continuous brew method when I make my ‘booch and I am running into the issue of always having a superfluous amount of scoby. Because of this, my starter tea is becoming rather vinegary and this could potentially compromise my batches (loss of flavor, not as robust, or a weak brew). I’m giving away a couple more scobys this weekend to some friends but I still seem to have a lot. In all seriousness, I could probably give to 30 more people and still have enough for myself (yikes!). I would compost them in my vermicompost bin but I’m afraid it will disrupt the pH and kill off my worms and I live in an apartment with no actual yard so I can’t compost outside. So, I decided to do the most natural next thing. Make my scobys edible.

Now, you’re probably thinking, “Who in their right mind would put one of those slimy things in their mouth?!” because I certainly thought that, too. Honestly, there are various ways to use your extra scoby and trust me, some of the ways to use them are far weirder than others. Google scoby clothing and you’ll understand. Don’t even get me started on scoby squid sashimi. I settled for something a little more palatable. If Bon Appetit wrote up an article about it, then we’re totally good, right?

I’ve adapted this recipe from Wellness Mama and I gotta say, it was actually pretty tasty! The recipe says to leave your oven on at its lowest temperature setting for 8-12 hours with the door propped open. Mine only took 3 hours with the door shut. I didn’t have a dehydrator and my oven’s lowest temperature was rather high compared to most conventional ovens so I ended up with more scoby fruit chips than scoby fruit leather. Both were very good! They reminded me of when my grandma used to make fruit leather but mine were slightly tangier and more tart. I must warn you, though: Instead of a sweet and fruity aroma, my entire apartment smelled like I had doused kombucha at every corner. Of course, I didn’t mind it. Those with sensitive sniffers, beware. Let’s get to it!

Ingredients

  • 2 cups diced fruit such as strawberries, peaches, or pears
  • ¼ cup sugar
  • 2 cups pureed SCOBY
  • 1–2 tsp spices or herbs such as basil, cinnamon, cloves, nutmeg, or thyme (optional)

Directions

  1. Combine the fruit and sugar in a medium saucepan.
     
  2. Cook over medium heat, stirring frequently, until the fruit and sugar are thoroughly broken down and combined, about 10 minutes.
     
  3. Add the fruit mixture and scoby puree to a blender, along with the spices if using, and pulse until the mixture has the texture of applesauce and all the ingredients are combined.
     
  4. Spread the mixture onto wax paper, parchment paper, or silicone dehydrator sheets in a layer about ¼ inch thick.
     
  5. Dehydrate for 12 to 36 hours. If you’re using a dehydrator, use the lowest setting (95–110°F  or 35– 43° C). If you’re dehydrating in an oven, set it to its lowest temperature and prop the door open.
     
  6. Once the mixture is dried and no longer sticky, gently remove from the wax paper. If the leather is difficult to remove from the wax paper, stick it in the freezer for 10 to 15 minutes; then peel off.
     
  7. Cut the leather into strips. These can be rolled up or cut into bite-size pieces. Store in an airtight container at room temperature; they will keep indefinitely but might dry out over time.

That's it! Best wishes on your exciting scoby recycling.

How to Brew Kombucha

How to Brew Kombucha

Let's talk 'booch!

I have only been brewing since August 2016 but since then, I have accumulated many a SCOBY. So many, in fact, that I am housing them in two "SCOBY hotels" ( yes, this is the actual term for it). I've just recently given some away and it triggered a memory of the very first time I had gifted someone a small starter jar. Let's call her J.H. J.H. was terribly nervous about brewing. She would email me with questions from how to transfer her starter jar home, to whether or not raw cane sugar was okay to use.

SCOBY Hotel: No Vacancy. Time for sharing!

SCOBY Hotel: No Vacancy. Time for sharing!

Now, I'm no expert, so giving her advice was a scary thing for me. I've had some great batches, some questionable batches, and certainly some not-so-great batches. I’ve had mold on a SCOBY before and it was disheartening because when that happens, you have to pitch it. --Brewing takes a great deal of time and patience!

J.H. continued to email me questions and I continued to reassure her while peppering in some advice. Surprisingly, I had walked J.H. through a successful brew, according to her email subject line, "SUCCESS (!!!!)". That felt awesome (and relieving)!

My point is, set your worries aside (though, I should follow that advice). Kombucha brewing is not a new thing and it is relatively easy once you get it going. There are various resources online, in literature, and elsewhere. Sandor Katz is an excellence resource, Kombucha Kamp, is another. I personally like to refer to one of my favorite blogs, The Kitchn. You can rest easy knowing that most people who first start brewing are “flying by the seat of their pants”! It is truly trial and error. Though the technique is easy to acquire, I'd love to share my How-To's with you!

First off, WHAT in the heck is kombucha??

Kombucha starts out as a sugary, sweet tea, which is fermented with the aid of a scoby. "SCOBY" is an acronym for "symbiotic culture of bacteria and yeast." The scoby bacteria and yeast eat most of the sugar in the tea, releases carbon dioxide, and in turn, leaves you with a beverage that is refreshing, fizzy, and slightly tangy. On top of all of that, it is relatively low in calories and sugar.

Hold up. Bacteria?? Ew! Let’s clear the air here. Scobys contain good bacteria (aka, beneficial bacteria). There are around 100 trillion good bacteria that live in and on our bodies (thanks, Humm Kombucha). Many of these bacteria live in our gut. They help our bodies break down food/absorb nutrients, boost our overall health, and are essential to our survival. One of the most well-known types of good bacteria is called probiotics. Lucky for us, kombucha is full of happy probiotics! There are various claims that kombucha “cures” ailments such as arthritis, depression, and heartburn as well. Since our bodies are all vastly different, there is no way to disprove of these claims.

So...scobys….yes, they're a little alien and booger-y but you can easily look past all of that when you remember the multitudes of health benefits it provides!

Layers and layers of scoby. Might have overdone it that year.

Layers and layers of scoby. Might have overdone it that year.

Brewing

If you are wary to begin, no worries! That’s completely natural. One thing that has reassured me was knowing that in this ancient practice, people who brewed before us probably had much dirtier environments and they brewed just fine. These days we are much more careful. So, if they can do it we can, too!

What You’ll Need (from The Kitchn):

  • 3 1/2 quarts water
  • 1 cup sugar (regular granulated sugar works best)
  • 8 bags black tea, green tea, (or 2 tablespoons loose tea)
  • 2 cups starter tea from last batch of kombucha or store-bought kombucha (unpasteurized, neutral-flavored)
  • 1 scoby per fermentation jar, homemade or purchased online
  • Optional flavoring extras for bottling (such as 1-2 cups of chopped fruit, fresh herbs or spices, fruit juices, honey, etc.)

Equipment

  • Stock pot
  • 1-gallon glass jar or two 2-quart glass jars
  • Tightly woven cloth (like clean napkins or tea towels), coffee filters, or paper towels, to cover the jar
  • Bottles: Six 16-oz glass bottles with plastic lids, swing-top bottles, or clean soda bottles
  • Small funnel

Directions

Note: Avoid prolonged contact between the kombucha and metal both during and after brewing. This can affect the flavor of your kombucha and weaken the scoby over time.

  1. Make the tea base: Bring the water to a boil. Remove from heat and stir in the sugar to dissolve. Drop in the tea and allow it to steep until the water has completely cooled. Hot or warm tea could disrupt the scoby environment and you could end up with a bad batch.
     
  2. Add the starter tea: Once the tea is cool, remove the tea bags or strain out the loose tea. Stir in the starter tea. (The starter tea makes the liquid acidic, which prevents unfriendly bacteria from taking up residence in the first few days of fermentation.)
     
  3. Transfer to jars and add the scoby: Pour the mixture into a 1-gallon glass jar (or divide between two 2-quart jars, in which case you'll need 2 scobys) and gently slide the scoby into the jar with clean hands. Cover the mouth of the jar with a few layers tightly-woven cloth, coffee filters, or paper towels secured with a rubber band. (If you develop problems with gnats or fruit flies, use a tightly woven cloth or paper towels, which will do a better job keeping the insects out of your brew.) 
     
  4. Ferment for 7 to 10 days: Keep the jar at room temperature, out of direct sunlight, and where it won't get jostled. Ferment for 7 to 10 days, checking the kombucha and the scoby periodically.

    It's not unusual for the scoby to float at the top, bottom, or even sideways during fermentation. A new cream-colored layer of scoby should start forming on the surface of the kombucha within a few days. It usually attaches to the old scoby, but it's ok if they separate. You may also see brown stringy bits floating beneath the scoby, sediment collecting at the bottom, and bubbles collecting around the scoby. This is all normal and signs of healthy fermentation.
     
  5. After 7 days, begin tasting the kombucha daily by pouring a little out of the jar and into a cup. When it reaches a balance of sweetness and tartness that is pleasant to you, the kombucha is ready to bottle.
     
  6. Remove the scoby: Before proceeding, prepare and cool another pot of strong tea for your next batch of kombucha, as outlined above. With clean hands, gently lift the scoby out of the kombucha and set it on a clean plate. As you do, check it over and remove the bottom layer if the scoby is getting very thick.
     
  7. Bottle the finished kombucha: Measure out your starter tea from this batch of kombucha and set it aside for the next batch. Pour the fermented kombucha (straining, if desired) into bottles using the small funnel, along with any juice, herbs, or fruit you may want to use as flavoring. Leave about a half inch of head room in each bottle. (Alternatively, infuse the kombucha with flavorings for a day or two in another covered jar, strain, and then bottle. This makes a cleaner kombucha without "stuff" in it.)
     
  8. Carbonate and refrigerate the finished kombucha: Store the bottled kombucha at room temperature out of direct sunlight and allow 1 to 3 days for the kombucha to carbonate. Refrigerate to stop fermentation and carbonation, and then consume your kombucha within a month.
     
  9. Make a fresh batch of kombucha: Clean the jar being used for kombucha fermentation. Combine the starter tea from your last batch of kombucha with the fresh batch of sugary tea, and pour it into the fermentation jar. Slide the scoby on top, cover, and ferment for 7 to 10 days. (Start the process again. See step 5).

I’ve never used raw cane sugar for my brews before but I tend to not use “raw” anything during the first phase of brewing because the main concern about using raw sugar or raw honey is that it can contaminate your brew with “bad bacteria” and make a dangerous concoction. Your brew is trying to cultivate “good bacteria” in the first stages of kombucha brewing. If there is a large colony of good bacteria forming, chances are, the good bacteria will fight off the bad. Feel free to experiment with raw cane sugar or honey during the second ferment stage, though!

You will know if you have ruined it if it starts to smell “off”. If you are familiar with the smell of fermenting brew it should be a little sour-smelling, kind of vinegary—even like stinky feet! If it starts to smell foul or if it has mold on the surface, pitch it immediately. Again, that is the work of bad bacteria—which you don’t want.

A good tip is to use purified drinking water. I used tap for my very first batch and I think something went wrong. The scoby and everything seemed fine but when I drank it, it gave me a funny feeling—maybe it was all in my head but I didn’t feel comfortable continuing so I pitched it. I believed it might have been because of the contaminants in tap water. Purified drinking water changed everything. It doesn't have the extra additives in it and the result is a clean and true-tasting brew. Another tip is to use ALL ORGANIC EVERYTHING (my Co-op does a great job providing me with ingredients I can count on). It’s best to use clean, real ingredients. When you are fermenting, you want to have the “good stuff”.

I add fruits and herbs! My favorite herb is mint! So fresh :) I’ve brewed batches with beets, aronia berries, ginger, and asian pear. My favorite combination currently is raspberry mint—it’s definitely a more summery flavor.

Good luck & happy fermenting!

Between Every Two Pines

Between Every Two Pines

Exactly one month since my last blog post but I am finally ready to talk about our (long) project! What started out as a simple thank you gift that we anticipated would take about...a month or so to crank out, turned into a 4 month-long feat. We had hoped to produce these gifts as a thank you to those who've let us stay with them during the course of our 2-week road trip and send them off in time for the holidays. Life maintenance happened and many other creative endeavors landed on our plates that took precedent due to their deadlines so the project got swept under our unkempt rug. We began talking about the project more than we were working on them and that had me worried. Alas, as my previous post noted, I had to trust the process. Now, I can finally say they are finished and ready to ship (*sigh of huge relief*)!!

Austin and I took a trip back in October to the PNW (ooh, ahh). For two weeks, we took a major screen-break and focused on getting back into writing, drawing, and photograpy to document our adventures. After a tiring ~6000 miles, various campsites, several hikes, and only a mere 1700 photos, we arrived back safely in Iowa (I still cannot believe Austin's ol' clunker took us to the coast and back). 

"Between every two pines is a doorway to a new world."
-John Muir, (Yeah, we went there.)

It is truly an awe how beautiful our country is – and we explored only a small fraction of it! We are so fortunate to have good friends in many wondrous places and happy to have made new ones along the way. We wanted to thank everyone who comforted our traveling souls – whether it was with a place to sleep & hot shower or just with suggestions on where to car camp. The trip was physically exhausting but worth every mile and we knew that without the hospitality of our old friends and new friends, our travels would have been much more difficult! 

THE PROJECT! We hand-bound 8 books comprised of a little less than 90 pages of our favorite photos, encased in a hard cover that we screen printed with illustrations that reminded us of our time in the PNW (lots of cup noodle doodles). I'm already itching for our next adventure (yay for year-long National Park Passes). Until then, working on this bookbinding project has helped me relive every moment we had out there and I hope it brings about the same kind of joy to its recipients. 

Click through to see our (long) process. :) The first few photos were taken at Public Space One. Since being out of school, it has been hard finding the right resources to feed our creative endeavors. We are lucky that we have access to a public print studio where we are. (Thanks, PS1!)
*Apologies in advance for the inconsistent lighting since we worked on these at literally all hours of the day! 

Learning to Love the Process

FullSizeRender (2).jpg

Learning to Love the Process

Happy Valentine's Day!

Life update: I've been chugging along with projects, brainstorming new ones, starting up new client work, and I feel at a steady pace--though I could always do more. It's the restlessness that haunts me continuously. I mean, I spent hours on an ongoing project and felt guilty for diving into a TV show while doing it even though I met my goal for the night (I didn't used to watch TV). This project's "due date" was originally aimed for end of December so maybe that's why I feel amped to finish it. Le sigh...Though it is good to set deadlines for myself, I have to remind myself to trust the process, expect unpredictability, and know that some things take more effort and time. Like cooking for example, I cook meals every night (I kid you not, 90% of the week is home-cooked meals) because I firmly believe that there is no other way to do it. There is no question! But again, even that takes a ton of effort and time. I've recently gotten myself to be okay with buying a quick meal once in a while--especially if it makes time for other things. I am still learning to find my balance--a 2018 goal!

In order for me to take a break from these projects and to remember what it feels like to relax while trying something new in the kitchen (I know it doesn't sound super relaxing but it is pure joy to me!), I decided to make dessert because who doesn't love to use sweets as a distraction, amiright? Plus, these sweet treats are vegan, gluten-free, no-bake, and don't contain sugar! Four less things to think about ;) On top of that, I didn't adjust or change anything up like I usually do--except for the ganache. I used cocoa powder instead of chocolate.

They are rich, creamy, delectable, and elegant in taste--perfect in time for Valentine's Day. These guys are rich enough that they're probably better split between you and your love (which I totally did).

Enjoy the recipe below, from yummymummykitchen.com

Ingredients

Crust
1 1/2 cups almond flour
1/3 cup unsweetened cacao/cocoa powder
3 TBS maple syrup
2 TBS melted coconut oil

Filling
2/3 cup unsweetened peanut or almond butter
1 TBS maple syrup
1/2 TBS melted coconut oil
pinch of sea salt

Ganache
3/4 cup chopped dark or semisweet dairy-free, GF, chocolate
1/4 cup canned coconut milk
1/2 tsp. pure vanilla extract

Directions

Coat the bottoms of tart shells lightly with cooking spray or rub with coconut oil. In a medium bowl, stir together the almond flour, cacao, maple syrup, and coconut oil until mixture holds together when pressed. If it's too dry, add just a little more coconut oil. Press firmly into the bottoms and up the sides of the tart shells, about 1/4 inch thick. 

In a small bowl, stir together the nut butter, coconut oil, and syrup. Gently spread a layer of this nut butter mixture about 1/4-inch thick over the crust. If using unsalted nut butter, sprinkle a pinch of sea salt over. 

Place the chocolate in a medium bowl. Heat the coconut milk in a small saucepan until it just begins to simmer. Carefully pour the hot coconut milk over the chocolate and whisk until the chocolate has melted and turned into a thick ganache. Whisk in the vanilla. Pour the ganache over the peanut butter filling and smooth with the back of a spoon. Place the tarts in the refrigerator to set up overnight. 

Paleo Option: Use almond rather than peanut butter. Be sure to use paleo-friendly chocolate.

Happy indulging!
<3