#filmsnotdead

#filmsnotdead

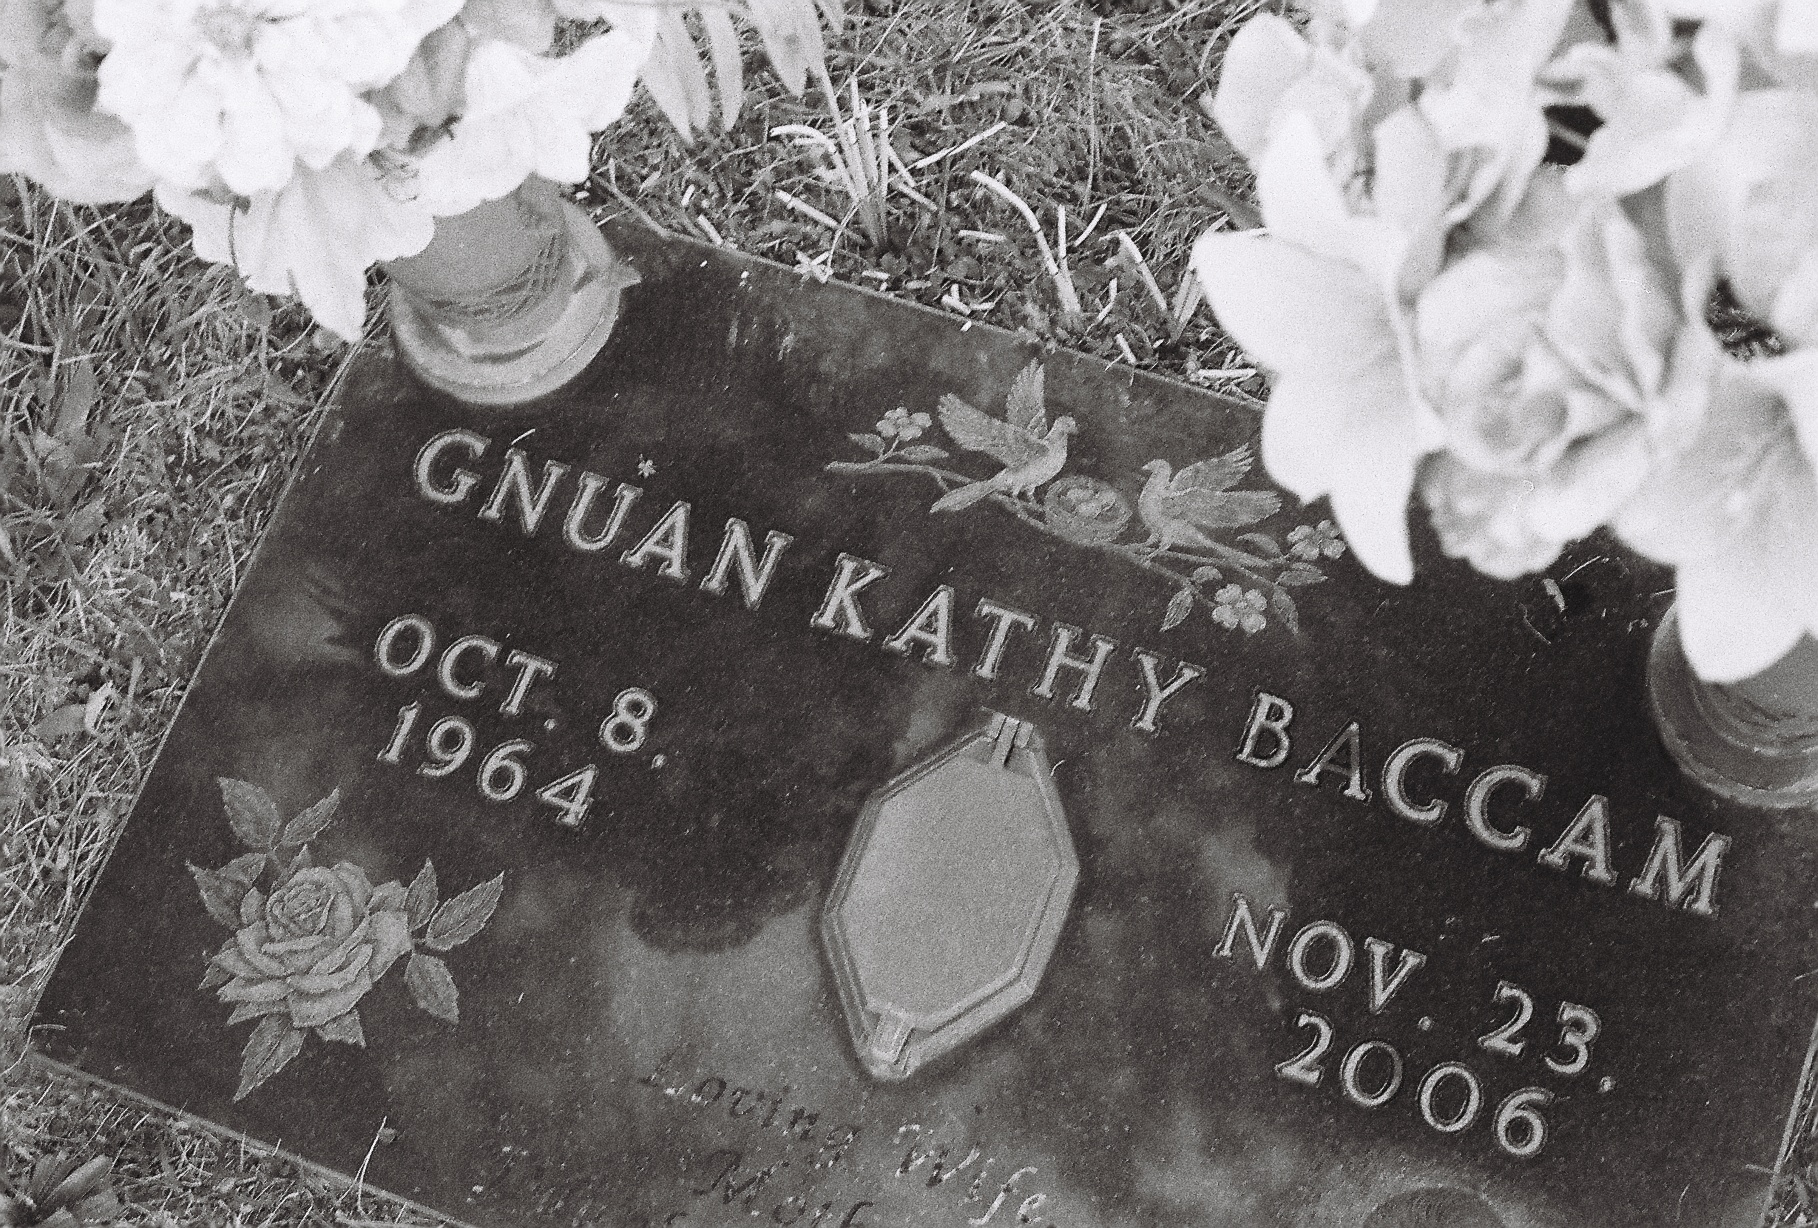
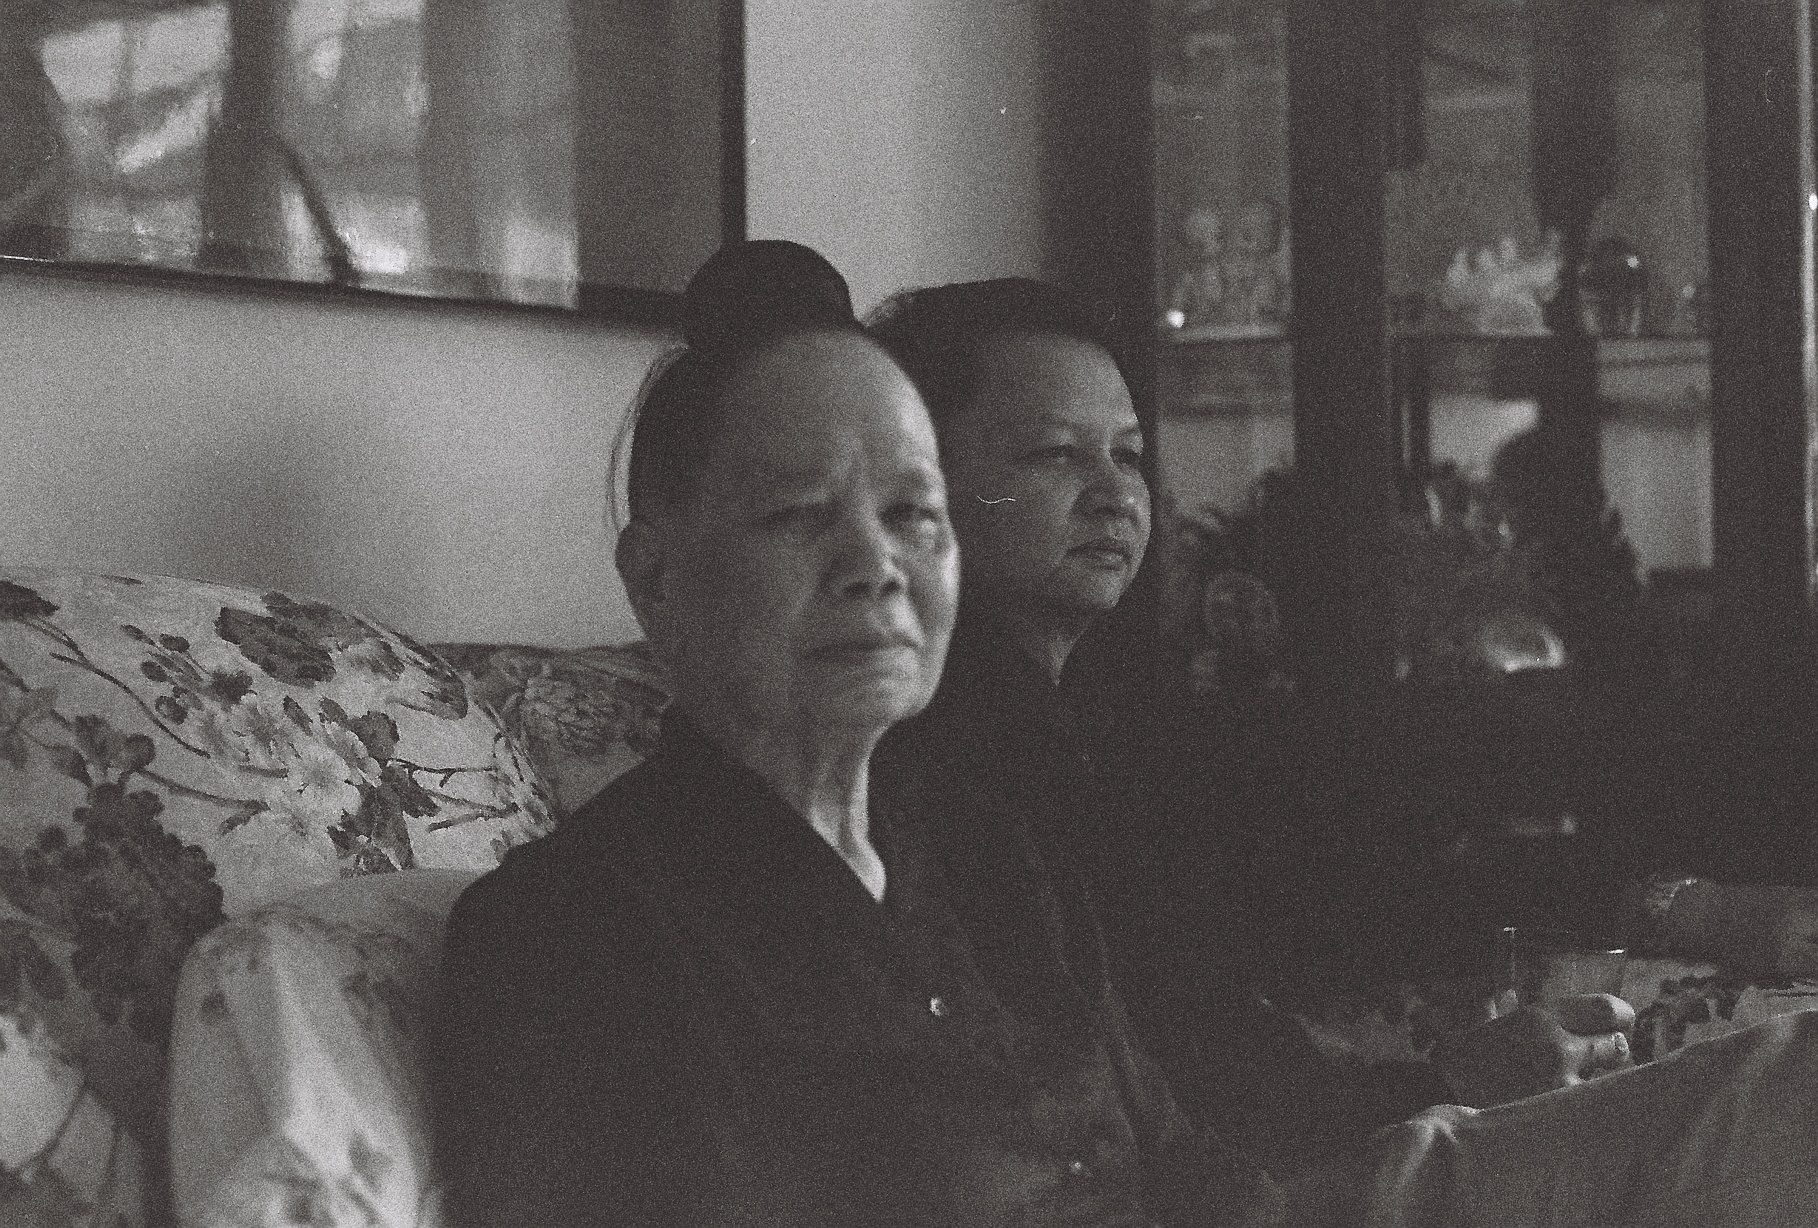
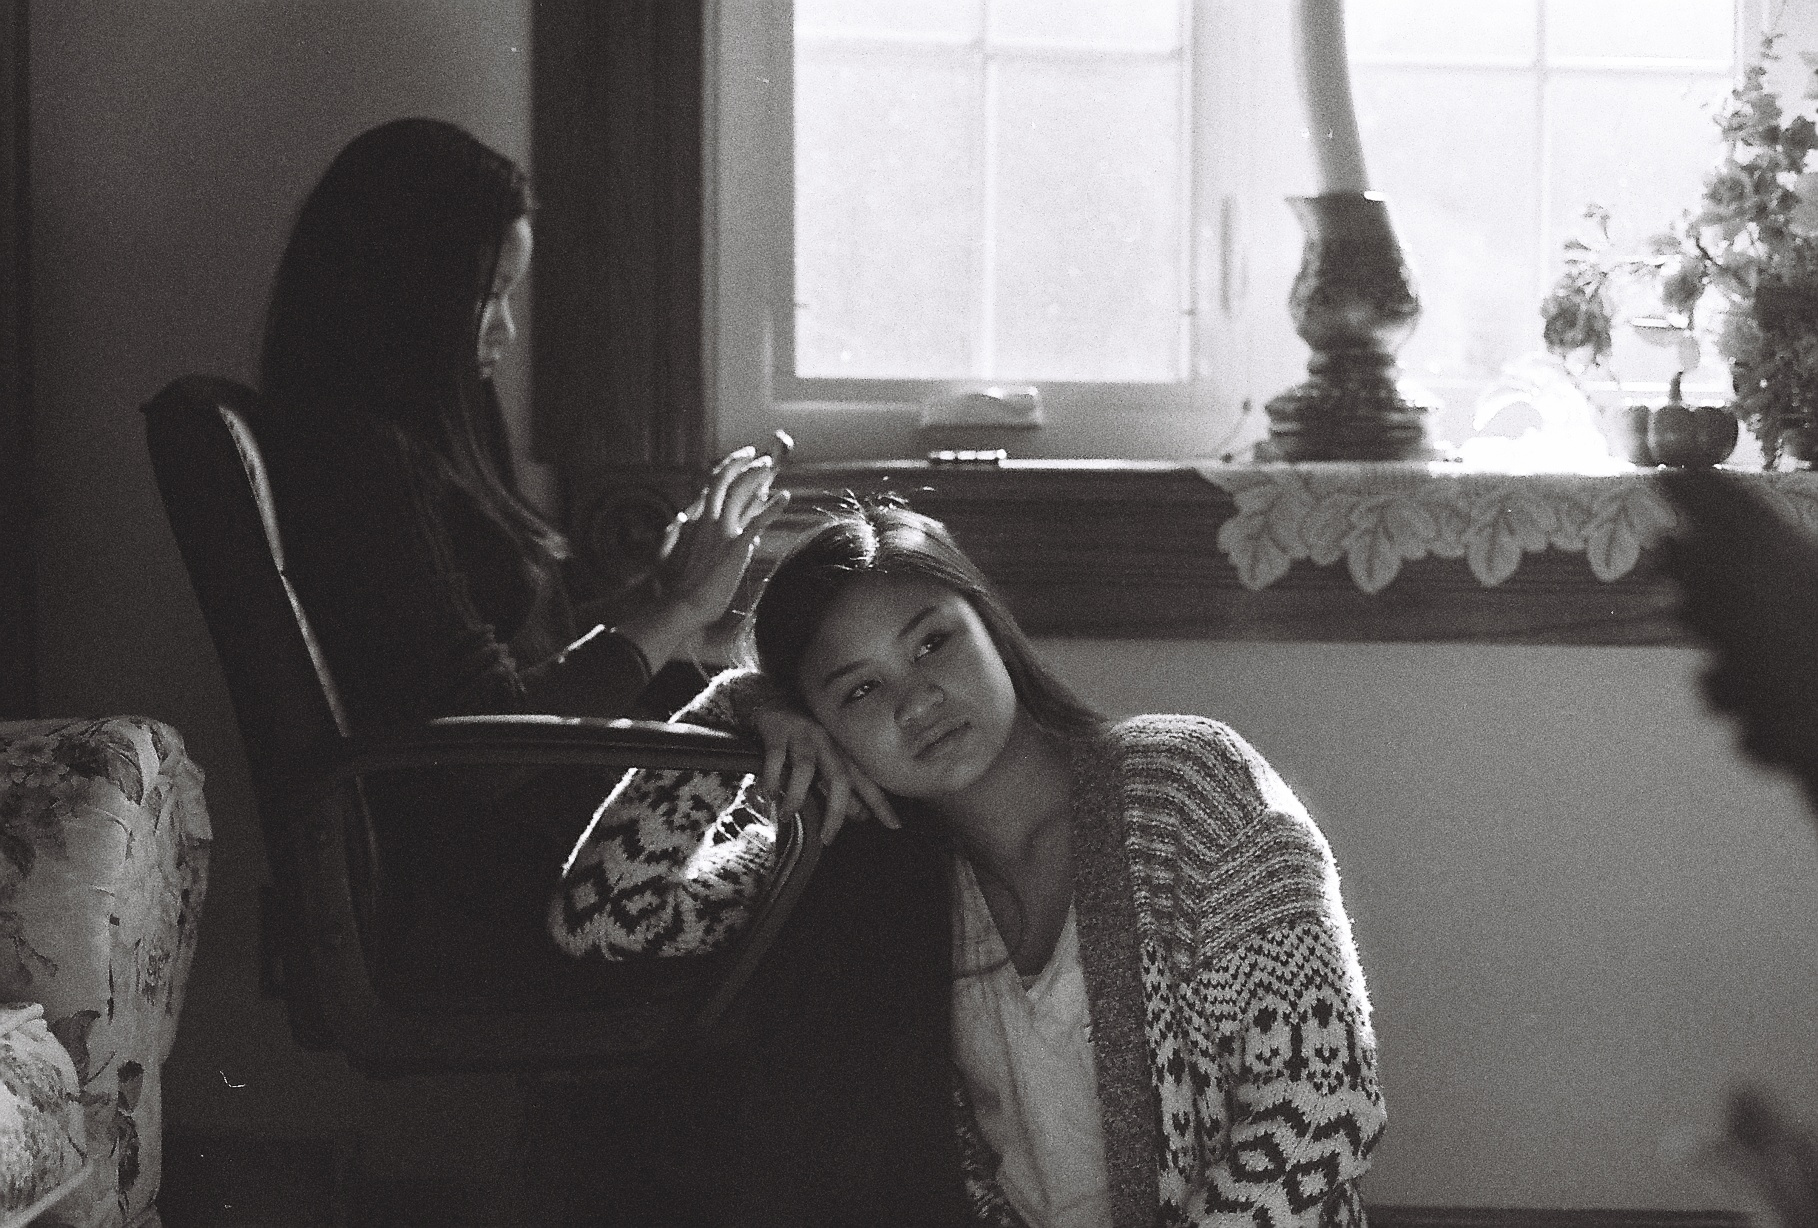
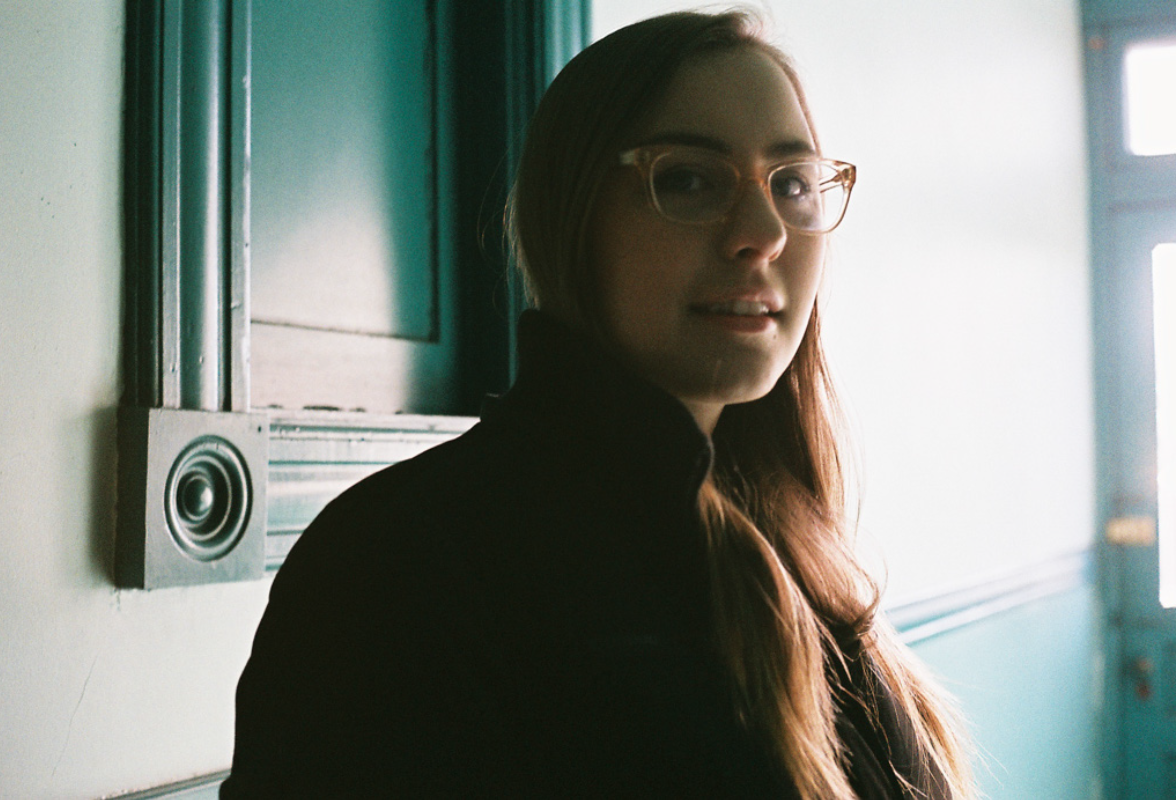
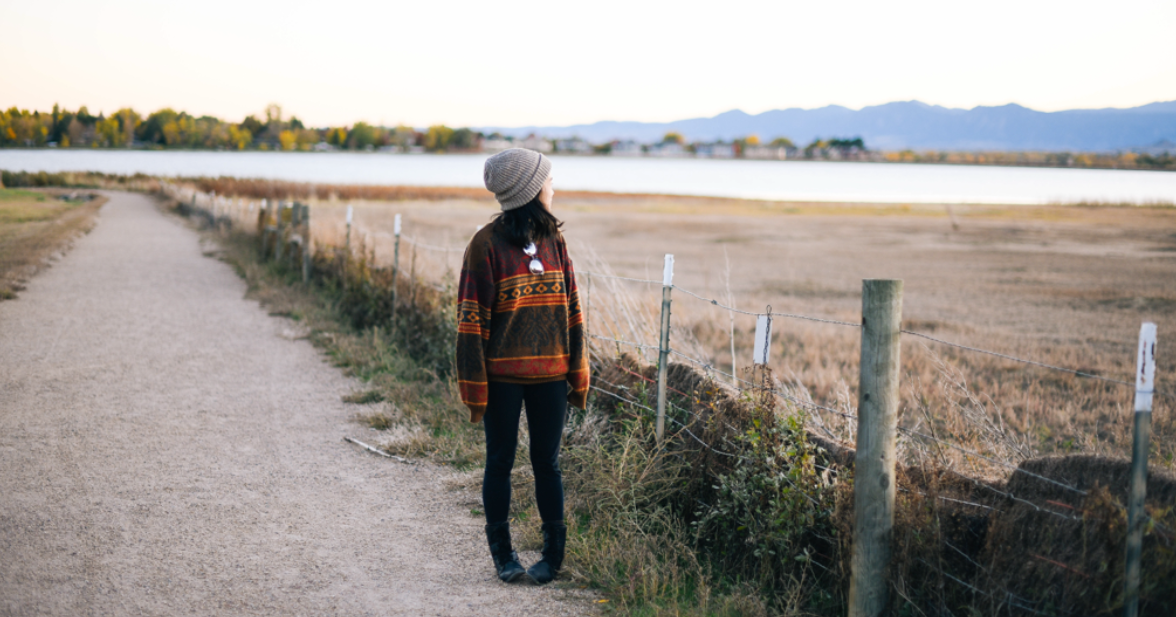
My dad let me have his Canon AE-1, though he was convinced that it didn’t work. He told me he never tried using it again after his cousin had dropped it on vacation and he truly believed it had no life left. I had a sliver of hope so I thought I would risk a roll of film to test it out. If nothing developed it was either because 1) it truly didn’t work and I would have to investigate some mechanical issue or because 2) my film was an expired BW roll... probably not the best decision as I didn’t have a constant variable in this experiment of sorts.

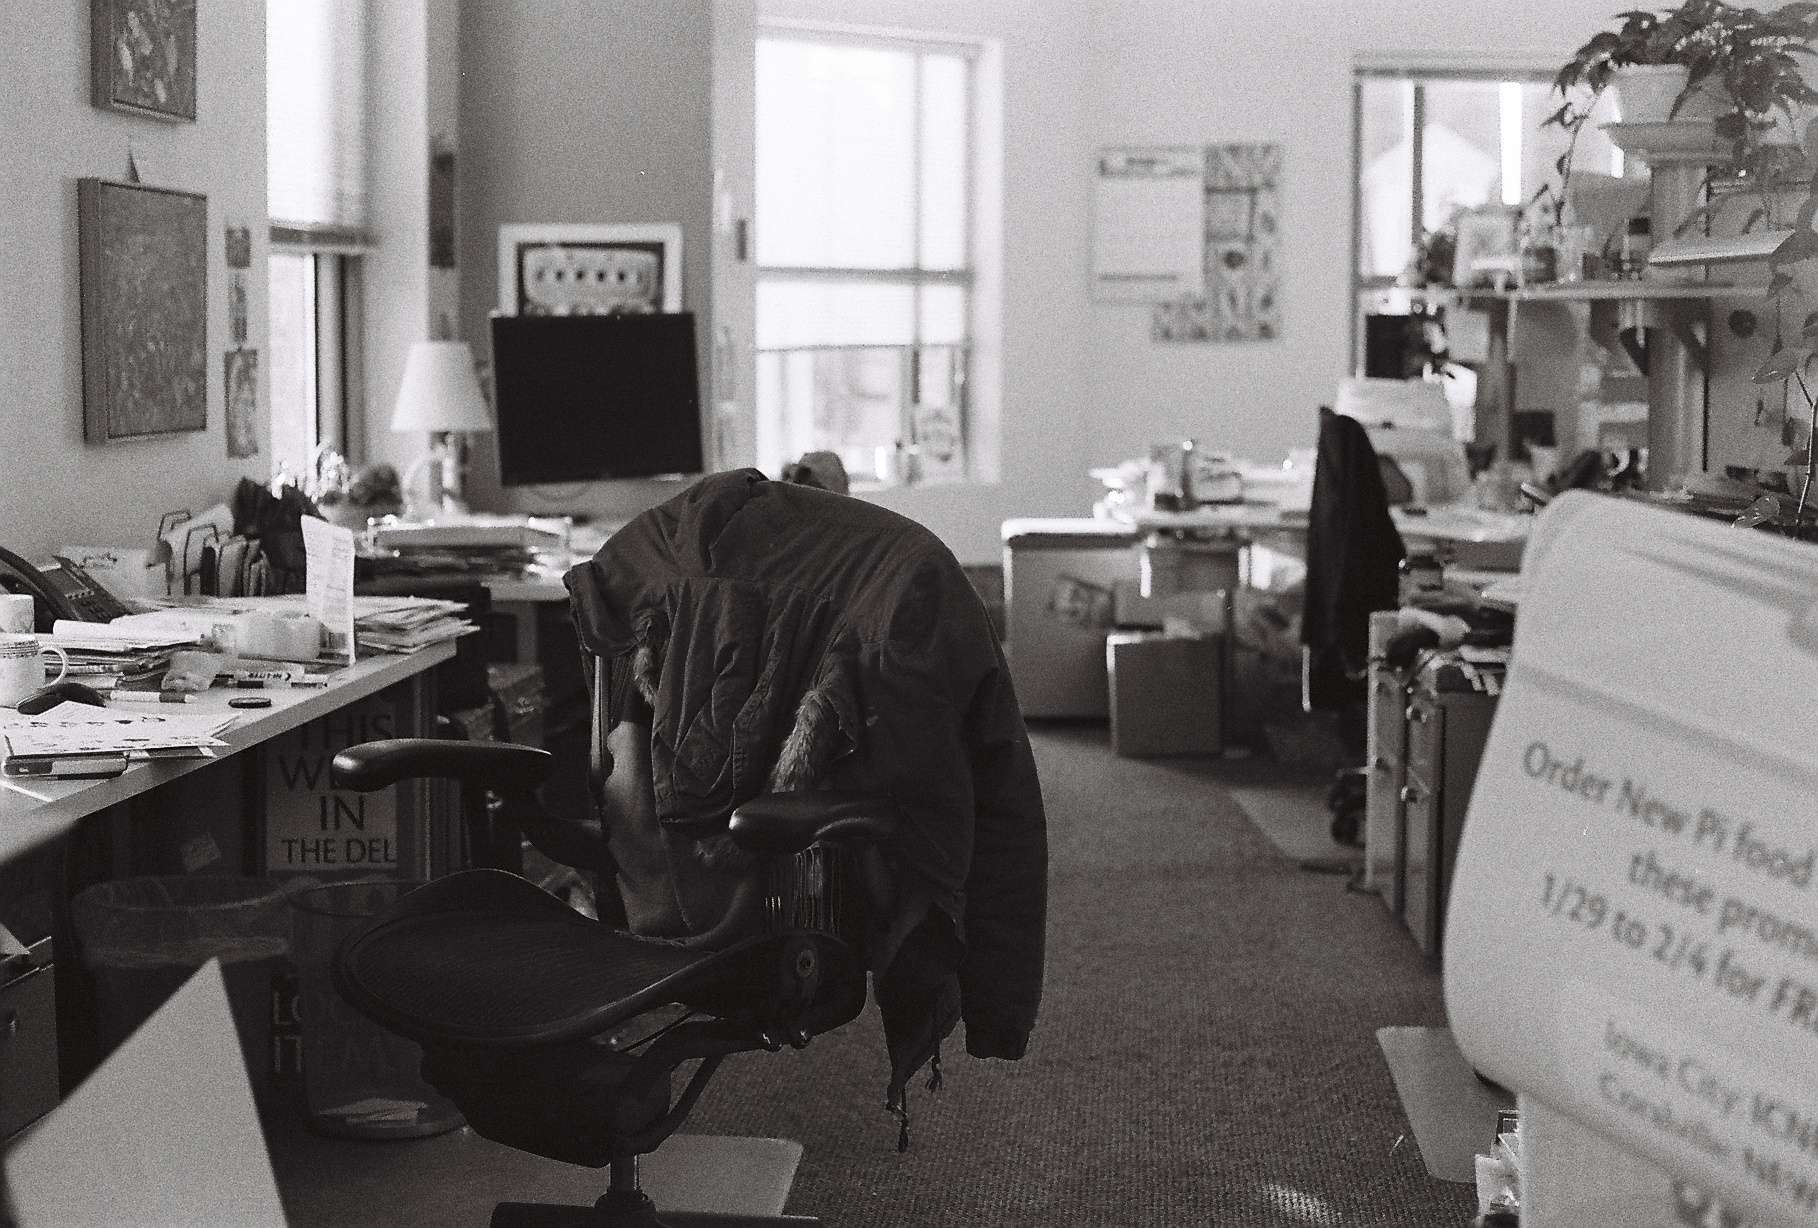
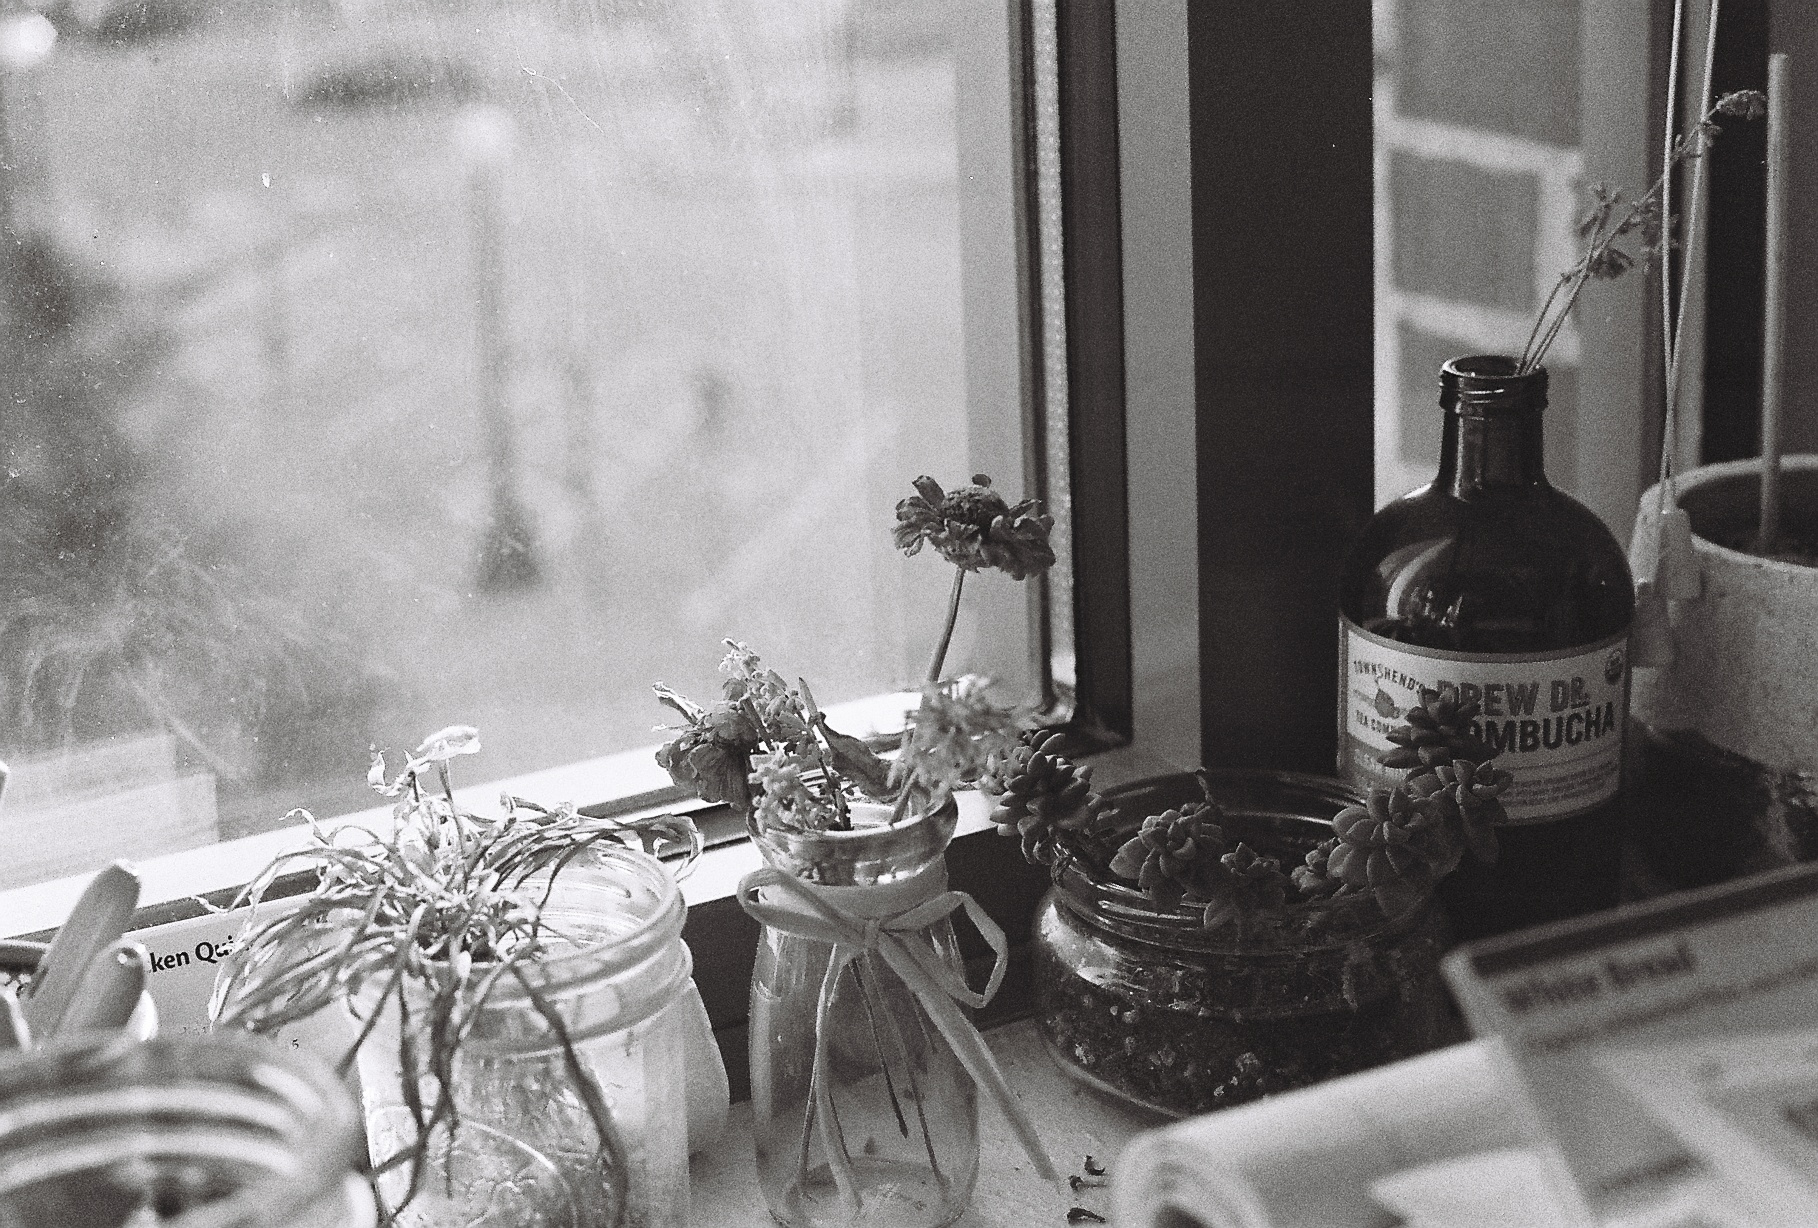
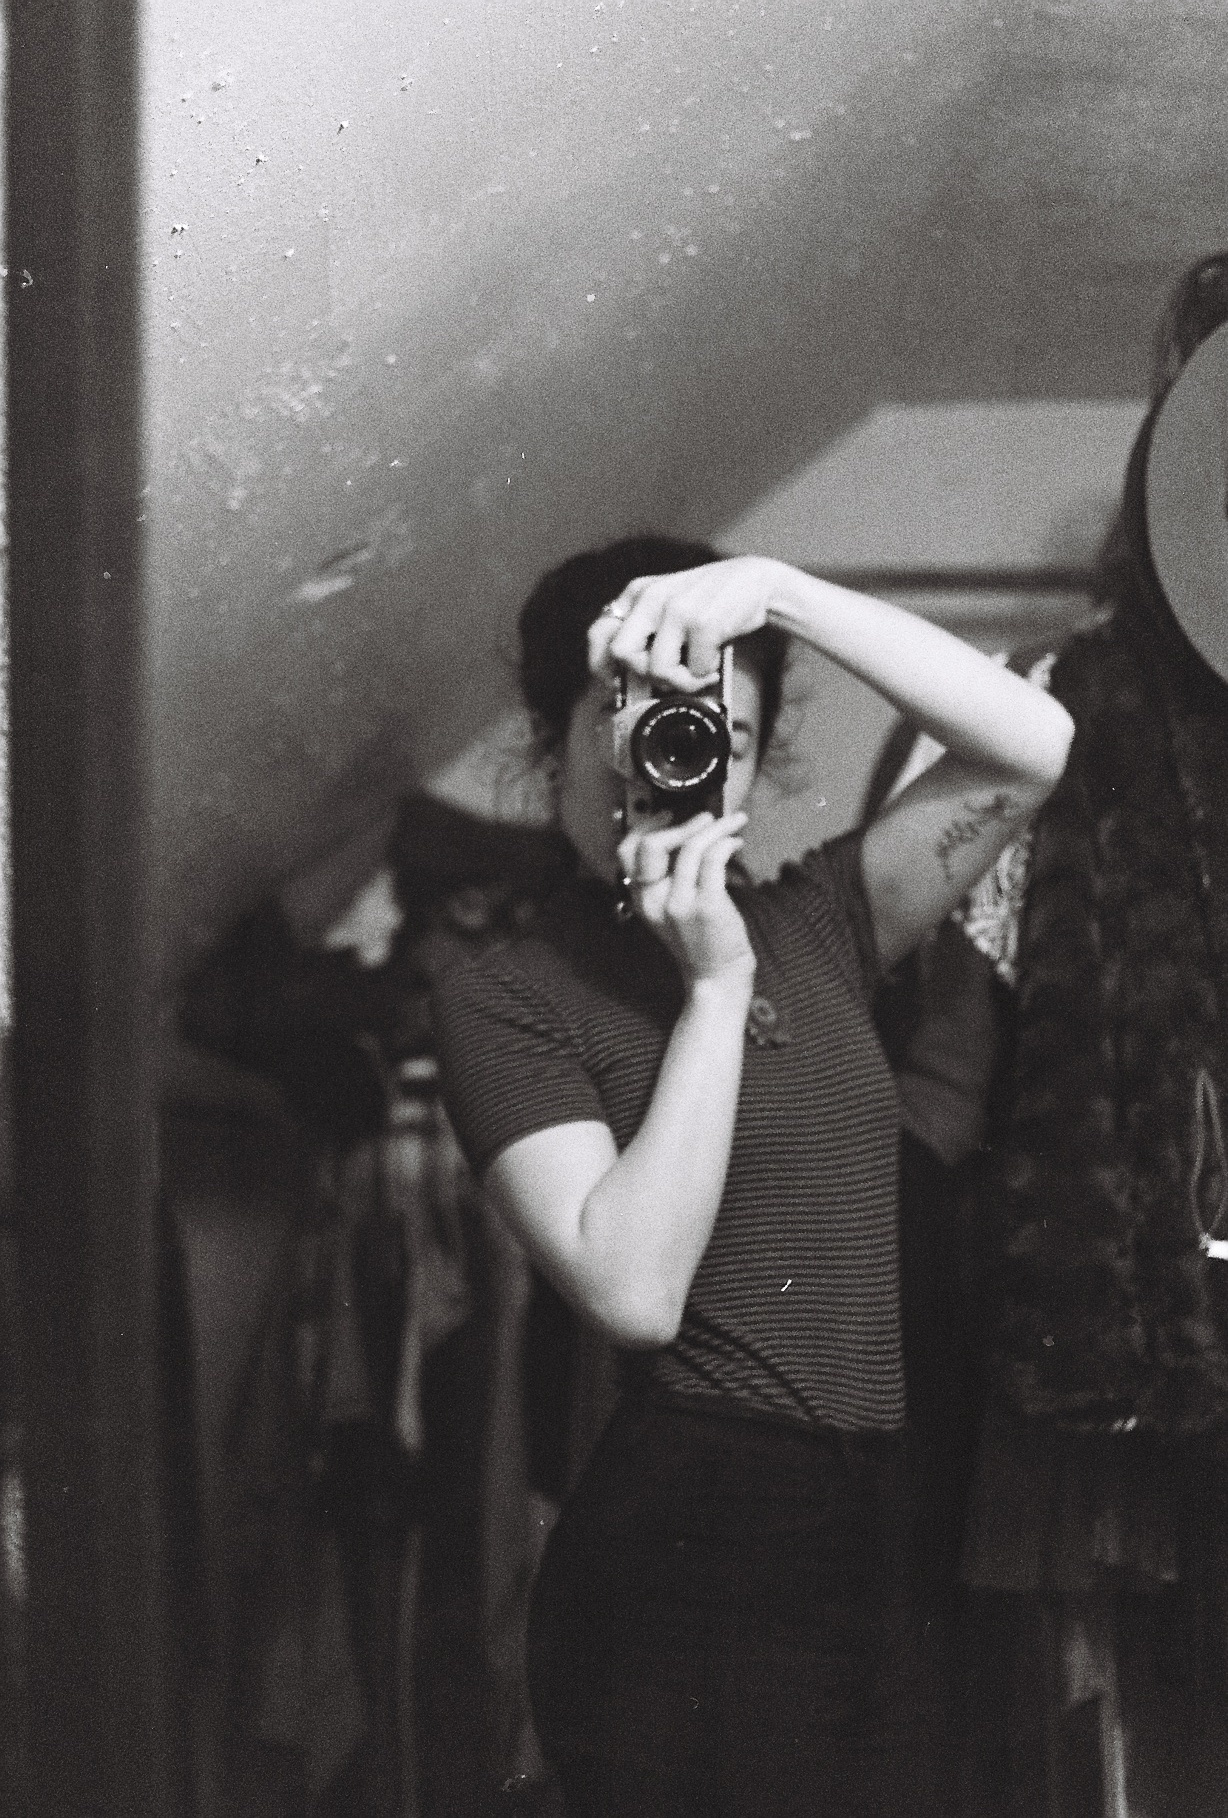
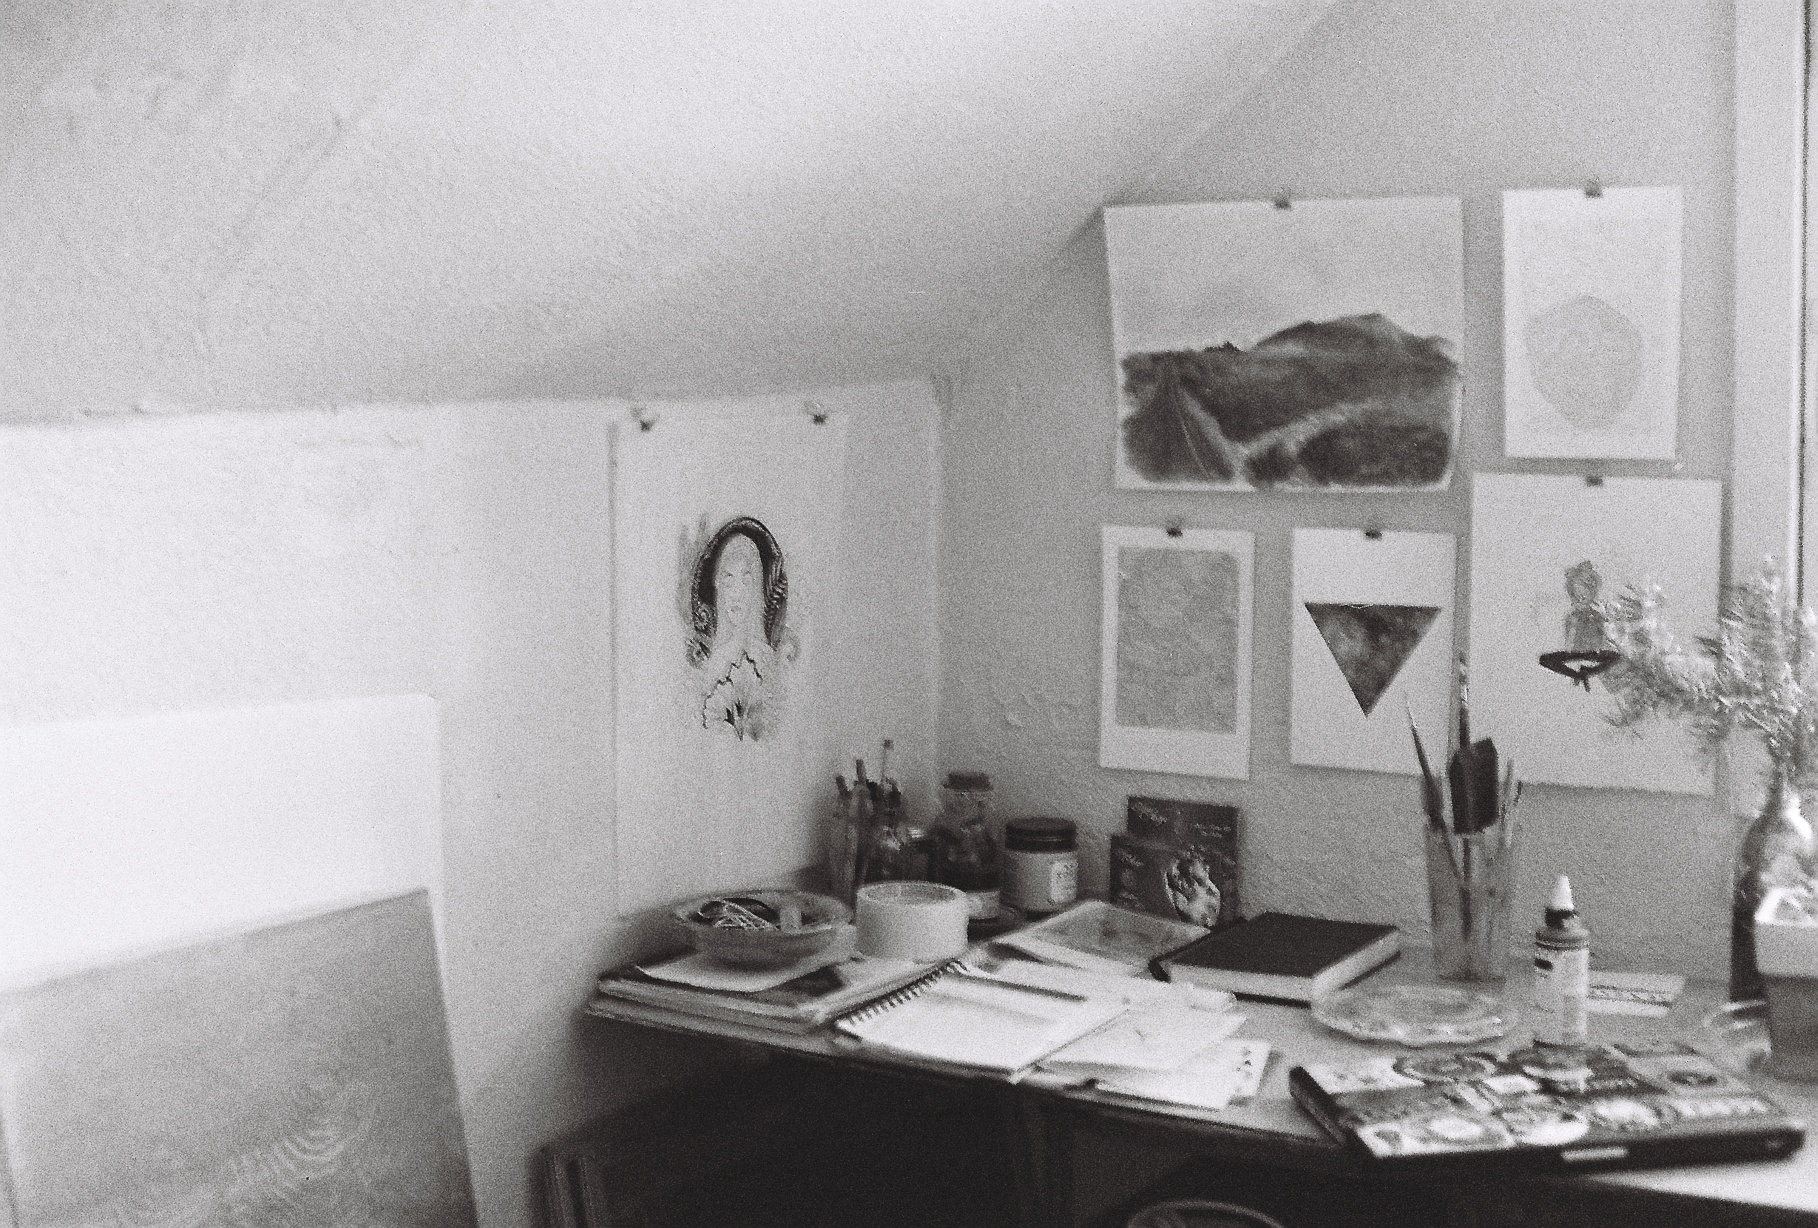
After almost four years of being in storage, I gave both my Minolta and Canon a little more love and attention (bought new, special batteries & actually took time to read their manuals as mentioned in a previous post). The Minolta completely surprised me after I got the photos developed. The colors were rich, bold, and warm. The Canon on the other hand, still had a few exposures left. I think I left it on the back-burner because I started to question whether or not it did work and I didn't want to invest snapshots of memories into it if it wasn't going to turn out. Was I wrong?! The grain, the contrast, everything. It was all perfect.

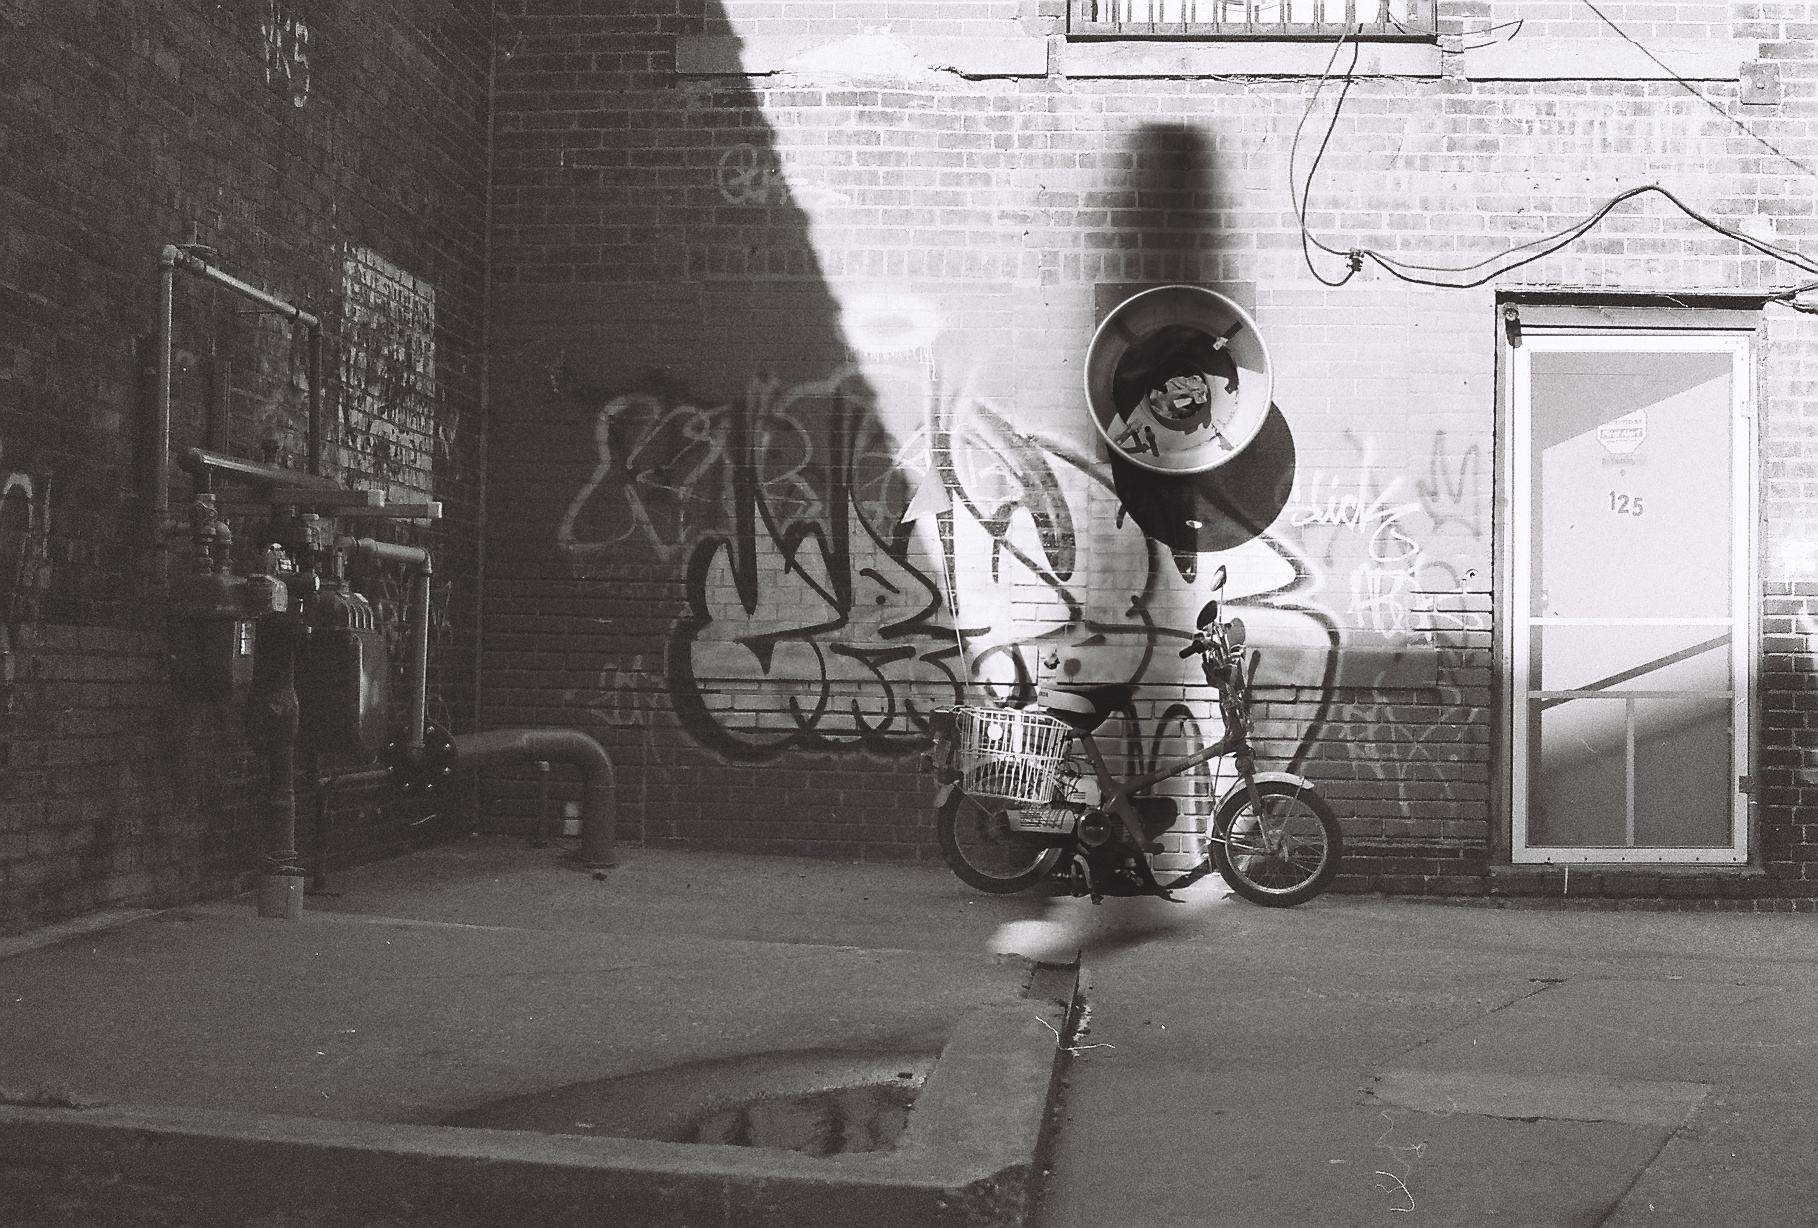
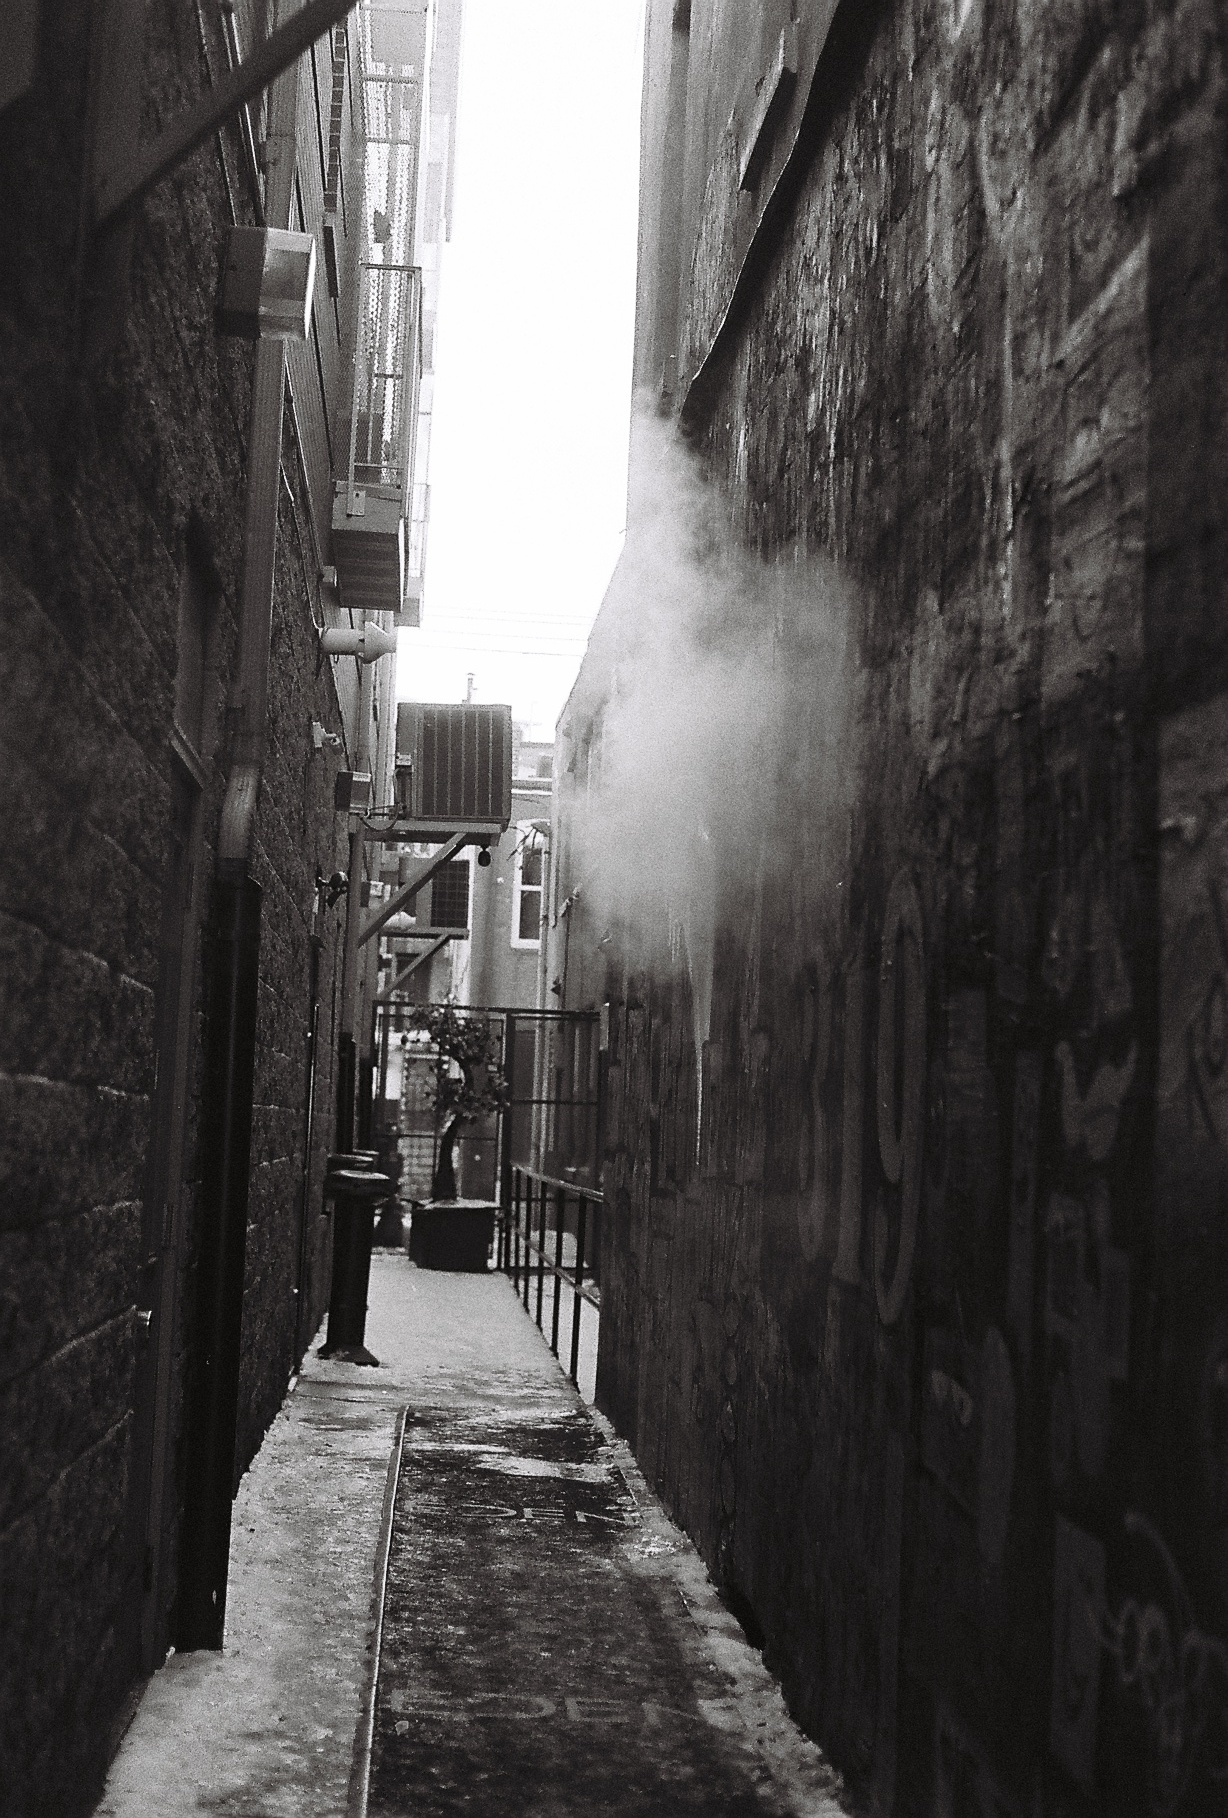
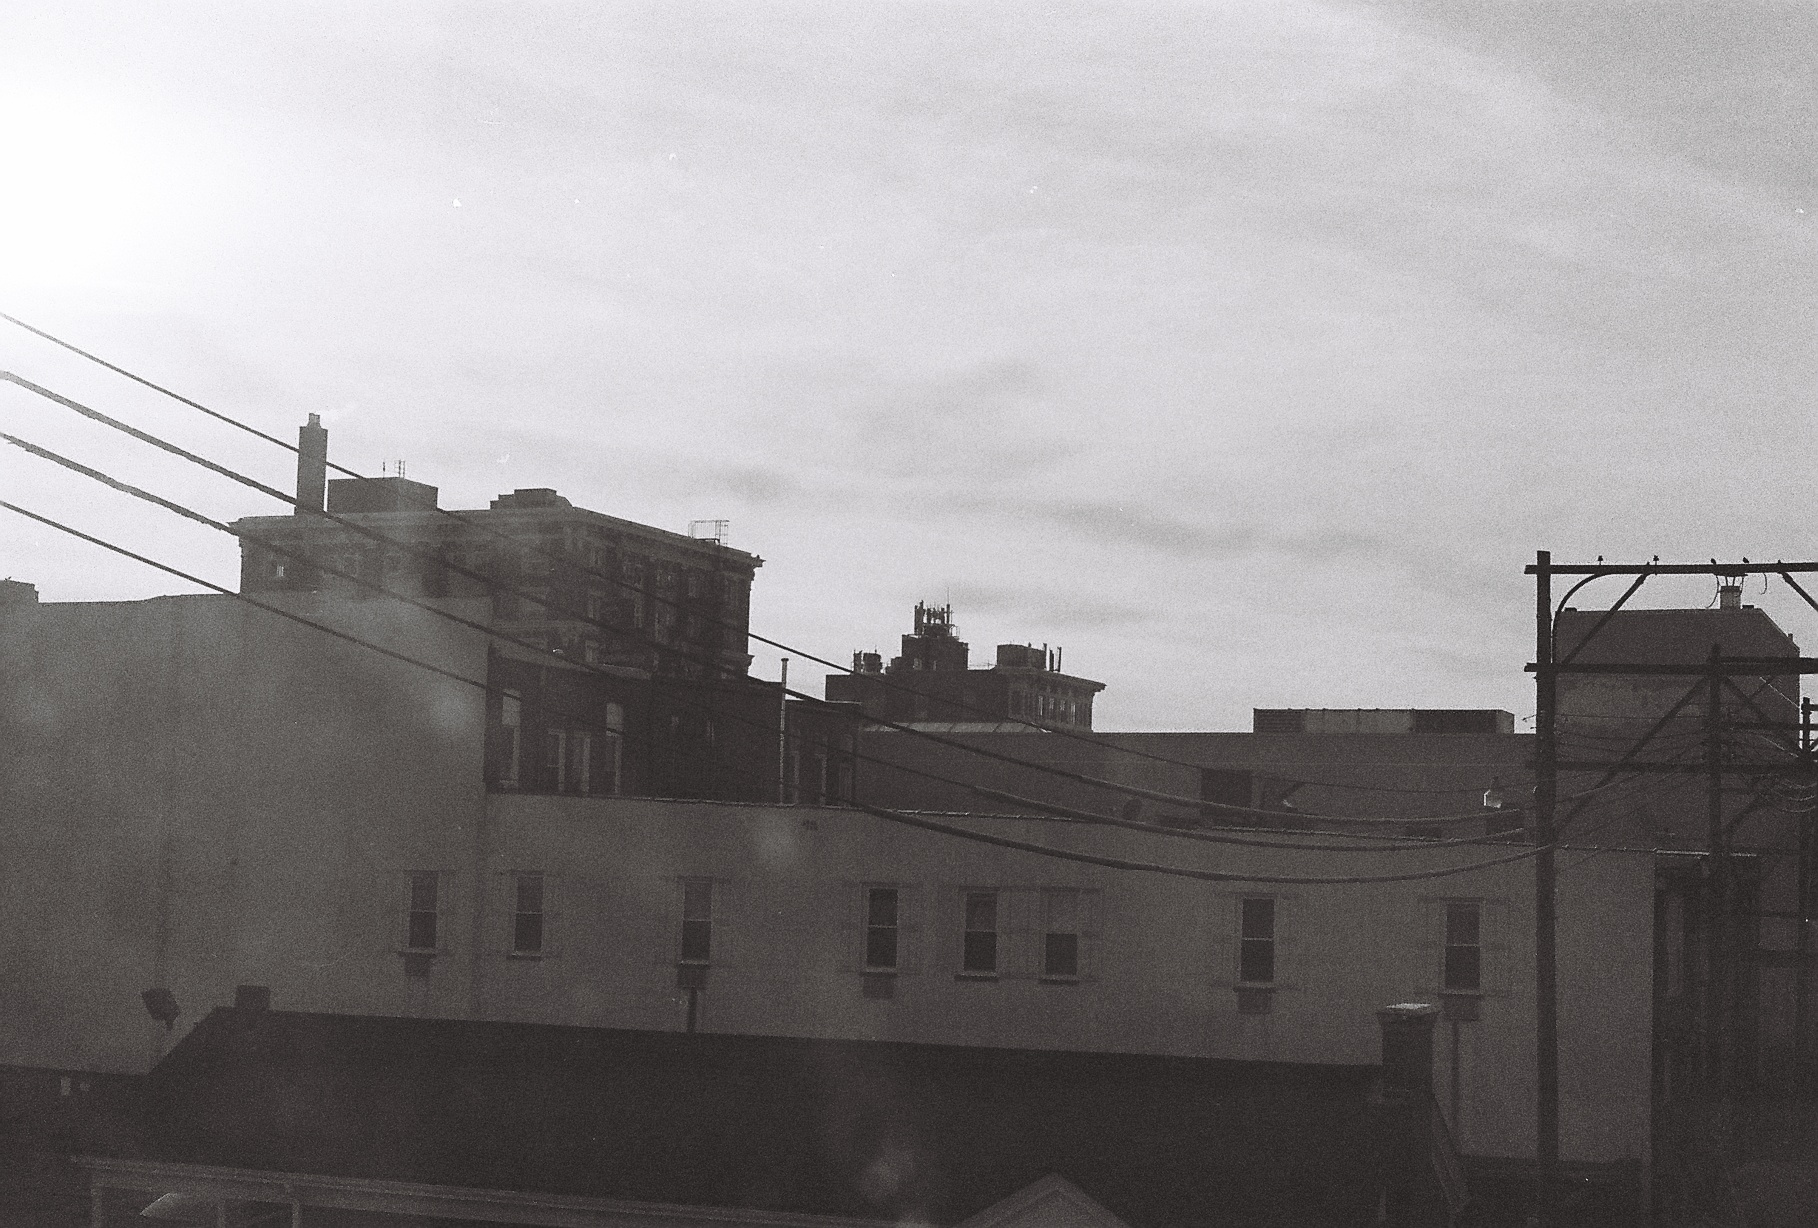
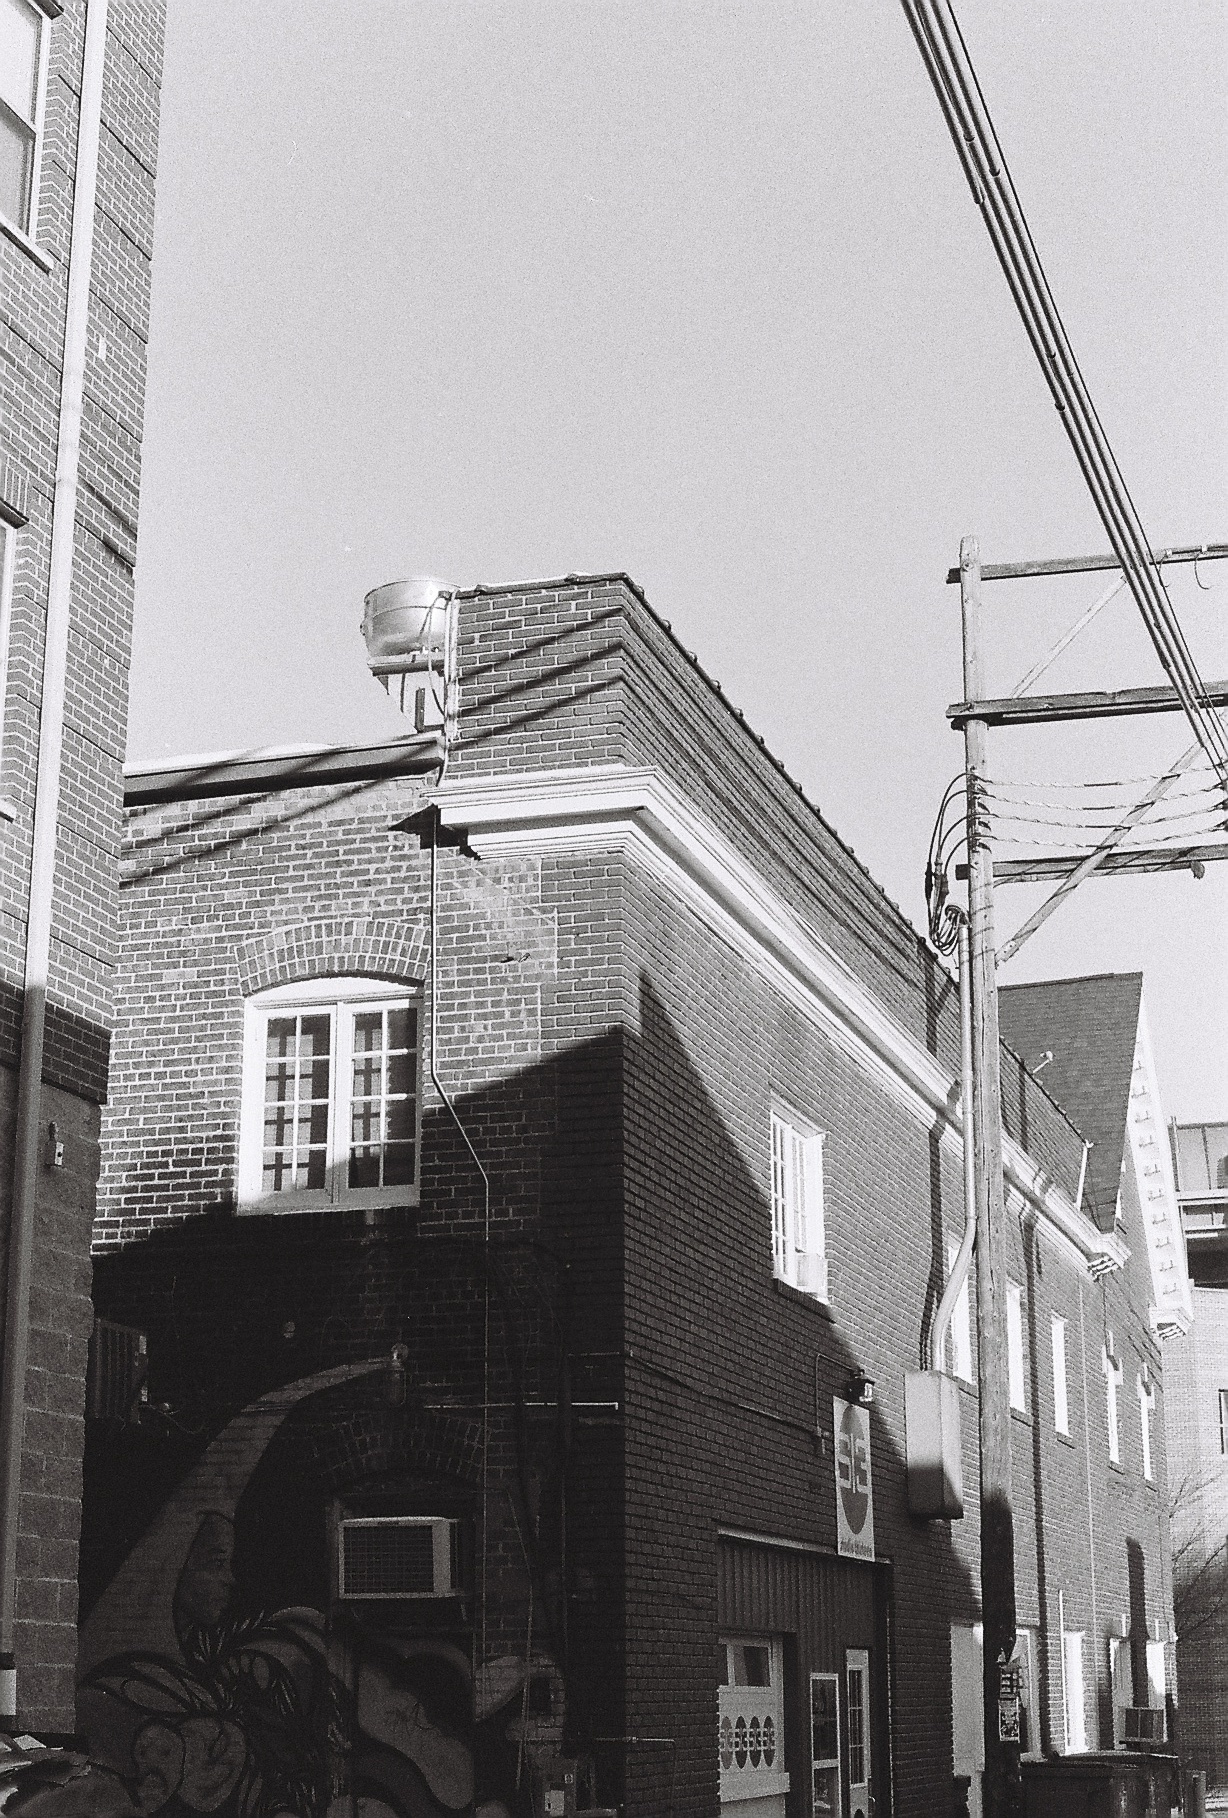
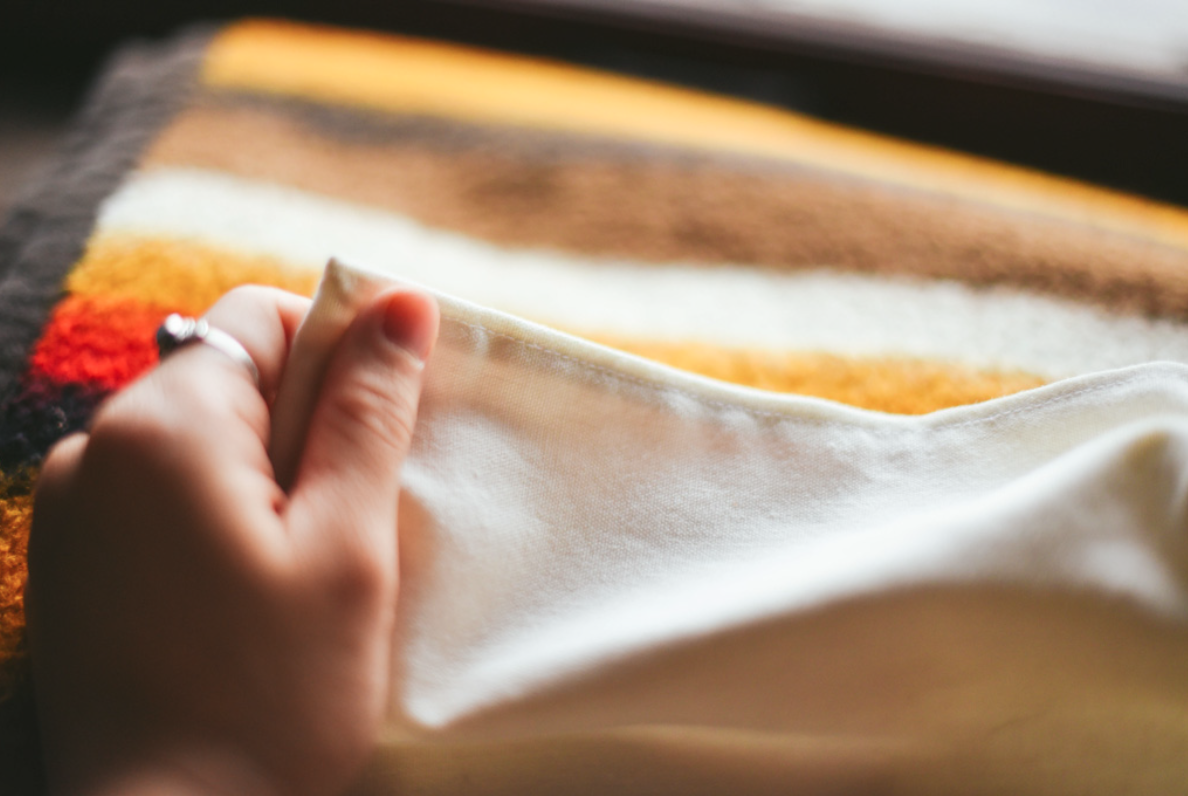
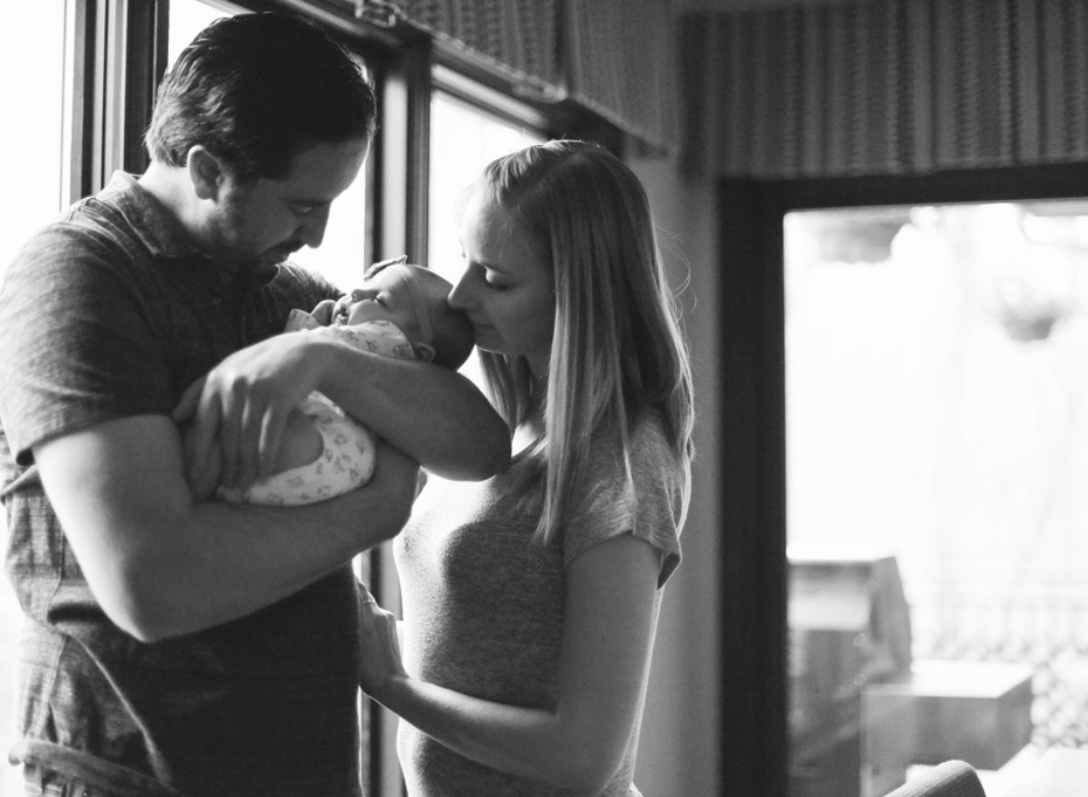
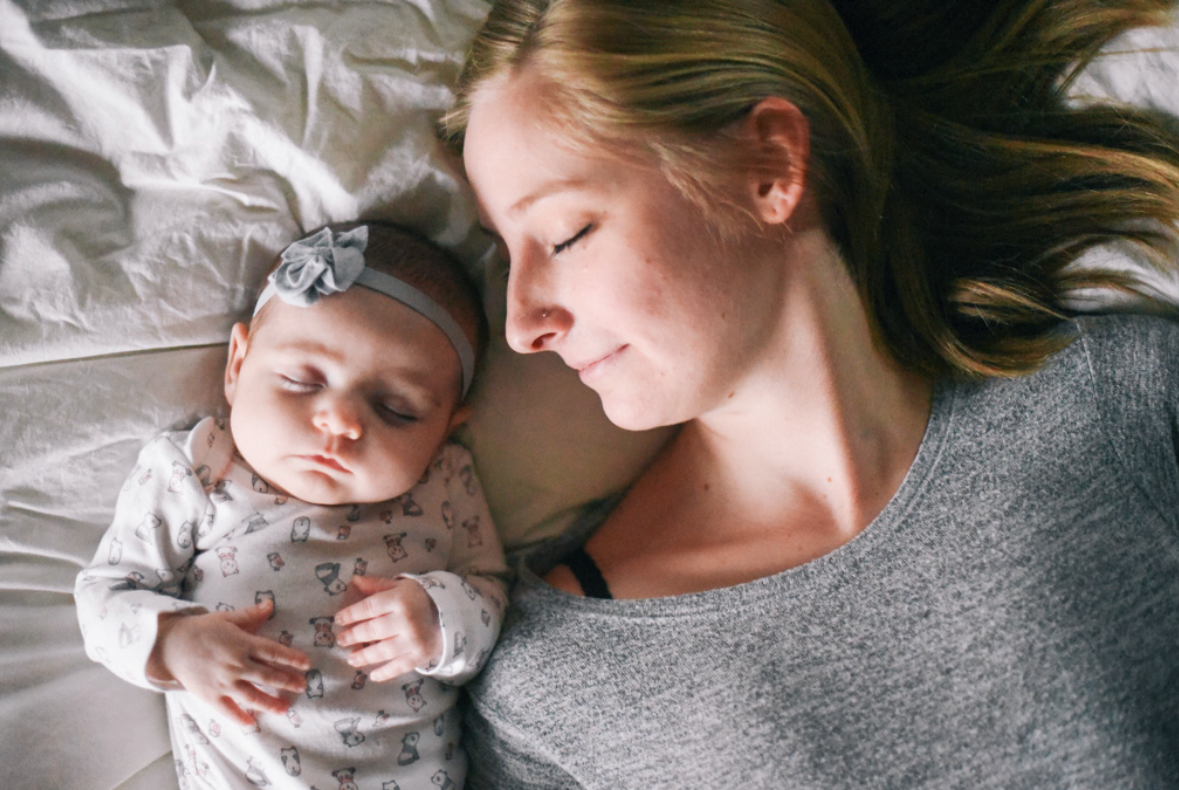
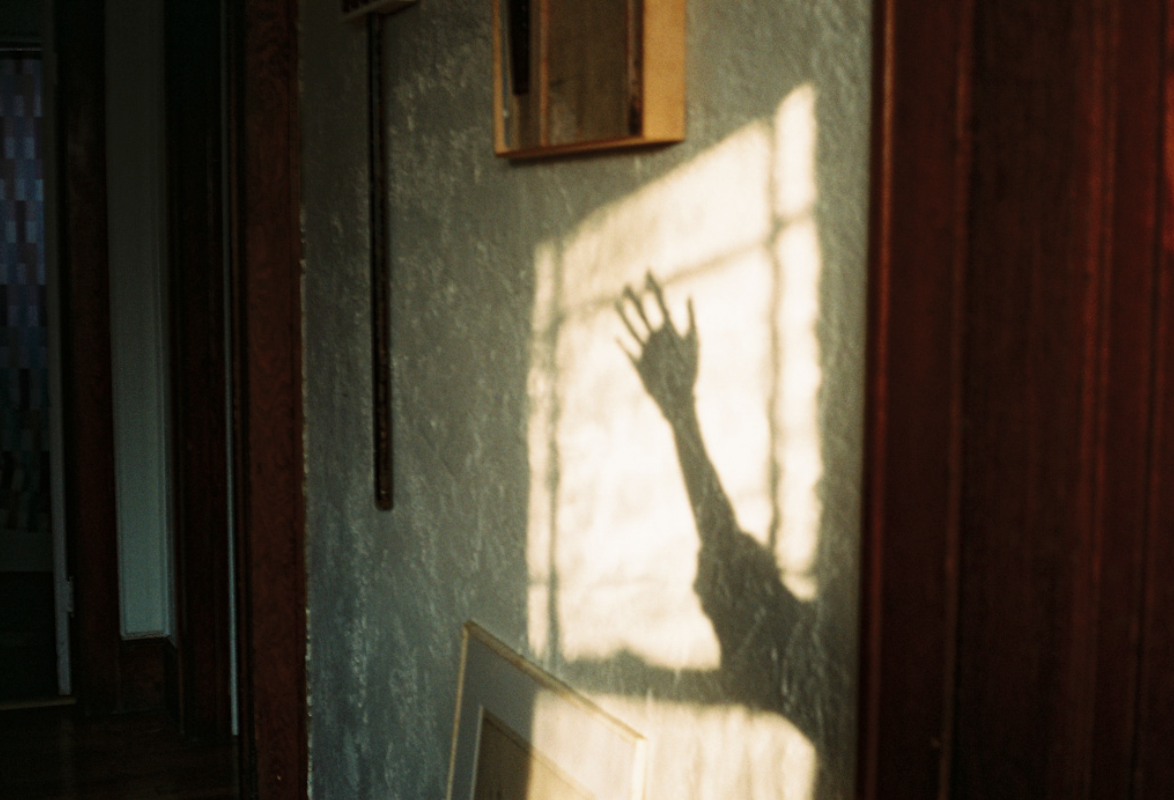
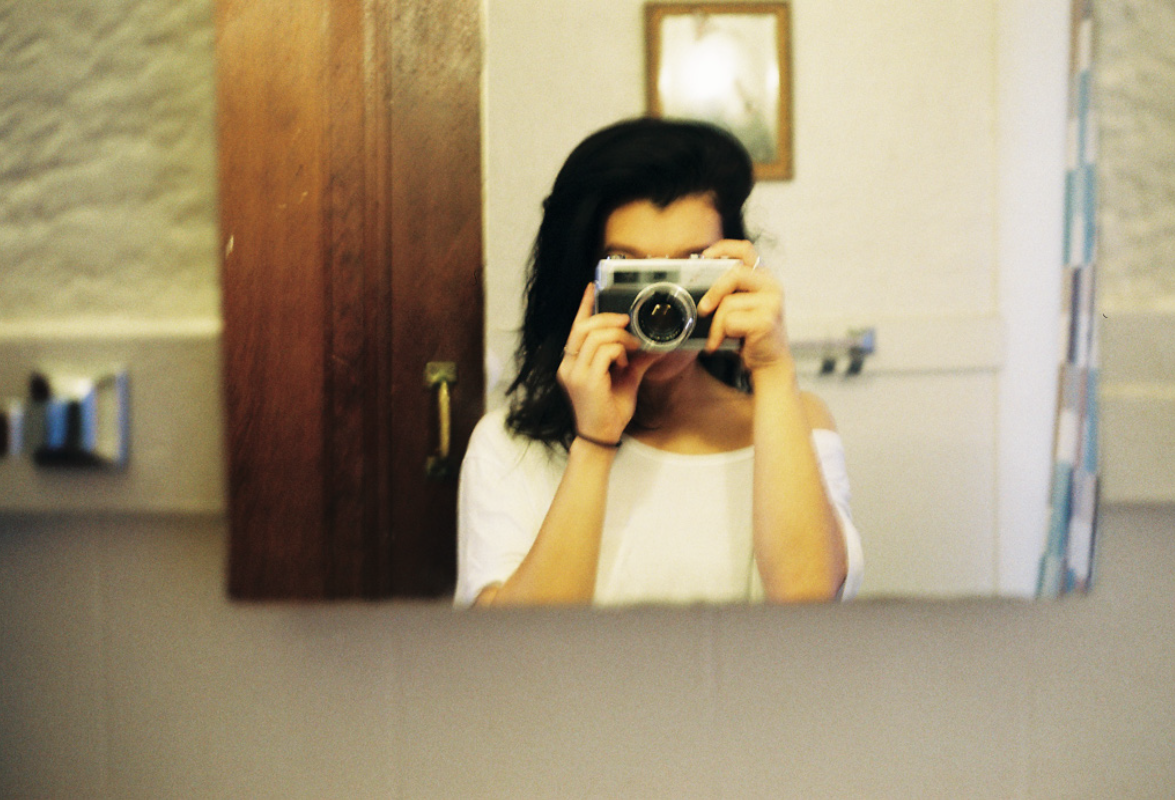
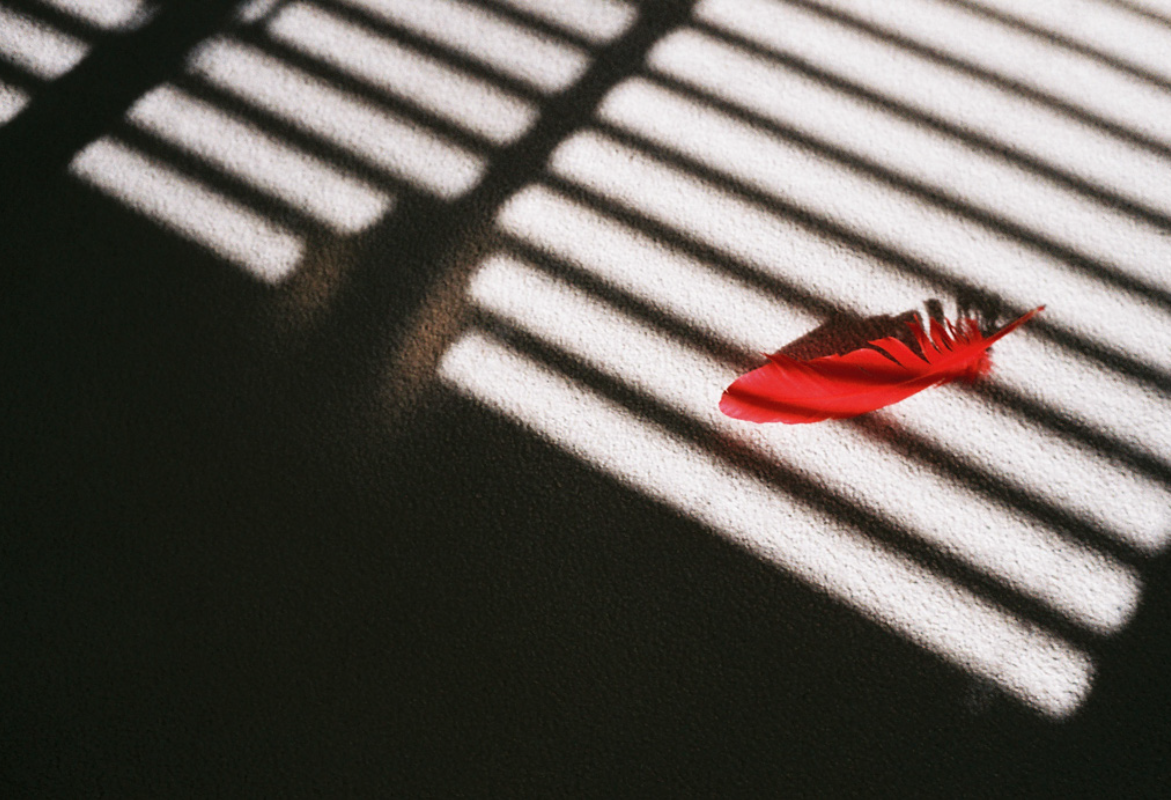
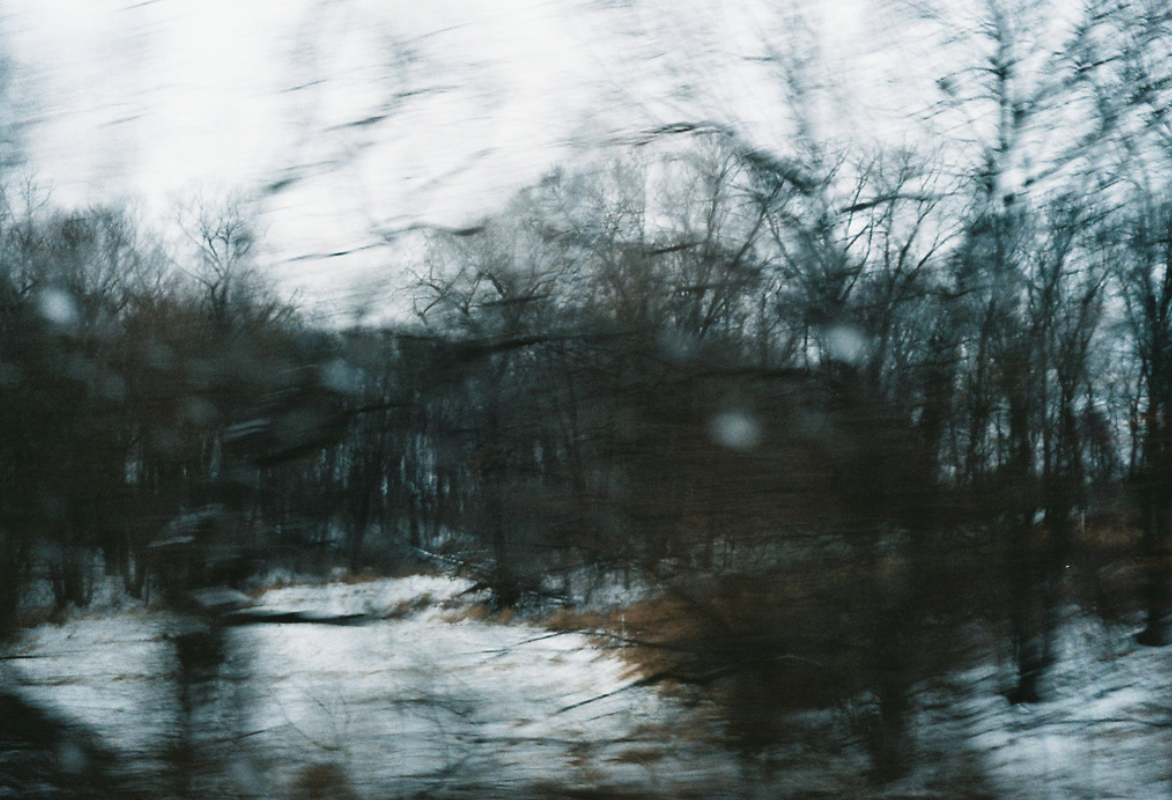
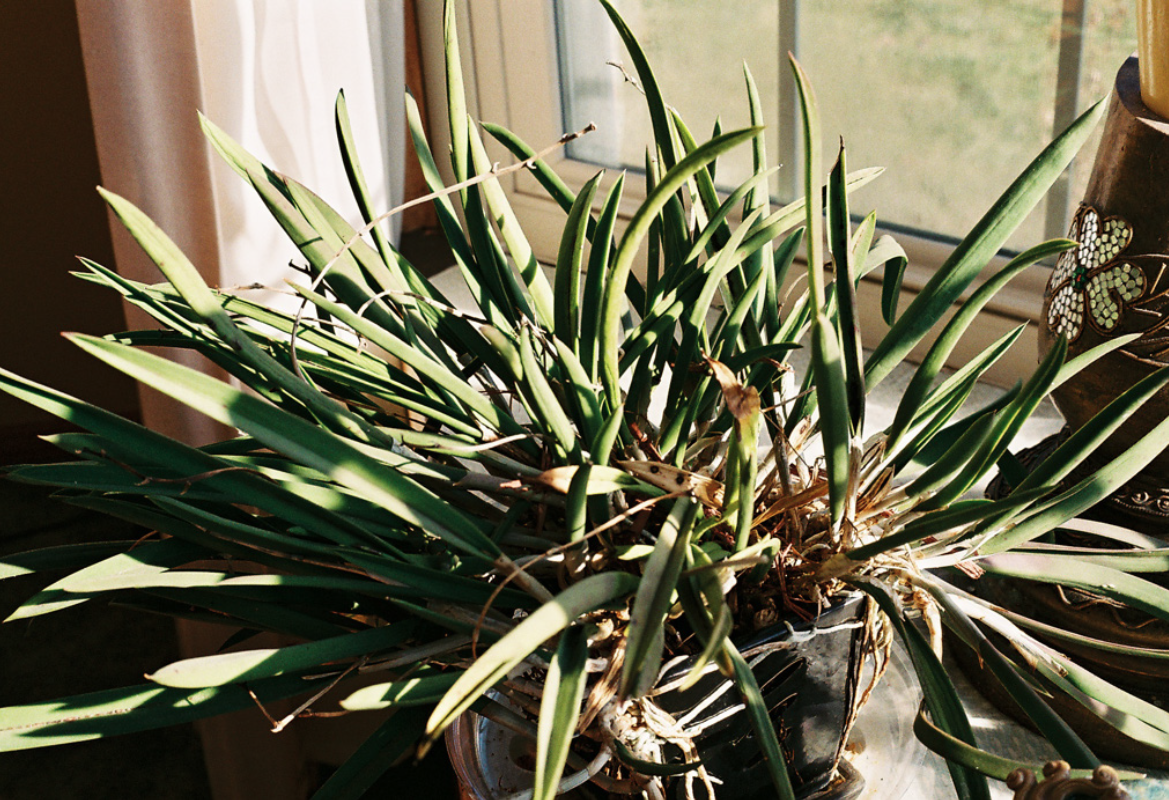
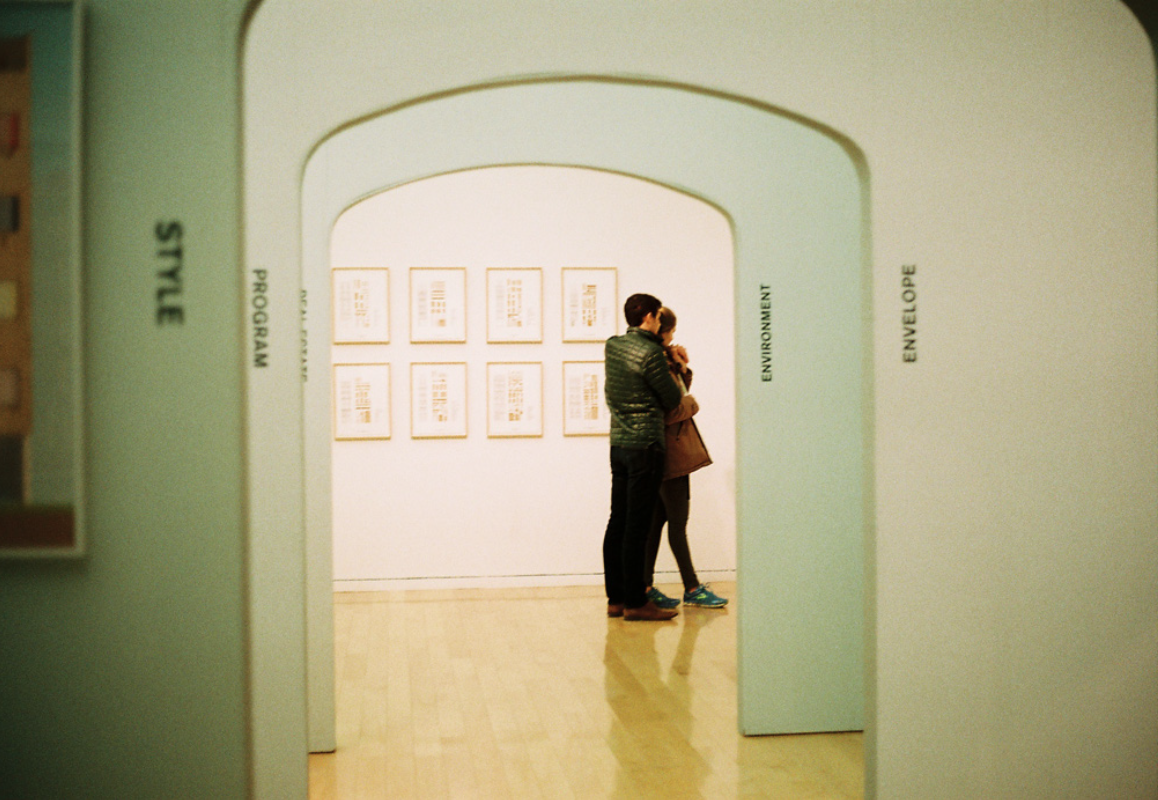
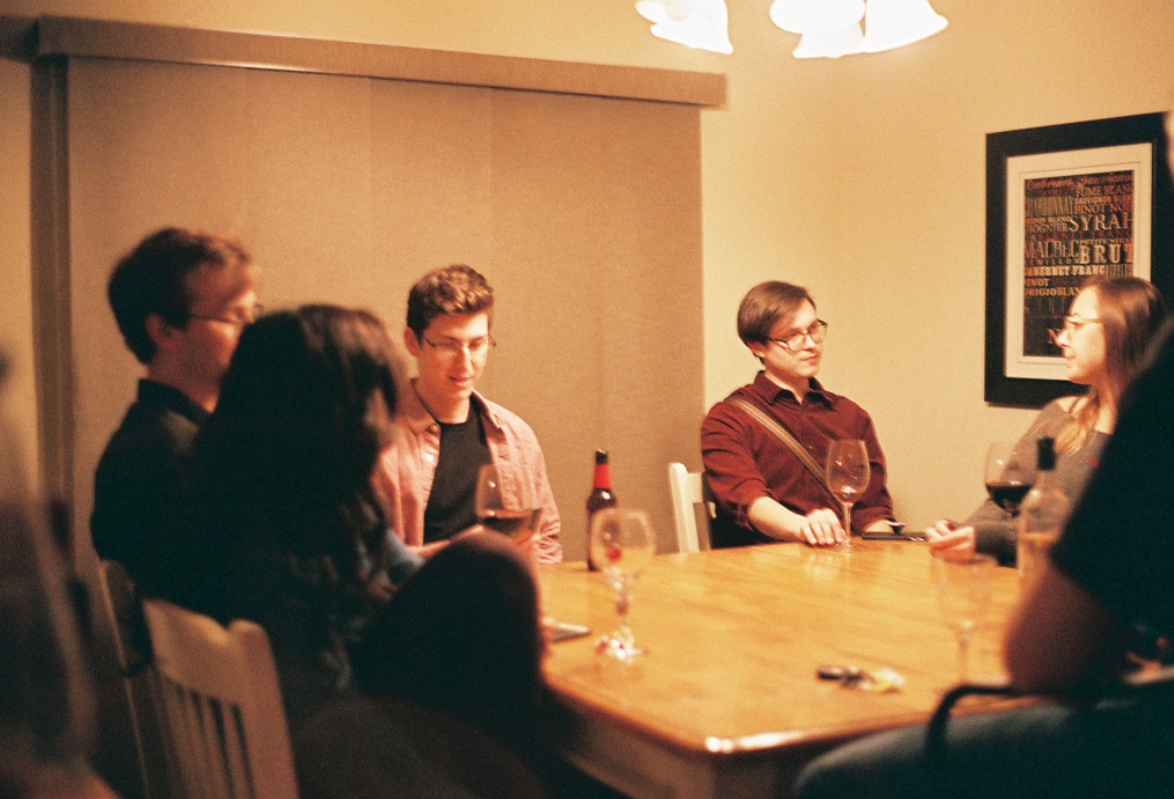
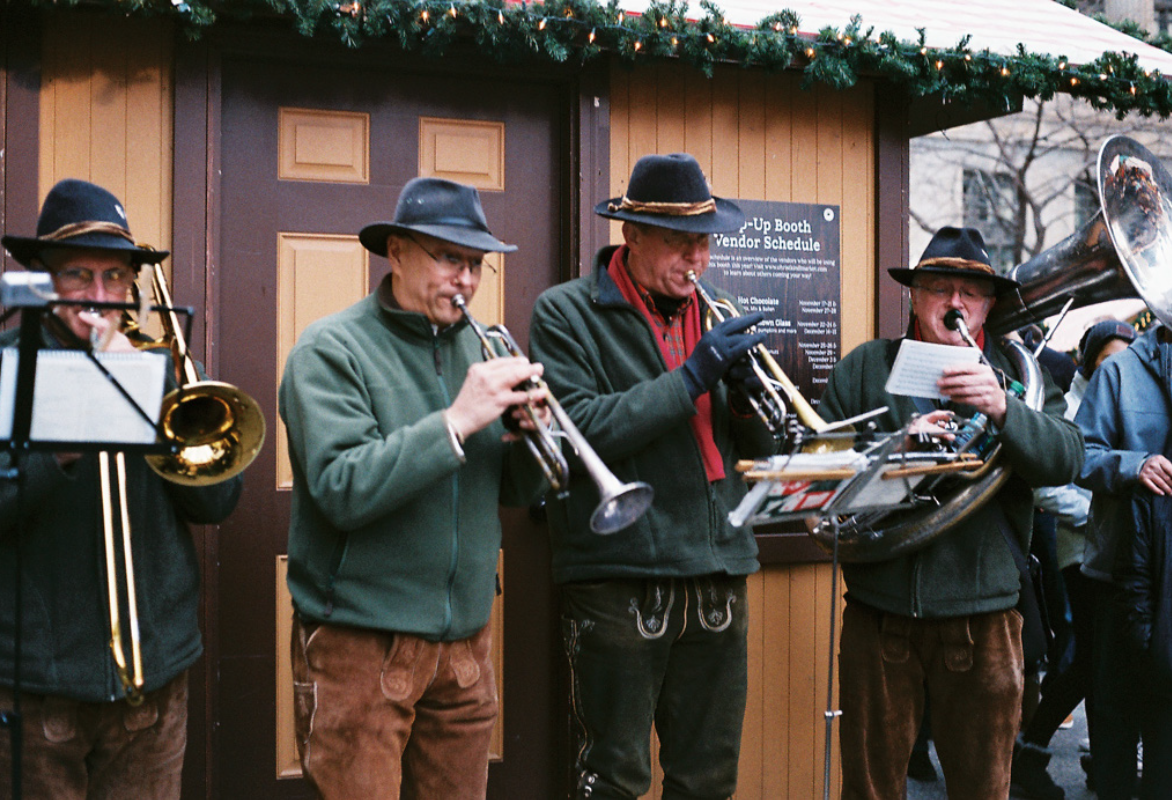
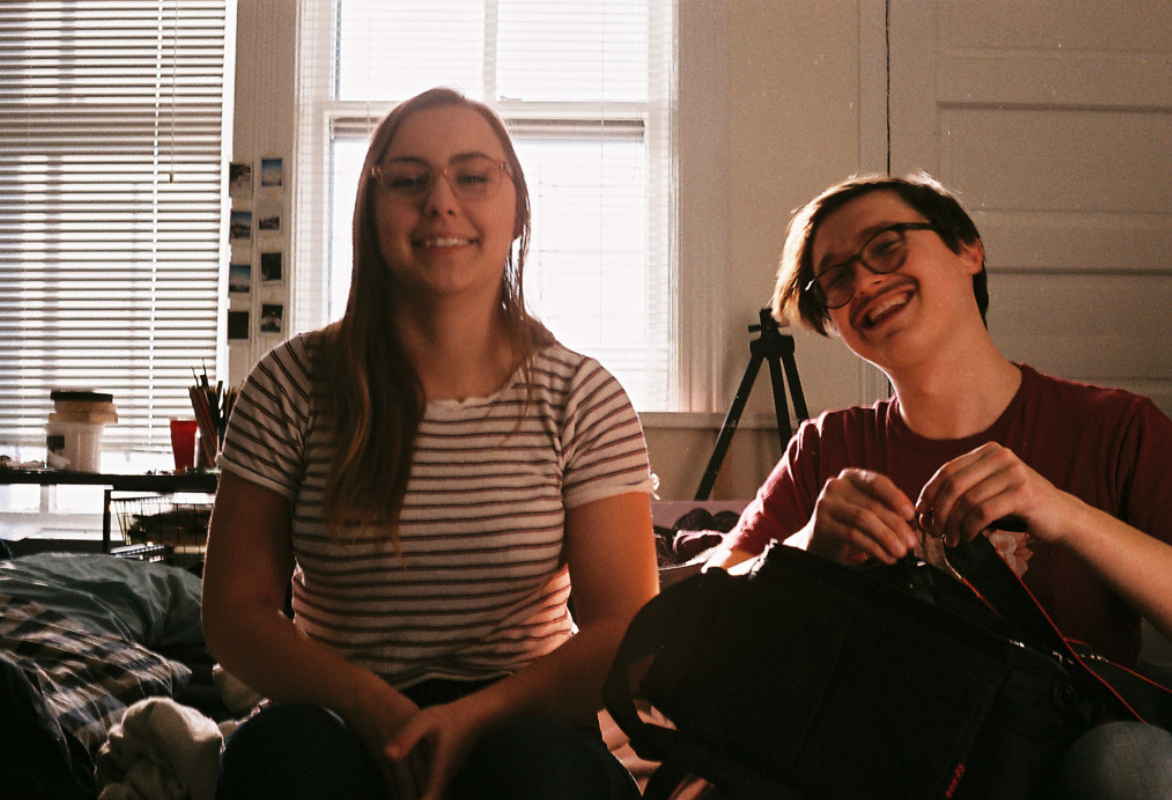
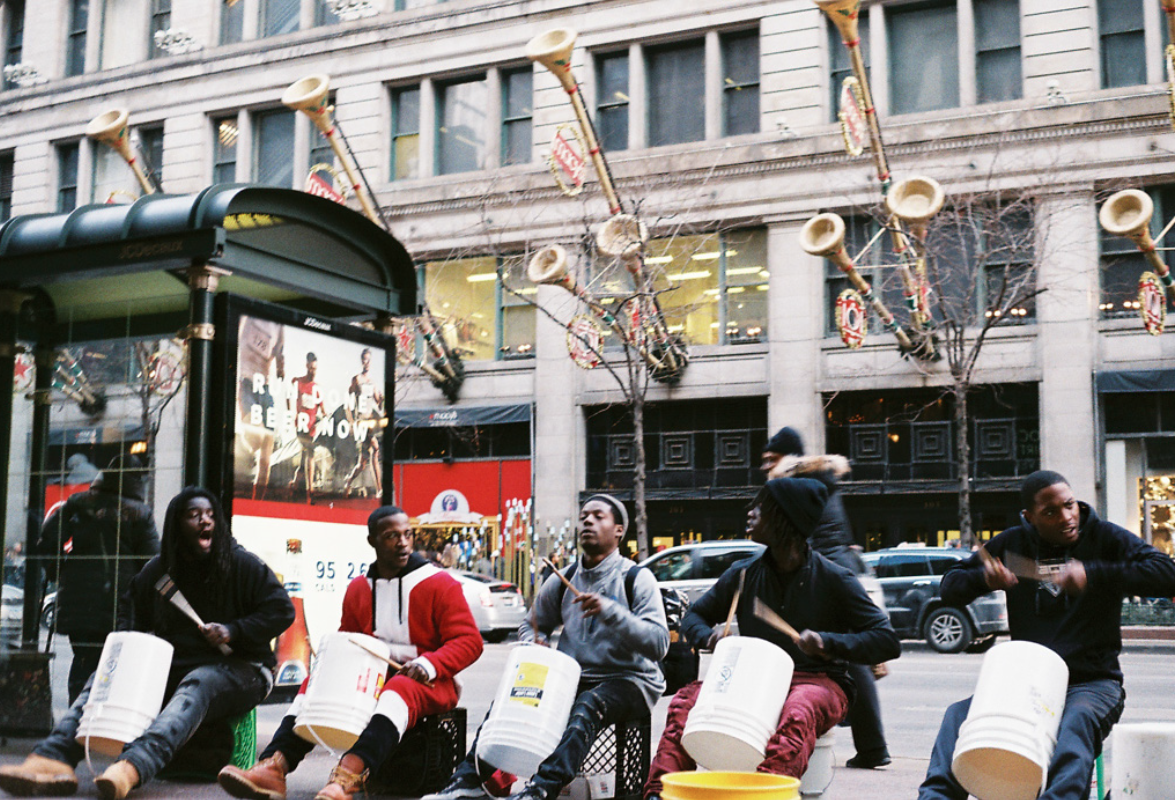
As it turns out, the uncertainty and risk I take with shooting film excites me. I love snapping a photo and waiting...possibly even forgetting about it, only to invite itself back into my life again. It's a tease--and seductive at that. All 36 exposures were developed (yes!). Here are a select few. I will soon be making more.

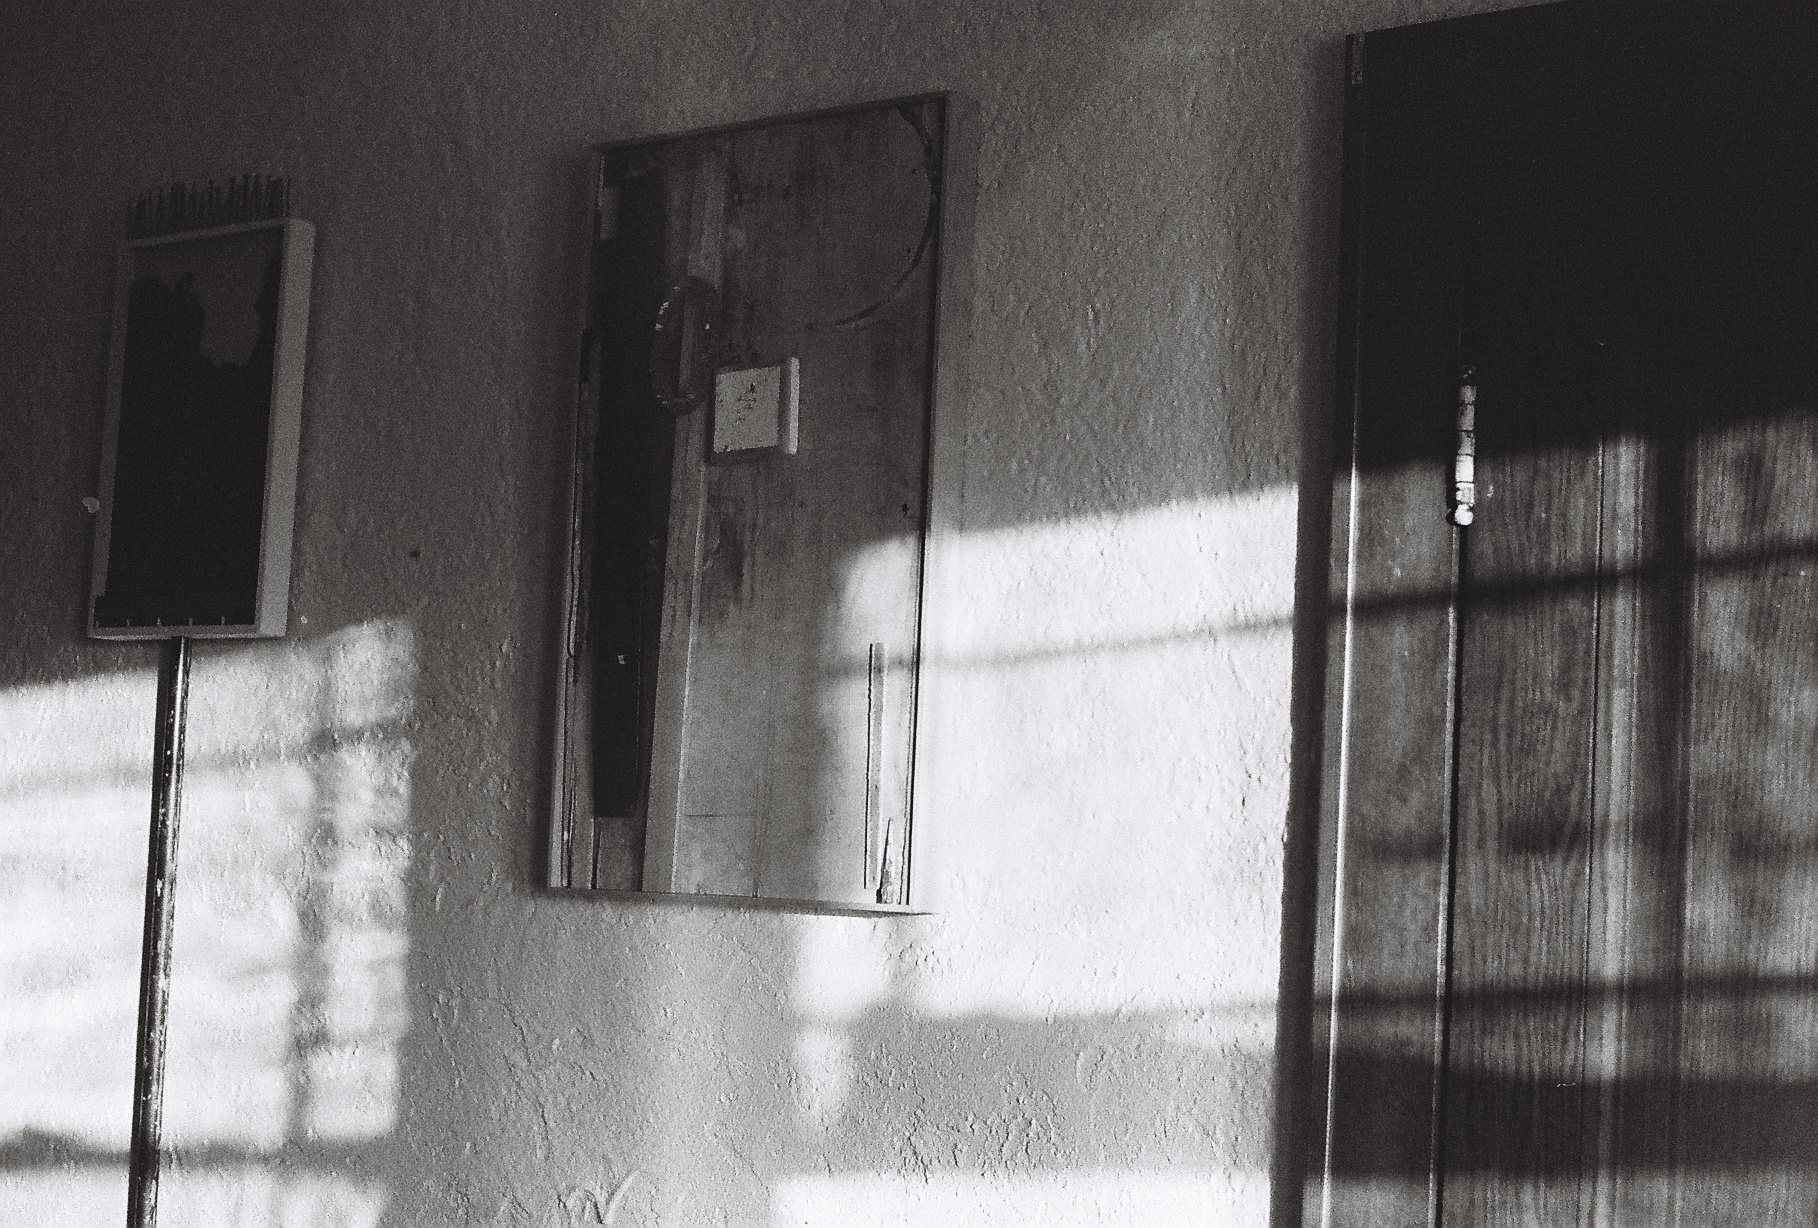
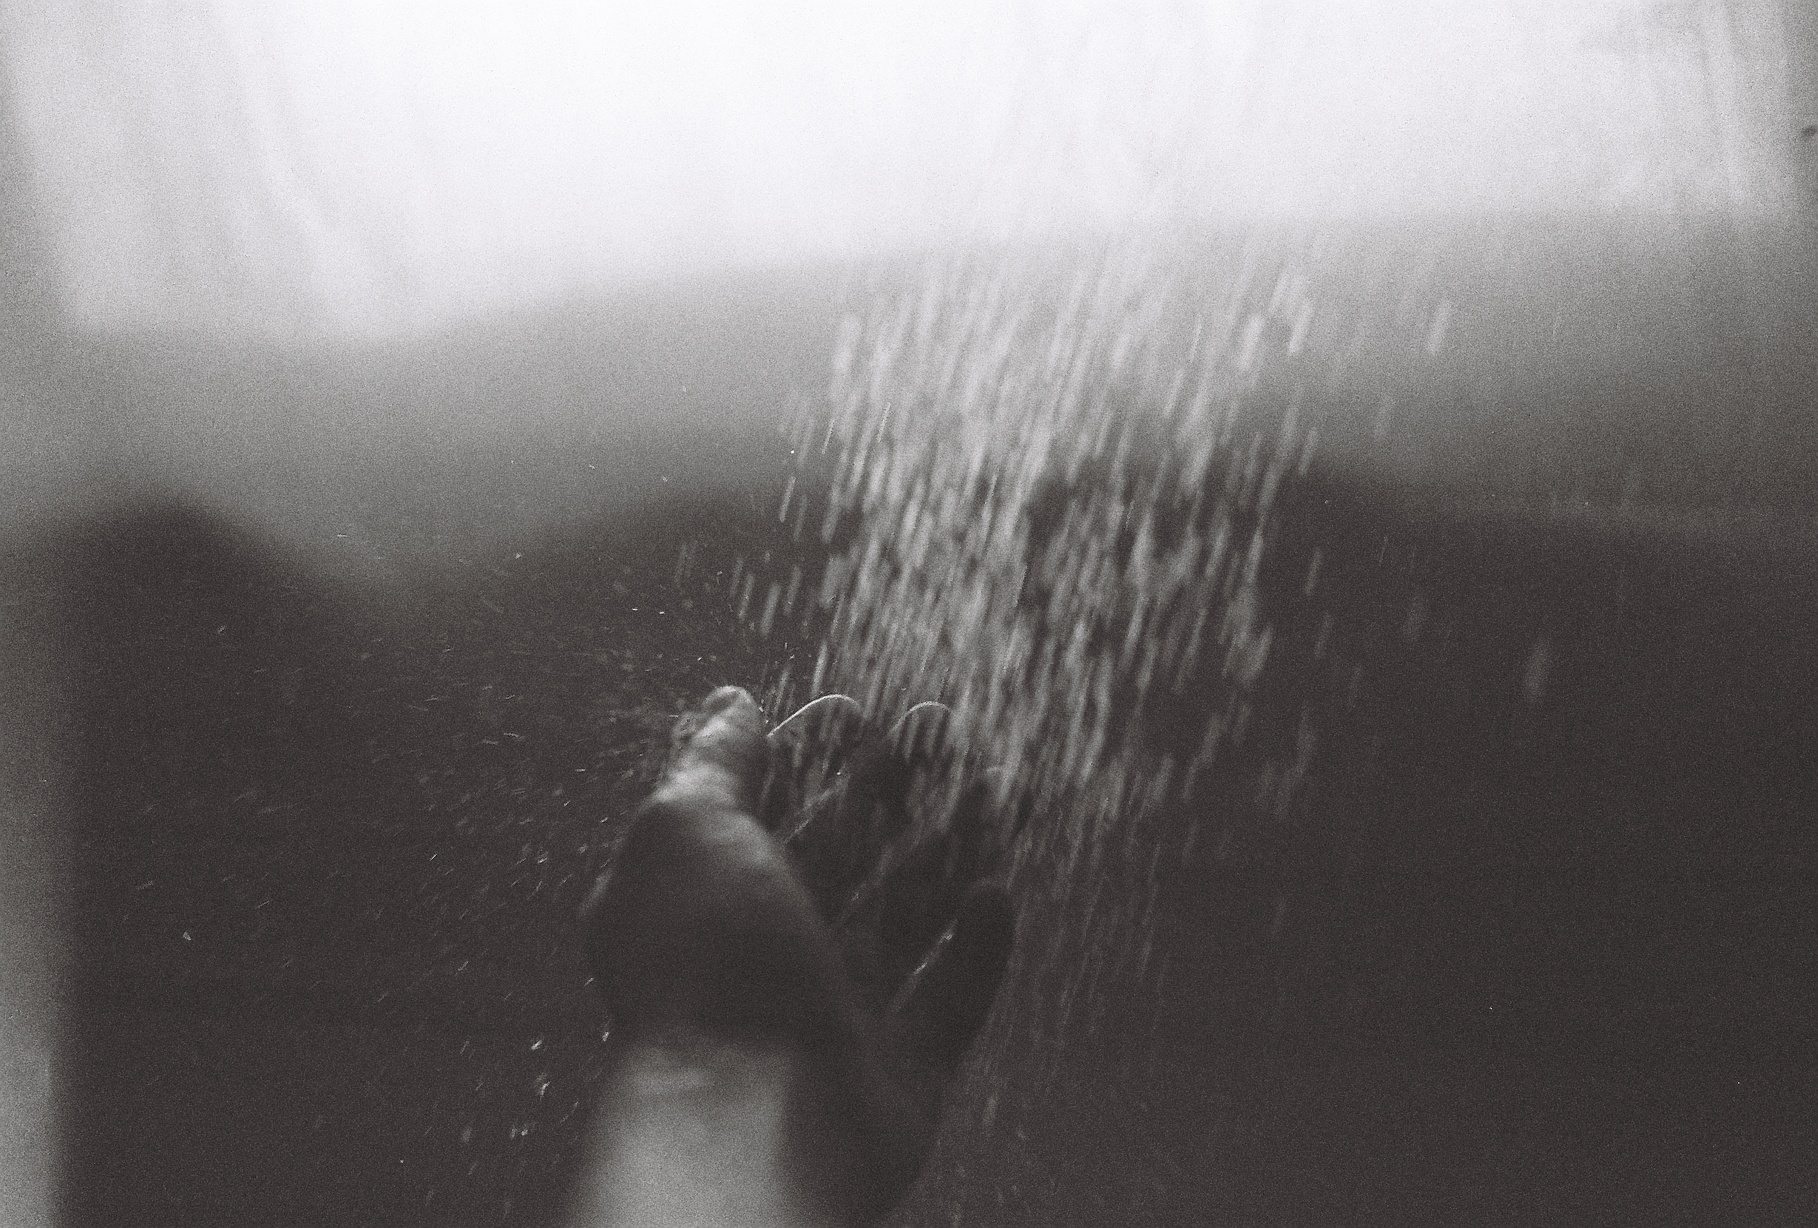
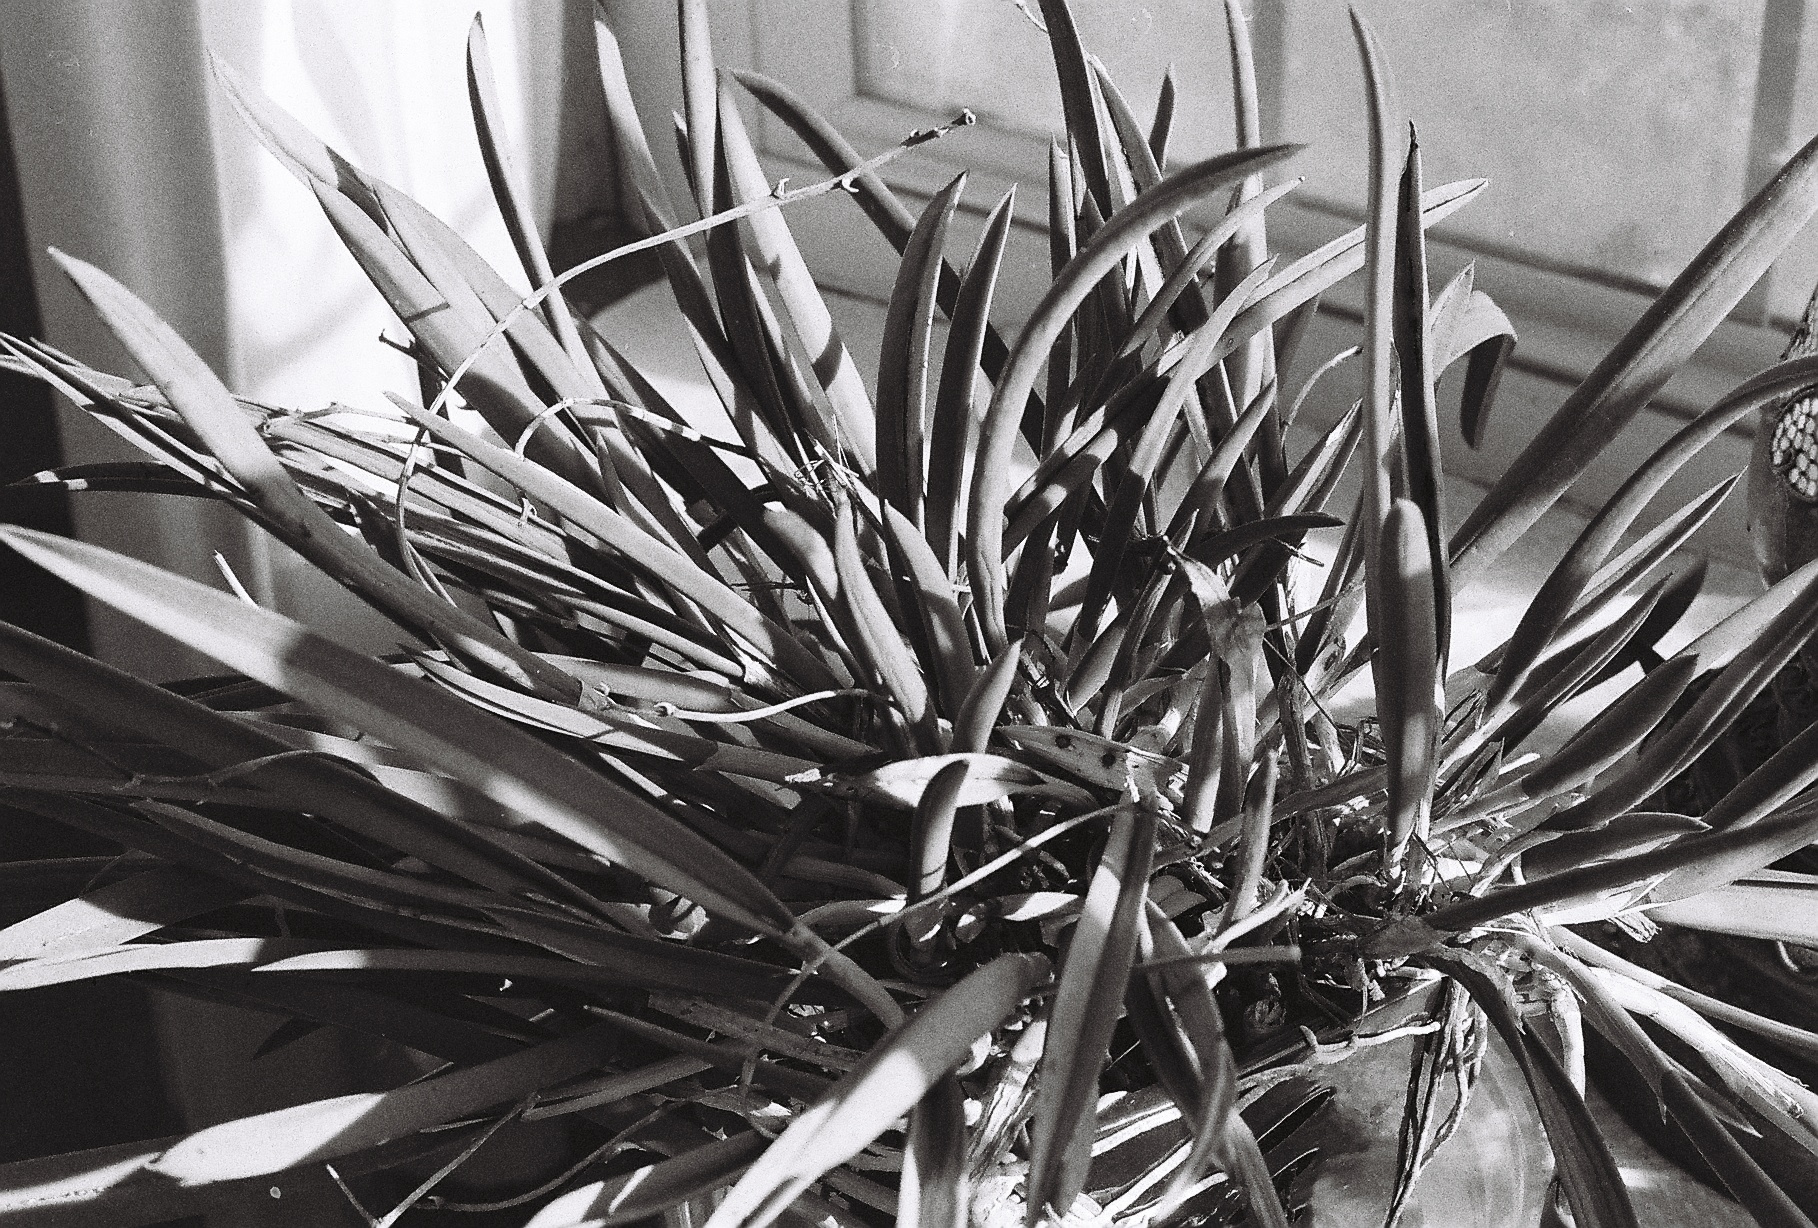
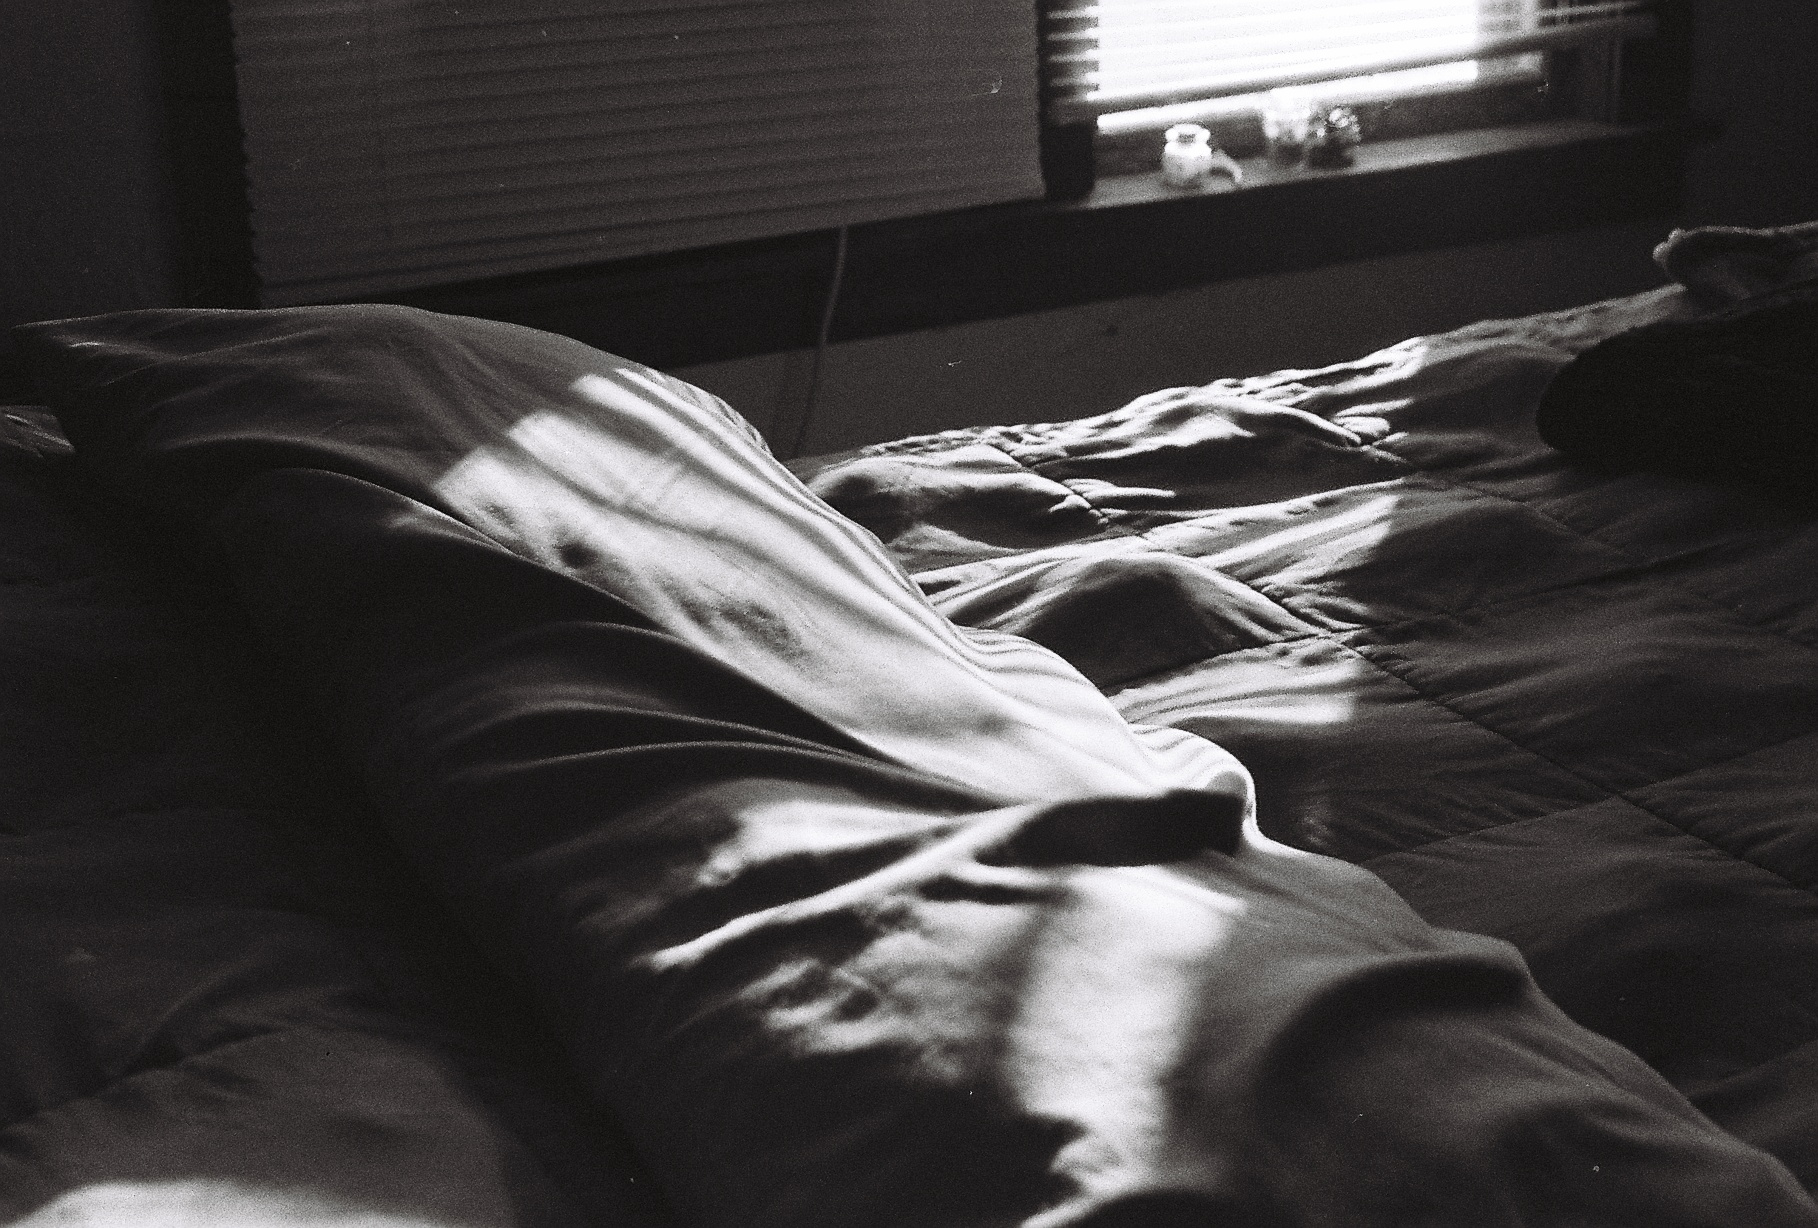
(all photos taken with Canon AE-1 with Ilford HP5 400)

Feeding Your Curiosity

Feeding Your Curiosity

Last week I opted to embark on more doing, more "hand-work” as I promised myself this new year. A few months ago I had acquired my mother’s old sewing machine (literally so old that there was no manual for it available online anywhere) and tried my hand at putting together some drawstring bags made from thrifted and recycled cloth. The idea was to sew my own cloth produce bags from old bed linens/t-shirts. It was rough because the tension on my machine was way off and things went a little awry…so badly that I decided to give up right then and there and with no way of referring to a manual to troubleshoot, I decided it was time to let the ol’ thing go. It was probably much older than me and very heavy! Since then, I haven’t done much “sewing"…until last weekend!

I get these strange bursts of creativity from time to time and it actually feels crazy. One day I want to watercolor so I spend 6-8 hours doing it non-stop and then out comes a children’s book; One day I’ll cook up a feast and decide I want to throw several lavish, themed, dinner parties (one of these days); Or another day I will macrame and decide, I want to build a loom next. It’s like my soul craves "doing something", anything, (even if the end product looks absolutely terrible!) and I have to tend to those cravings or I’ll miss the opportunity. My "golden" birthday is this Friday (...yikes) and though I will be 26 (double yikes...), I still feel like I am running out of time. Perhaps I'm just someone with impulsive creativity. I am certainly restless.

So anyway, this weekend my goal was to learn some sewing basics from Austin’s talented mother and in turn, we made 2 boxy linen tops from recycled bed linens (LOL at the tiniest seams I've ever sewn. Bless her heart for taking this on with me). Now I’m thinking I should get me a sewing machine and open up shop (only half kidding because I definitely need to sharpen my skills)! It would be cool to never have to buy clothes again--plus, I'm now inspired to do more with this project. Alas, too many (grandiose/delusional) ideas, and too little time! 

On top of all of that, I also went ahead and built that loom earlier that same week and finished my first weave on it. The loom is made with a thrifted photo frame and some screws I had leftover from a previous endeavor. I spent 4 straight hours (plus 6 more) in a two-day span weaving a wall hanging with yarn (some thrifted from Goodwill). I’ve made super basic macrame wall hangings in the past, but not actually from weaving. The cool thing is, every time I invest in a new artistic endeavor I find it is like discovering an entirely new world with a foreign language I am unfamiliar with. It is fun to learn all of the new terms and to be able to say things like, "warping a loom" or "tying RYA knots" (I had no idea what any of that meant just last week). It also helps me notice more tiny details in my everyday life and appreciate the craftsmanship in certain objects around me.  

With everything I have been doing to feed my creativity, I feel like I have also tapped into other sources of creative energies. It's as if I've opened up some new doors (the Universe really listens, guys!). I've been reached out for photo proposals, design concepts, and public art brain-storming all in the span of 24 hours last week--not to mention the newborn portrait session I had on Sunday (peep through just a *few* of my favorite shots below). It all feels really good! 

Here’s to more doing, learning, & feeding our curiosities! 
xxo

Intentional doing. Meaningful work. Slower moments.

Intentional doing. Meaningful work. Slower moments.

Man, oh man. I have never felt so nervous about receiving a roll of film before and this excitement ignited in me a beautiful shock of inspiration. I bought some new batteries back in November for some old rangefinders I had in hiding. --I'm finally breaking them out after feeling a lil' intimidated. I'm not going to lie and pretend I shot film all of my life. I did used to shoot film with cheap point and shoots when I was younger. My parents would buy me rolls before we would go on family vacations and that was about the extent of it. When I came to college, I did a lot of experimenting--in the artistic sense, too. ;) I would take my rolls and "destroy" them before putting them to use (the cheap point and shoots were used for that reason--I didn't want to gunk up a perfectly sturdy, well-built, and timeless camera since I soaked my film in things like lemon juice and dish soap). Those were the days.  

When I switched my major to focus on studio art, the experimentation continued in other mediums as well. I had found meaning in the work that I made and my experience was transformative. I painted, drew, printed lithographs, attempted 3D design, and did performance work. The Fine Arts had a hold on me like nothing else but I needed to prove that art could be practical, that I could make a living doing something creative so I started to take on more commercial work, to build my portfolio and such--which is how I got into design. Unfortunately, I put all of that experimentation behind me. Everyone who worked with me needed quick imagery and soon, that was how I worked. Quick. But hey, this is where it got me. One thing lead to another and I now work as a designer for an well-loved community organization in the organic food food industry. Despite all of that, my creative spark dimmed with the rush of a [then] new full time job and hustling my side gigs. Today, passion projects still fall through the cracks and I continue to crave more and more fine art and slower moments.

As the first week of January has already come and gone, I've finally had a chance to sift through my thoughts to think about my 2018 goals. I have promises for myself this new year. This is a set of goals that I already had on my list of things to do. It is merely doing "more of" what I am already doing and putting myself accountable to finish them within the new year. 

  • finish my cultural cookbook
  • draw/paint more (use my hands!)
  • slow down
  • read more (finish my half-started books, heh)
  • be more active
  • shoot more film
  • shoot more stylized shoots & have fun with it like i used to
  • be unafraid
  • find balance
  • travel more 
  • more freelance
  • more passion projects!
  • MOVE

With the joy of receiving my first developed rolls of film of the year, I have faith I will not break my own promises. What a way to start of 2018--looking back at the imagery I captured in 2017. I hope this new year provides me with more of this:

Intentional doing. Meaningful work. Slower moments.

(all photos taken with Minolta Hi-Matic 7s (thanks, Uncle Dave!) with Fujifilm Superia 200)

Here's to trying.
Happy New Year!  *cheers!*
xxo

Homemade Holiday

Homemade Holiday

Making homemade gifts is probably one of my favorite things during the holidays. This season was especially busy with the many projects I had my hands on. Along with my usual crafty cards, I threw in some watercolor artwork, a children’s book, two wall hangings, homemade bubble bath, & homemade loose leaf tea mix–all of which came out to be relatively frugal (being a creative means having most of the material already at your disposal)!

The children's book was the one project that was most nerve-racking since I knew I could have spent more time on it. It was my favorite regardless and I was surprised with the outcome. With our combined efforts, my sisters and I (Allie with the writing and myself with illustrations) created this homemade gift for our baby sis. Since Allie writes far better than I could,

"As she enters public school, and especially in this modern political climate, she and many other little ones face challenges that are hard to understand. We wanted the book to teach her, her strengths as a person and to teach equality, acceptance, and empathy."

Go through and check out my parent's cameo above ;). 

As the new year approaches and this year comes to an end, I will, as always, strive to create more. Giving myself personal deadlines is tough but I know I can do it! I've got a project in progress with Austin that includes a lot of hands-on work. We are binding books! I can't give too much away yet until we finish since these will be gifts for some kind souls. Let's just say I will be busy illustrating and designing again (*content sigh*). This project will hopefully wrap up at the start of 2018. Oh, is that really in three days?...
Updates to follow! Have a safe & happy new year! I'll be curled up with a warm cuppa something these next few days, creating & watching the magic of snowfall. 

xxo

Why Fog + Fir?

Why Fog + Fir?

more meaningful posts

Hello, friends!

Social media is weird and working full time is also weird. 

I've already been at my job for a full year (plus some) now. Having a steady income is great, and working for an organization I believe in is even more great! Unfortunately, since I've been spending a lot of my time designing full time, I have not made time for my own creative endeavors. I've also spent less time on social media (--Which is awesome! I find social media to be a bit cringy, actually). I've questioned a lot about why I own social sites and what the point of me having them was. I've questioned what it means to "reach my goals" and whether or not I am satisfied where I am at right now. 

Most scarily, I've forgotten how to relish the greatness that is art. I've slowly become uninspired, unmotivated, and careless about how I spend my time -- especially with the change in season and the days being so short. You know the feeling when you get home after a long day's work and you just want to sink into the cozy abyss of couch cushions? Yeah, that played a part. I dodged questions from peers that included the words, do, you, still, and art strung together. Le sigh.

Those feelings don't go without constantly thinking/daydreaming about having my freelance gig flourish (one day). That itself is draining. In a world full of creative entrepreneurs, (Millennials I'm looking at you. Yeah, yeah I know...and me, too I guess) it's difficult to break through the thick cloud of makers. I've scoured the internet for all sorts of ways to make myself a better creative, artist, and business person (there are a ton of resources). I found something from somewhere online that stuck with me. It was about the role of social media in the creative field, "Think of social media as your handshake, not your business platform". Aha! 

I do find social media to be inspiring at times and a great place to share thoughts and ideas. It takes effort, though, to look past meaningless and overwhelming posts...the content is superfluous! Which is why I've decided to post less on my social sites--and post more meaningfully in a less concentrated space. I decided to revisit my blog, change the look & feel, and really curate it so I want to post somewhere; a place more "me", more genuine, like snippets from an online journal if you will. In addition to showcasing all of these recipes, I hope to give life updates, progress of projects I've been working on, and more intimate photo journaling. Hopefully this will feed my creative energy and perhaps it will have the potential to become something else. I never thought I would ever dive into "blogging" but I've come to realize it's a little less "in your face" than other social sites. Plus, it's a lot quieter on this side of the internet and maybe I can attract some other quiet listeners. 

I will try my best to know what the balance of being online is for myself and post when I need the inspo.

Look for more creative things soon! xo

Seared Pork Chops with Caramelized Pear Glaze and Feta

pear-3.jpg

It has been THREE whole months since my last recipe post. I’ve been so preoccupied with life things but I promise I've still been cooking. Shout out to my former boss, Ryan for nudging me about these posts. Unfortunately this one has meat in it…so next one is for you—I swear!

Ah, the day of Love. This year my S/O and I have gotten into the routine of full time jobs and transitioning into becoming "adult" zombies. That means conversations over dinner about taxes, groceries, politics, and work. Riveting, I know. It came as no surprise that our plans for an "extravagant" home-cooked dinner flew out the window as we both flopped onto the floor exhausted from the day's 9-5. Plans don't exist in my book anyway! Eventually, as our stomaches growled, he reached over for my copy of America's Test Kitchen --Dinner for Two. 

Don't get me wrong, the recipes in there sounded delicious but something in me wanted more. As much as I had my reservations about this Holiday of Love, I knew this “holiday" was a good excuse to challenge myself to divert from the recipes I was given to make something extravagant anyway because nothing excites me more than being able to use my own kitchen as a "test kitchen".

Apparently another part of being an adult is smart shopping. Somehow we managed to hoard ten boneless pork chops in the freezer from our store run a couple weeks ago because....SALES, hello? So that helped us decide what our main dish would be. We picked out a recipe that had pork in it from my America's Test Kitchen mag and used that for "inspo". 

My method of experimenting begins with brainstorming. I think in terms of flavors: "What pairs well with A & B? What tastes similar to A so I can switch out A with something else? What has B been paired with before that 'worked' and what was missing so I can make it better?" 

Next I research. I validate my flavor combos with things I see online that may have already been done and expand on what I find. I read their methods and what went wrong and what is absolutely needed to make it right and I take mental notes. 

Then, I think up ingredients. Often, if I am pressed for time, the ingredients are what I can find in my kitchen already. 

This rundown is like the scientific method of my very own test kitchen experiment! 

pear-2.jpg

The scenario was this: We wanted to make something similar to the recipe in the magazine that was called, “Sautéed Pork Chops with Pears and Blue Cheese" but I didn't have bone-in pork chops and I hate blue cheese. Immediately I thought it wouldn't work out because the chops wouldn't be moist enough without the bone in so I figured I would pretend like I knew how to make a succulent sort of chutney with half of the pear and use it to slather on each pork chop. The other half would be caramelized and would provide a sweet warm flavor. What else would taste warm with the pear? Then it came to me. --Nutmeg and cayenne! It was excellent. I was winging it the entire time and it ended up being sweet and savory and perfect (dat Maillard reaction though, amiright?).

I don't want to go through my entire thought process because that would mean extending this entire blog post and I am sure you're here for a recipe so I'll cut straight to the chase! I didn't measure anything out (Oops!....As per usual...) so I will try my best with measurements.

Ingredients
2 8 oz. pork chops
garlic powder
cayenne pepper
salt
2 TBS balsamic vinegar
2 TBS olive oil
1/2 large pear, mashed
   (thinly slice other half)
dash of nutmeg
pinch of brown sugar
feta

Directions

Grease a seasoned cast iron skillet with unsalted butter (or ghee) and warm on medium to high heat. Prepare your chops with garlic powder, cayenne, and salt on both sides. Set aside.

In a large bowl, combine balsamic vinegar, olive oil, mashed pear, nutmeg, and brown sugar and mix. Place chops in pear mixture and coat well.

With a pair of tongs, place each chop onto the heated skillet (the sizzling sound is music to my ears!) and add a pinch of brown sugar to the chops. Sear each side while covered with a lid for 5-7 minutes or until the inside is no longer pink. Once cooked, remove from heat and place on a warm plate. 

In the same skillet, sear sliced pears until brown on each side. Sprinkle pears with brown sugar to caramelize.

Top pork chops with caramelized pears and sprinkle with feta. 

Indulge & happy eating!
<3

White Chocolate Vanilla Bean Pavlova with Spiced Persimmon

My aunt makes the BEST dark chocolate pavlova. She tops it with raspberries and sometimes sprinkles it with powdered sugar or coconut flakes. My first experience of it was something out of this world. The flaky, crispy outside crumbled at the touch of my lips and the chocolatey center melted at the tip of my tongue--making my heart drop into my stomach. I only wish to bake one as amazing as hers (one day;)!

With my habit of researching and tweaking recipes, I'm not sure if pavlova was something I should have messed around with. I guess with a dessert so delicate as a cake named after a ballerina, I should have been more careful. It left me in the kitchen for a couple of hours simmering from the frustration of the chaos. Regardless of my poor efforts, what I produced was not all that bad. I'll definitely give it another chance--and actually mean it next time.  

This pavlova is heavy with the flavor of vanilla. I gathered the fresh vanilla bean from the co-op and extracted its pulp. This was my first time utilizing the potent fruit and it won't be my last! The whipped cream was not too sweet--a nice balance to have against the pavlova, which tasted like a toasty, roasted marshmallow. The white chocolate chunks in the pavlova failed to have melted all the way --which is fine if you're into crunchy chunks of chocolate in between bites. It was more like a chocolate chip pavlova. Finally, the spiced persimmon and blackberry made everything come together. Spiced persimmon definitely did the trick.

Ingredients
6 egg whites, room temperature
1 1/4 cups superfine sugar
1 tsp white vinegar
1 tsp fresh vanilla bean
1 tsp vanilla extract
4 oz. white chocolate, coarsely chopped  

Whipped Topping
1 1/2 cups heavy cream
1 tsp vanilla extract
2 TBS powdered sugar

1 fuyu persimmon, sliced
1 cup fresh black berries
1 tsp cinnamon
1/4 tsp sugar
 

Directions

Preheat the oven to 350*. Line 2 cookie sheets with parchment paper. Some people prefer to trace circles onto their parchment paper to use as a guide for where to place the meringue. I did not do it this way, but if you choose to, draw about 6 circles with 3-inch diameters on each parchment sheet and make sure that the sheet is flipped over so that the pencil marks are faced down and not able to touch the meringue.

In a mixer, beat the egg whites on medium speed until satiny peaks form. Lower the beater to medium-low and beat in one tablespoon of sugar at a time until well combined. At low speed, add vanilla extract, vanilla bean, and vinegar until combined. Fold in white chocolate.

Scoop the meringues into the circles--working from the center, spread the mixture outwards towards the edge, building edge slightly. The small depression in the center creates a space for the whipped topping to sit. Place them in the oven and lower the temperature to 300*. Cook for 45-50 minutes. You will be able to tell when it is done when the outside is crispy and the inside is not longer soupy. DO NOT take it out of the oven when it is done. Turn the oven off and crack the oven door but leave the cake in there for at least another hour to cool. 

Topping

In a small bowl, mix a pinch of sugar and several dashes of cinnamon with the sliced persimmons. In a separate bowl, do the same thing for to the blackberries. Set them both in the fridge to cool.

Add cream, powdered sugar, and vanilla extract to the mixer bowl. Whip cream on medium-high until stiff peaks form. Spread whipped topping onto the pavlova immediately before serving and top with the chilled, spiced fruit. 

Happy eating!
 

Persimmon and Proscuitto Open-Faced Sandwich

Often regarded as the "Fruit of the Gods", persimmon are the delicious, bright orange, and sweet autumn fruit that hang heavily on naked tree branches. They are native to China and Japan and are in season from October through February in the U.S. There are over 2,000 varieties of persimmon fruit but the two most common ones are hachiya and fuyu.  They are usually harvested when bright orange but still firm only to be enjoyed later as they soften.

Fuyu persimmons look rounded and squat in shape. They are firm and crunchy and as sweet as brown sugar. They can be eaten like an apple, with the peel and all. Hachiya persimmons are elongated and heart-shaped while deep orange in color. When it is ripe, its flesh can become mushy and feel slippery and jelly-like with an incredibly sweet and rich flavor.

I grew up with these beautiful fruit sitting on my kitchen counter and as a kid, their mushy ripeness was something I actually looked forward to. They are even tasty after freezing! --Sweeter than candy and pretty much like custard!

Persimmon are often overlooked and sadly they don't receive the attention they deserve! Of course, their taste is nothing to jolt your tastebuds to life, but they are definitely something every one should experience. I enjoy them more for the sweet, warm memories they bring of my autumn childhood. I have always eaten them peeled and a little over-ripe. Their pulpy inside was my favorite part!

Since they aren't wildly tantalizing, I decided to spice up a few recipes (also see, White Chocolate Vanilla Bean Pavlova with Spiced Persimmon) to at least stimulate some curiosity about them.

Ingredients (cream spread)
1 cup organic plain greek yogurt
fresh italian basil
1 tsp. garlic, minced
2 TBS fresh lemon juice
salt
pepper

fresh ciabatta, sliced

Topping
1 fuyu persimmon, peeled & sliced
proscuitto
fresh basil leaflets
cracked black pepper

Directions

In a small bowl, mix yogurt, garlic, lemon juice, and salt and pepper to taste. Chiffonade about 3 TBS of fresh basil and fold this into the mixture.

Spread mixture evenly over ciabatta bread slices and layer persimmon, basil leaflets, and prosciutto onto each slice. Top with coarsely cracked black pepper and toast in toaster oven for 10 minutes. That's it! Tangy lemon, salty proscuitto, and sweet persimmon in every bite!

Happy eating!

Rustic Vegetable Pizza with Butternut Squash Sauce

WOW. This sauce is so amazing! I'm actually quite surprised.

The idea started because my roommate vowed to a cleaner, healthier diet due to her recent gastritis diagnosis. She has been trying to steer clear of acidic foods and has been a little distraught about her restrictions. I decided to help with her dinner plans since she was stumped about what to make and where to begin.

Pizza sounded really good, but the tomato sauce made her nervous so I tried to think of a gut-friendly alternative. The first thing that came to mind was butternut squash. It turned out that this was exactly what we needed because it definitely hit the spot and so far, no cramping on her end! 

We made two pizzas--one catered to her sensitivities and one for me to experiment with because, well, if you know me, I can't not work with spices...We used Jiffy pizza crust mix because, 1) we were really hungry and in a hurry 2) it was fairly inexpensive. 

Although they were both equally delicious, the recipe below is the spicy, full-flavored, "less careful" version. Just follow the Jiffy pizza crust directions and use the ingredients below to top it. So easy! 

Ingredients (sauce)
1/2 large butternut squash
1/4 cup organic plain yogurt, or heavy cream
1 TBS honey
a drizzle of mustard
garlic powder
onion powder
1/4 tsp oregano
turmeric
cayenne pepper

Topping
1 tomato, thinly sliced
1/3 cup mushrooms, thinly sliced
1/3 cup garbanzo beans
1/2 cup chicken, diced (optional)
1 to 2 TBS capers
1 cup spinach, chopped (or arugula)
shredded parmesan
cracked black pepper

Directions

Preheat the oven to 375*

Peel the skin off of the butternut squash and dice it into tiny chunks-so it is easier to mash. Boil the butternut squash in a medium-sized saucepan on high heat until the pieces are softened. Drain the water and place the cubes into a large bowl. 

With a hand mixer or potato masher, mash the squash until no large chunks remain. Add yogurt, honey, and mustard as well as all of the spices and mix until well-combined.

For the dough, follow the instructions on the box.

Spread the sauce evenly over the surface of the pizza crust and add the toppings, in the order above. We want the spinach on top so that it gets a little crispy. (YUM!)

Return the crust to the oven and bake. 

And there you have it, a smooth and surprisingly creamy blast of flavor over a thin and crunchy crust. 

Happy eating!

*It has been suggested drizzling a balsamic reduction over this dish amplified its flavor. Give it a try!


Homemade Avocado-Pistachio & Homemade Peach-Mango and Turmeric Ice Creams

We all scream for ice cream.

We all scream for ice cream.

I had been wanting to try my hand at making my own ice cream for a while this summer but I had only one problem, I didn't have an ice cream machine. However, when it comes to challenges in the kitchen (lack of appropriate equipment, not the right spices, etc.), nothing pushes me further. On top of that, July 17th was National Ice Cream Day! Having another food-related holiday this month made it all the more fun.

I always tweak recipes and try to develop my own. With that (and it being my first attempt at making ice cream!), I felt I could only share these recipes if they were foolproof. I also love different flavor combos and I've never had ice cream with turmeric in it before so I decided to give that a go. I wanted to make two different flavors. If one didn't turn out, I'd have the other one, at least...right? But...HOLY COW's MILK, they were both truly delicious! So here they are, Avocado-Pistachio and Peach-Mango and Turmeric ice creams! 

Ingredients (Ice Cream Base)
2 c. heavy cream
1 c. whole milk
7 egg yolks
1 1/2 c. sweetened condensed milk
1 1/2 TBS vanilla

1 ripe avocado
1/2 c. pistachios

1 ripe peach
1 ripe mango
1 1/2 TBS turmeric
1 tsp cinnamon

*Yields approximately 48 ounces of ice cream! ( ~ 5 cups)

Directions
In a medium-sized sauce pan, combine heavy cream and whole milk at medium heat until simmering. Remove from heat. In a large bowl, beat egg yolk and condensed milk with a metal whisk until it is light in color. 

Slowly pour cream into the egg mixture and whisk until they are thoroughly combined. Pour the complete mixture back into the saucepan over low heat and stir until thickened or until it is thick enough to coat the back of your spoon. 

Pour into large heat-safe container and allow it to sit at room temperature for 35-40 minutes. After that time, the ice cream base should be cool enough to handle, but still warm. Stir in the vanilla and separate the ice cream base in half for your two different flavors.

Ice cream chillin' in a rock salt and ice nest.

Ice cream chillin' in a rock salt and ice nest.

Avocado-Pistachio
Pit avocado and scoop out the flesh. Coarsely chop pistachios. Whisk avocado into the first ice cream base until ice cream turns green. Add the pistachios and stir well. 

Peach-Mango
Pit and peel peach and mango and dice the flesh. Mash the two fruit with a potato masher. Add to ice cream base and stir until well combined and then add the spices. 

You are now ready to begin the long process of churning and waiting. (Oh, boy).

Begin by making an ice bath: in a large stainless steel bowl, add ice about half full. Pour rock salt into the ice and carefully nest your two ice creams into the bowl. Stir them vigorously and let them sit for 10 minutes.

Put the entire bowl of ice with your ice cream in the freezer for 45 minutes to an hour. After that hour is up, remove the ice creams and beat with a hand mixer. I did mine by hand due to my lack of resources but it turned out just fine! You want to repeat this process at least 2-3 times. Mixing and churning helps to add a little air into your ice cream, assuring a creamy, fluffy taste. 

Allow your ice cream to sit in the freezer for 6-8 hours (or overnight) to firm. The trouble that I ran into with this was having my ice cream too firm. I woke up this morning quite surprised at how solid it was. I took it out of the freezer and let it sit in the refrigerator for an hour or more before serving. It was perfect after that. The avocado ice cream was very rich, I could have used half of the avocado. Regardless, the flavor was smooth and paired well with the sweet and salty pistachios. The peach ice cream was my favorite. I think I could have added more spice-the turmeric flavor was present but I think I was looking for something with a kick. Maybe next time I'll add chili powder to spice it up. 

This is one of many ways to make ice cream. It probably isn't creme de la creme -so if anyone churns up any tips, suggestions, or ideas for me, comment below! I am eager to hear them.

Until next time, happy eating!