Why Fog + Fir?

Why Fog + Fir?

more meaningful posts

Hello, friends!

Social media is weird and working full time is also weird. 

I've already been at my job for a full year (plus some) now. Having a steady income is great, and working for an organization I believe in is even more great! Unfortunately, since I've been spending a lot of my time designing full time, I have not made time for my own creative endeavors. I've also spent less time on social media (--Which is awesome! I find social media to be a bit cringy, actually). I've questioned a lot about why I own social sites and what the point of me having them was. I've questioned what it means to "reach my goals" and whether or not I am satisfied where I am at right now. 

Most scarily, I've forgotten how to relish the greatness that is art. I've slowly become uninspired, unmotivated, and careless about how I spend my time -- especially with the change in season and the days being so short. You know the feeling when you get home after a long day's work and you just want to sink into the cozy abyss of couch cushions? Yeah, that played a part. I dodged questions from peers that included the words, do, you, still, and art strung together. Le sigh.

Those feelings don't go without constantly thinking/daydreaming about having my freelance gig flourish (one day). That itself is draining. In a world full of creative entrepreneurs, (Millennials I'm looking at you. Yeah, yeah I know...and me, too I guess) it's difficult to break through the thick cloud of makers. I've scoured the internet for all sorts of ways to make myself a better creative, artist, and business person (there are a ton of resources). I found something from somewhere online that stuck with me. It was about the role of social media in the creative field, "Think of social media as your handshake, not your business platform". Aha! 

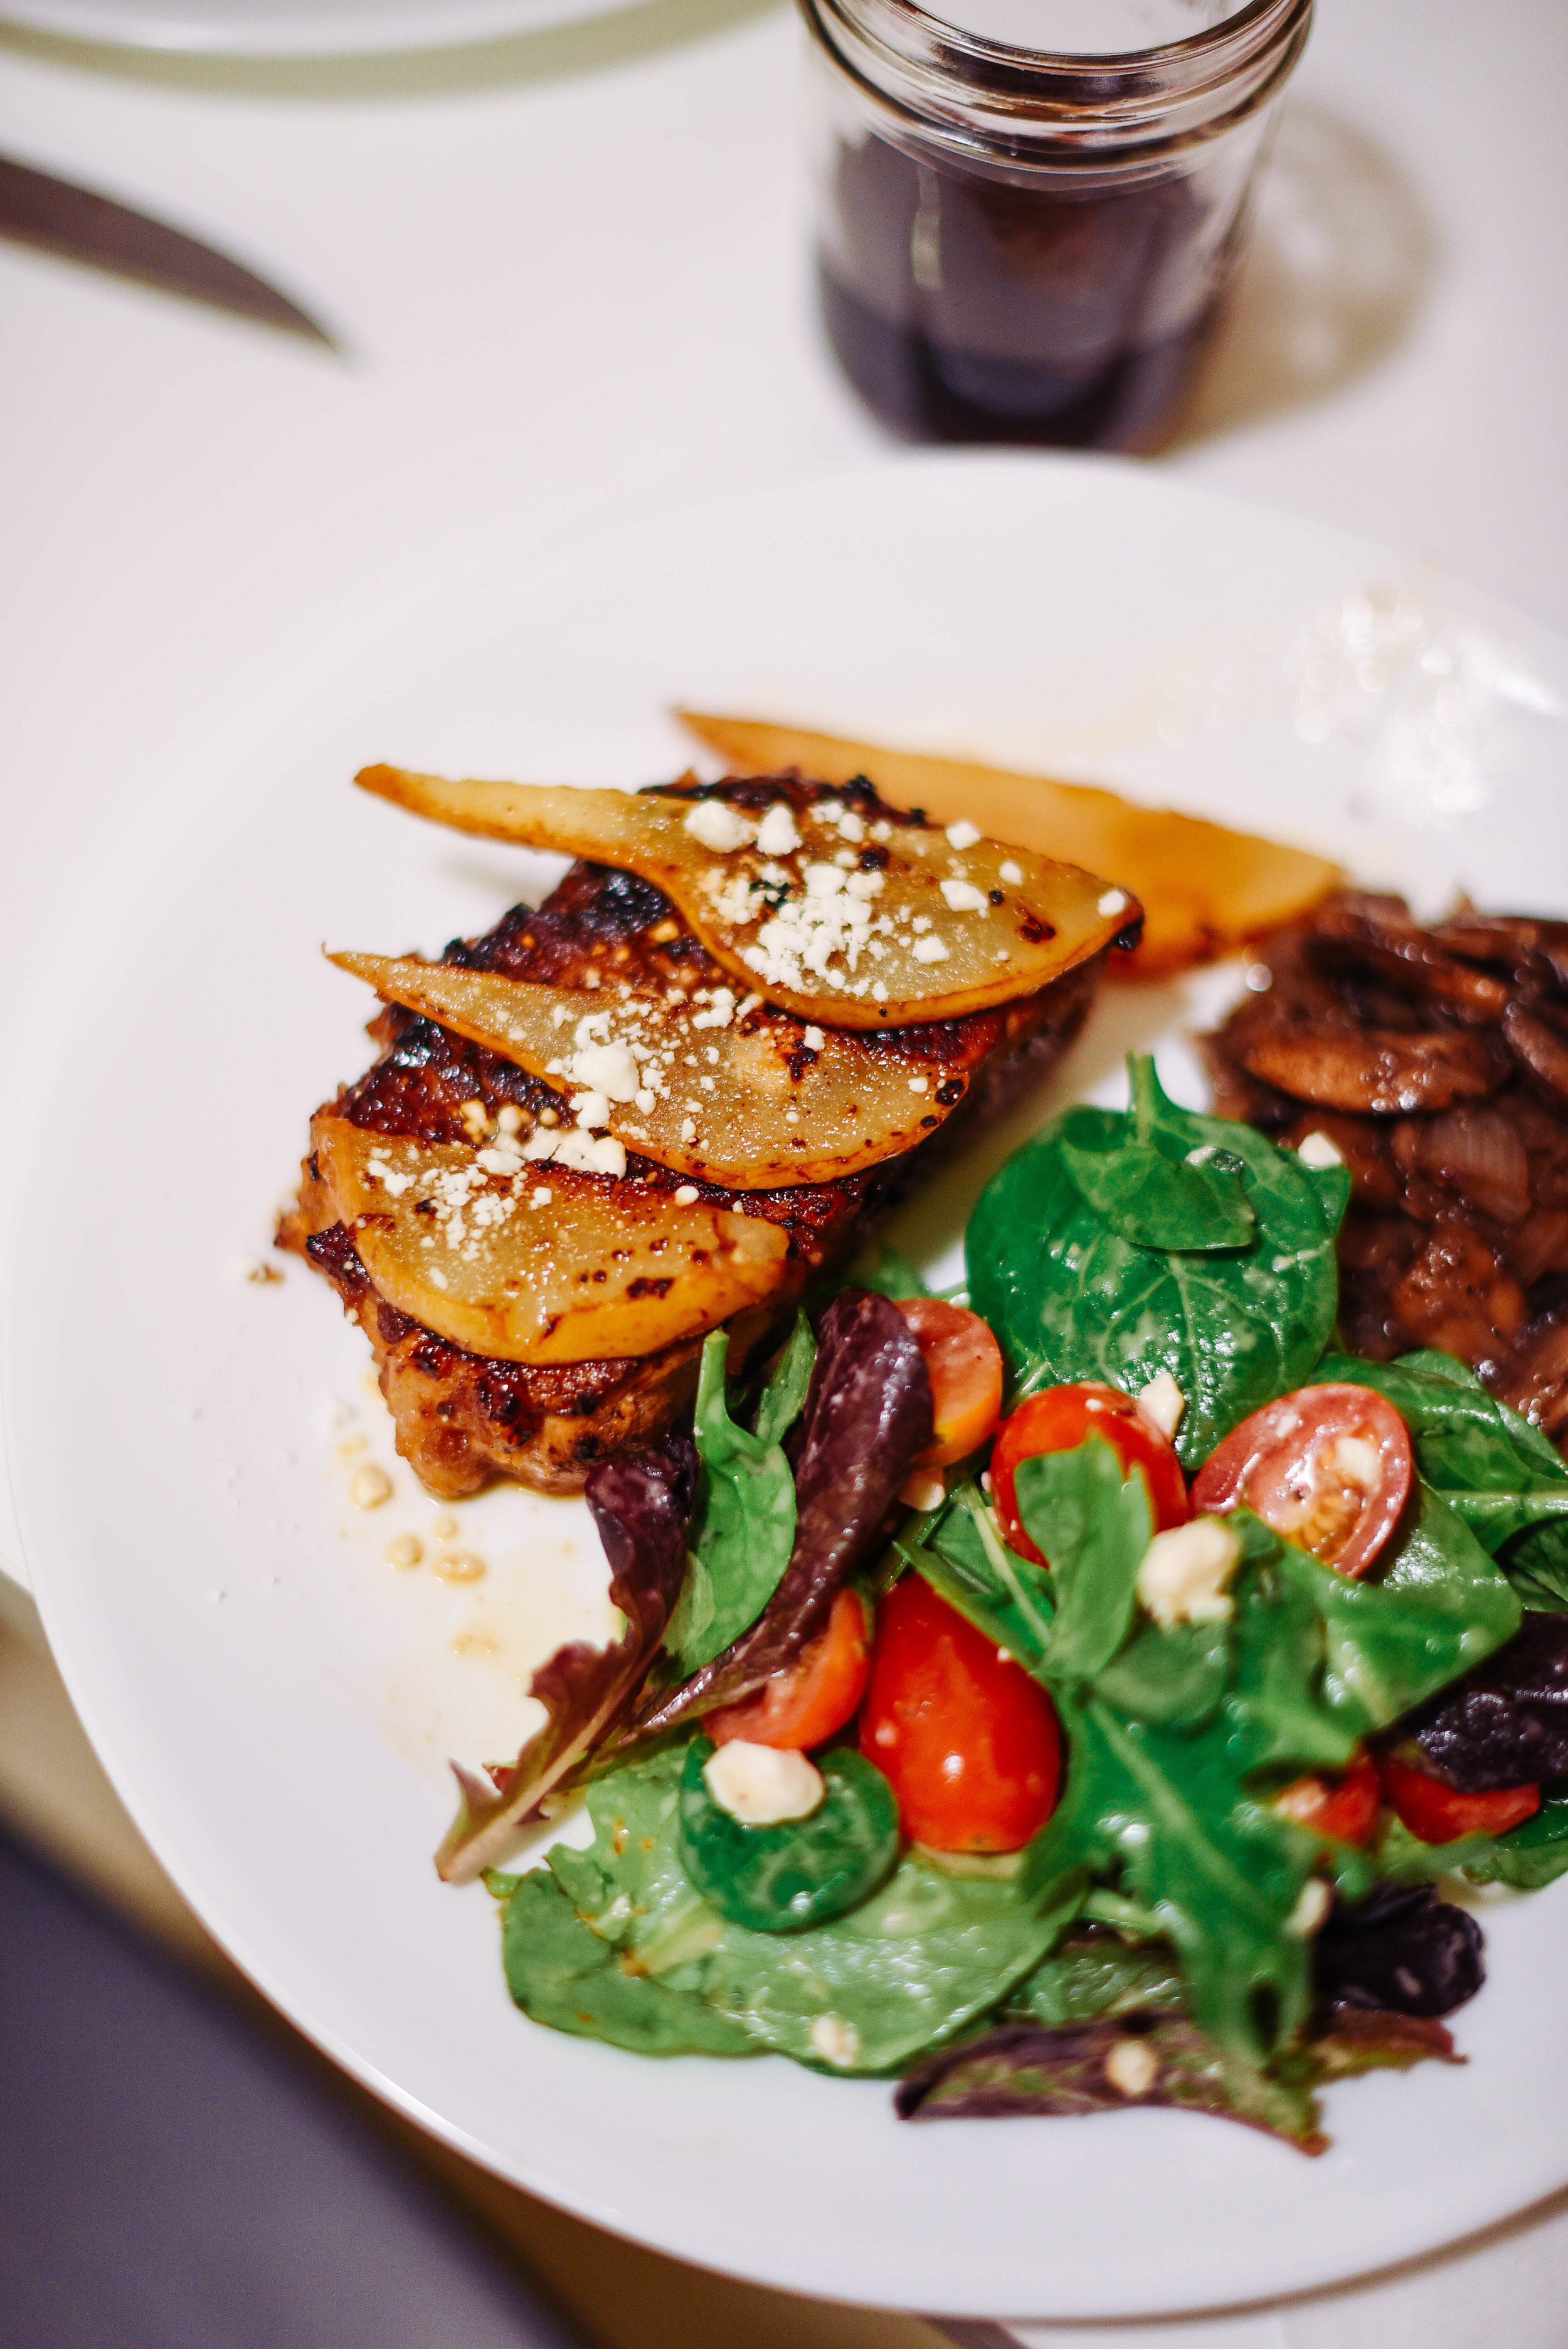
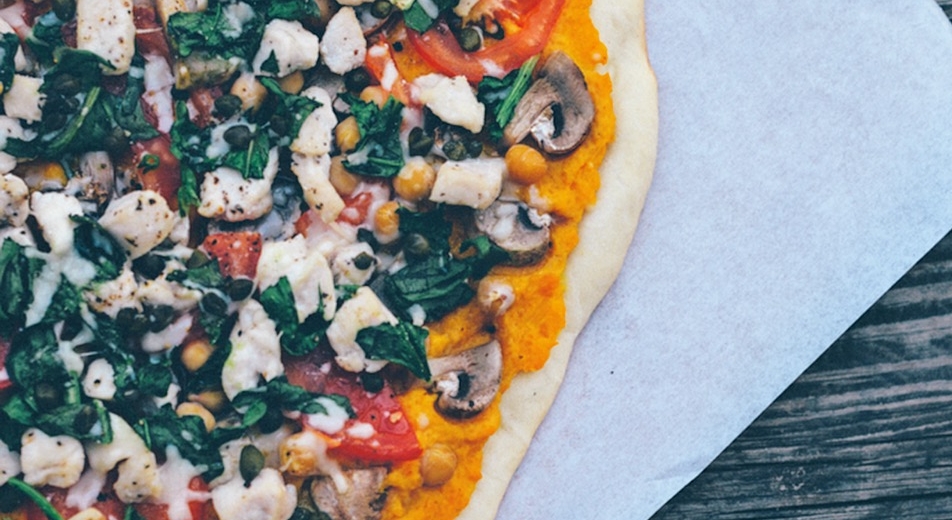
I do find social media to be inspiring at times and a great place to share thoughts and ideas. It takes effort, though, to look past meaningless and overwhelming posts...the content is superfluous! Which is why I've decided to post less on my social sites--and post more meaningfully in a less concentrated space. I decided to revisit my blog, change the look & feel, and really curate it so I want to post somewhere; a place more "me", more genuine, like snippets from an online journal if you will. In addition to showcasing all of these recipes, I hope to give life updates, progress of projects I've been working on, and more intimate photo journaling. Hopefully this will feed my creative energy and perhaps it will have the potential to become something else. I never thought I would ever dive into "blogging" but I've come to realize it's a little less "in your face" than other social sites. Plus, it's a lot quieter on this side of the internet and maybe I can attract some other quiet listeners. 

I will try my best to know what the balance of being online is for myself and post when I need the inspo.

Look for more creative things soon! xo

Seared Pork Chops with Caramelized Pear Glaze and Feta

pear-3.jpg

It has been THREE whole months since my last recipe post. I’ve been so preoccupied with life things but I promise I've still been cooking. Shout out to my former boss, Ryan for nudging me about these posts. Unfortunately this one has meat in it…so next one is for you—I swear!

Ah, the day of Love. This year my S/O and I have gotten into the routine of full time jobs and transitioning into becoming "adult" zombies. That means conversations over dinner about taxes, groceries, politics, and work. Riveting, I know. It came as no surprise that our plans for an "extravagant" home-cooked dinner flew out the window as we both flopped onto the floor exhausted from the day's 9-5. Plans don't exist in my book anyway! Eventually, as our stomaches growled, he reached over for my copy of America's Test Kitchen --Dinner for Two. 

Don't get me wrong, the recipes in there sounded delicious but something in me wanted more. As much as I had my reservations about this Holiday of Love, I knew this “holiday" was a good excuse to challenge myself to divert from the recipes I was given to make something extravagant anyway because nothing excites me more than being able to use my own kitchen as a "test kitchen".

Apparently another part of being an adult is smart shopping. Somehow we managed to hoard ten boneless pork chops in the freezer from our store run a couple weeks ago because....SALES, hello? So that helped us decide what our main dish would be. We picked out a recipe that had pork in it from my America's Test Kitchen mag and used that for "inspo". 

My method of experimenting begins with brainstorming. I think in terms of flavors: "What pairs well with A & B? What tastes similar to A so I can switch out A with something else? What has B been paired with before that 'worked' and what was missing so I can make it better?" 

Next I research. I validate my flavor combos with things I see online that may have already been done and expand on what I find. I read their methods and what went wrong and what is absolutely needed to make it right and I take mental notes. 

Then, I think up ingredients. Often, if I am pressed for time, the ingredients are what I can find in my kitchen already. 

This rundown is like the scientific method of my very own test kitchen experiment! 

pear-2.jpg

The scenario was this: We wanted to make something similar to the recipe in the magazine that was called, “Sautéed Pork Chops with Pears and Blue Cheese" but I didn't have bone-in pork chops and I hate blue cheese. Immediately I thought it wouldn't work out because the chops wouldn't be moist enough without the bone in so I figured I would pretend like I knew how to make a succulent sort of chutney with half of the pear and use it to slather on each pork chop. The other half would be caramelized and would provide a sweet warm flavor. What else would taste warm with the pear? Then it came to me. --Nutmeg and cayenne! It was excellent. I was winging it the entire time and it ended up being sweet and savory and perfect (dat Maillard reaction though, amiright?).

I don't want to go through my entire thought process because that would mean extending this entire blog post and I am sure you're here for a recipe so I'll cut straight to the chase! I didn't measure anything out (Oops!....As per usual...) so I will try my best with measurements.

Ingredients
2 8 oz. pork chops
garlic powder
cayenne pepper
salt
2 TBS balsamic vinegar
2 TBS olive oil
1/2 large pear, mashed
   (thinly slice other half)
dash of nutmeg
pinch of brown sugar
feta

Directions

Grease a seasoned cast iron skillet with unsalted butter (or ghee) and warm on medium to high heat. Prepare your chops with garlic powder, cayenne, and salt on both sides. Set aside.

In a large bowl, combine balsamic vinegar, olive oil, mashed pear, nutmeg, and brown sugar and mix. Place chops in pear mixture and coat well.

With a pair of tongs, place each chop onto the heated skillet (the sizzling sound is music to my ears!) and add a pinch of brown sugar to the chops. Sear each side while covered with a lid for 5-7 minutes or until the inside is no longer pink. Once cooked, remove from heat and place on a warm plate. 

In the same skillet, sear sliced pears until brown on each side. Sprinkle pears with brown sugar to caramelize.

Top pork chops with caramelized pears and sprinkle with feta. 

Indulge & happy eating!
<3

White Chocolate Vanilla Bean Pavlova with Spiced Persimmon

My aunt makes the BEST dark chocolate pavlova. She tops it with raspberries and sometimes sprinkles it with powdered sugar or coconut flakes. My first experience of it was something out of this world. The flaky, crispy outside crumbled at the touch of my lips and the chocolatey center melted at the tip of my tongue--making my heart drop into my stomach. I only wish to bake one as amazing as hers (one day;)!

With my habit of researching and tweaking recipes, I'm not sure if pavlova was something I should have messed around with. I guess with a dessert so delicate as a cake named after a ballerina, I should have been more careful. It left me in the kitchen for a couple of hours simmering from the frustration of the chaos. Regardless of my poor efforts, what I produced was not all that bad. I'll definitely give it another chance--and actually mean it next time.  

This pavlova is heavy with the flavor of vanilla. I gathered the fresh vanilla bean from the co-op and extracted its pulp. This was my first time utilizing the potent fruit and it won't be my last! The whipped cream was not too sweet--a nice balance to have against the pavlova, which tasted like a toasty, roasted marshmallow. The white chocolate chunks in the pavlova failed to have melted all the way --which is fine if you're into crunchy chunks of chocolate in between bites. It was more like a chocolate chip pavlova. Finally, the spiced persimmon and blackberry made everything come together. Spiced persimmon definitely did the trick.

Ingredients
6 egg whites, room temperature
1 1/4 cups superfine sugar
1 tsp white vinegar
1 tsp fresh vanilla bean
1 tsp vanilla extract
4 oz. white chocolate, coarsely chopped  

Whipped Topping
1 1/2 cups heavy cream
1 tsp vanilla extract
2 TBS powdered sugar

1 fuyu persimmon, sliced
1 cup fresh black berries
1 tsp cinnamon
1/4 tsp sugar
 

Directions

Preheat the oven to 350*. Line 2 cookie sheets with parchment paper. Some people prefer to trace circles onto their parchment paper to use as a guide for where to place the meringue. I did not do it this way, but if you choose to, draw about 6 circles with 3-inch diameters on each parchment sheet and make sure that the sheet is flipped over so that the pencil marks are faced down and not able to touch the meringue.

In a mixer, beat the egg whites on medium speed until satiny peaks form. Lower the beater to medium-low and beat in one tablespoon of sugar at a time until well combined. At low speed, add vanilla extract, vanilla bean, and vinegar until combined. Fold in white chocolate.

Scoop the meringues into the circles--working from the center, spread the mixture outwards towards the edge, building edge slightly. The small depression in the center creates a space for the whipped topping to sit. Place them in the oven and lower the temperature to 300*. Cook for 45-50 minutes. You will be able to tell when it is done when the outside is crispy and the inside is not longer soupy. DO NOT take it out of the oven when it is done. Turn the oven off and crack the oven door but leave the cake in there for at least another hour to cool. 

Topping

In a small bowl, mix a pinch of sugar and several dashes of cinnamon with the sliced persimmons. In a separate bowl, do the same thing for to the blackberries. Set them both in the fridge to cool.

Add cream, powdered sugar, and vanilla extract to the mixer bowl. Whip cream on medium-high until stiff peaks form. Spread whipped topping onto the pavlova immediately before serving and top with the chilled, spiced fruit. 

Happy eating!
 

Persimmon and Proscuitto Open-Faced Sandwich

Often regarded as the "Fruit of the Gods", persimmon are the delicious, bright orange, and sweet autumn fruit that hang heavily on naked tree branches. They are native to China and Japan and are in season from October through February in the U.S. There are over 2,000 varieties of persimmon fruit but the two most common ones are hachiya and fuyu.  They are usually harvested when bright orange but still firm only to be enjoyed later as they soften.

Fuyu persimmons look rounded and squat in shape. They are firm and crunchy and as sweet as brown sugar. They can be eaten like an apple, with the peel and all. Hachiya persimmons are elongated and heart-shaped while deep orange in color. When it is ripe, its flesh can become mushy and feel slippery and jelly-like with an incredibly sweet and rich flavor.

I grew up with these beautiful fruit sitting on my kitchen counter and as a kid, their mushy ripeness was something I actually looked forward to. They are even tasty after freezing! --Sweeter than candy and pretty much like custard!

Persimmon are often overlooked and sadly they don't receive the attention they deserve! Of course, their taste is nothing to jolt your tastebuds to life, but they are definitely something every one should experience. I enjoy them more for the sweet, warm memories they bring of my autumn childhood. I have always eaten them peeled and a little over-ripe. Their pulpy inside was my favorite part!

Since they aren't wildly tantalizing, I decided to spice up a few recipes (also see, White Chocolate Vanilla Bean Pavlova with Spiced Persimmon) to at least stimulate some curiosity about them.

Ingredients (cream spread)
1 cup organic plain greek yogurt
fresh italian basil
1 tsp. garlic, minced
2 TBS fresh lemon juice
salt
pepper

fresh ciabatta, sliced

Topping
1 fuyu persimmon, peeled & sliced
proscuitto
fresh basil leaflets
cracked black pepper

Directions

In a small bowl, mix yogurt, garlic, lemon juice, and salt and pepper to taste. Chiffonade about 3 TBS of fresh basil and fold this into the mixture.

Spread mixture evenly over ciabatta bread slices and layer persimmon, basil leaflets, and prosciutto onto each slice. Top with coarsely cracked black pepper and toast in toaster oven for 10 minutes. That's it! Tangy lemon, salty proscuitto, and sweet persimmon in every bite!

Happy eating!

Rustic Vegetable Pizza with Butternut Squash Sauce

WOW. This sauce is so amazing! I'm actually quite surprised.

The idea started because my roommate vowed to a cleaner, healthier diet due to her recent gastritis diagnosis. She has been trying to steer clear of acidic foods and has been a little distraught about her restrictions. I decided to help with her dinner plans since she was stumped about what to make and where to begin.

Pizza sounded really good, but the tomato sauce made her nervous so I tried to think of a gut-friendly alternative. The first thing that came to mind was butternut squash. It turned out that this was exactly what we needed because it definitely hit the spot and so far, no cramping on her end! 

We made two pizzas--one catered to her sensitivities and one for me to experiment with because, well, if you know me, I can't not work with spices...We used Jiffy pizza crust mix because, 1) we were really hungry and in a hurry 2) it was fairly inexpensive. 

Although they were both equally delicious, the recipe below is the spicy, full-flavored, "less careful" version. Just follow the Jiffy pizza crust directions and use the ingredients below to top it. So easy! 

Ingredients (sauce)
1/2 large butternut squash
1/4 cup organic plain yogurt, or heavy cream
1 TBS honey
a drizzle of mustard
garlic powder
onion powder
1/4 tsp oregano
turmeric
cayenne pepper

Topping
1 tomato, thinly sliced
1/3 cup mushrooms, thinly sliced
1/3 cup garbanzo beans
1/2 cup chicken, diced (optional)
1 to 2 TBS capers
1 cup spinach, chopped (or arugula)
shredded parmesan
cracked black pepper

Directions

Preheat the oven to 375*

Peel the skin off of the butternut squash and dice it into tiny chunks-so it is easier to mash. Boil the butternut squash in a medium-sized saucepan on high heat until the pieces are softened. Drain the water and place the cubes into a large bowl. 

With a hand mixer or potato masher, mash the squash until no large chunks remain. Add yogurt, honey, and mustard as well as all of the spices and mix until well-combined.

For the dough, follow the instructions on the box.

Spread the sauce evenly over the surface of the pizza crust and add the toppings, in the order above. We want the spinach on top so that it gets a little crispy. (YUM!)

Return the crust to the oven and bake. 

And there you have it, a smooth and surprisingly creamy blast of flavor over a thin and crunchy crust. 

Happy eating!

*It has been suggested drizzling a balsamic reduction over this dish amplified its flavor. Give it a try!


Homemade Avocado-Pistachio & Homemade Peach-Mango and Turmeric Ice Creams

We all scream for ice cream.

We all scream for ice cream.

I had been wanting to try my hand at making my own ice cream for a while this summer but I had only one problem, I didn't have an ice cream machine. However, when it comes to challenges in the kitchen (lack of appropriate equipment, not the right spices, etc.), nothing pushes me further. On top of that, July 17th was National Ice Cream Day! Having another food-related holiday this month made it all the more fun.

I always tweak recipes and try to develop my own. With that (and it being my first attempt at making ice cream!), I felt I could only share these recipes if they were foolproof. I also love different flavor combos and I've never had ice cream with turmeric in it before so I decided to give that a go. I wanted to make two different flavors. If one didn't turn out, I'd have the other one, at least...right? But...HOLY COW's MILK, they were both truly delicious! So here they are, Avocado-Pistachio and Peach-Mango and Turmeric ice creams! 

Ingredients (Ice Cream Base)
2 c. heavy cream
1 c. whole milk
7 egg yolks
1 1/2 c. sweetened condensed milk
1 1/2 TBS vanilla

1 ripe avocado
1/2 c. pistachios

1 ripe peach
1 ripe mango
1 1/2 TBS turmeric
1 tsp cinnamon

*Yields approximately 48 ounces of ice cream! ( ~ 5 cups)

Directions
In a medium-sized sauce pan, combine heavy cream and whole milk at medium heat until simmering. Remove from heat. In a large bowl, beat egg yolk and condensed milk with a metal whisk until it is light in color. 

Slowly pour cream into the egg mixture and whisk until they are thoroughly combined. Pour the complete mixture back into the saucepan over low heat and stir until thickened or until it is thick enough to coat the back of your spoon. 

Pour into large heat-safe container and allow it to sit at room temperature for 35-40 minutes. After that time, the ice cream base should be cool enough to handle, but still warm. Stir in the vanilla and separate the ice cream base in half for your two different flavors.

Ice cream chillin' in a rock salt and ice nest.

Ice cream chillin' in a rock salt and ice nest.

Avocado-Pistachio
Pit avocado and scoop out the flesh. Coarsely chop pistachios. Whisk avocado into the first ice cream base until ice cream turns green. Add the pistachios and stir well. 

Peach-Mango
Pit and peel peach and mango and dice the flesh. Mash the two fruit with a potato masher. Add to ice cream base and stir until well combined and then add the spices. 

You are now ready to begin the long process of churning and waiting. (Oh, boy).

Begin by making an ice bath: in a large stainless steel bowl, add ice about half full. Pour rock salt into the ice and carefully nest your two ice creams into the bowl. Stir them vigorously and let them sit for 10 minutes.

Put the entire bowl of ice with your ice cream in the freezer for 45 minutes to an hour. After that hour is up, remove the ice creams and beat with a hand mixer. I did mine by hand due to my lack of resources but it turned out just fine! You want to repeat this process at least 2-3 times. Mixing and churning helps to add a little air into your ice cream, assuring a creamy, fluffy taste. 

Allow your ice cream to sit in the freezer for 6-8 hours (or overnight) to firm. The trouble that I ran into with this was having my ice cream too firm. I woke up this morning quite surprised at how solid it was. I took it out of the freezer and let it sit in the refrigerator for an hour or more before serving. It was perfect after that. The avocado ice cream was very rich, I could have used half of the avocado. Regardless, the flavor was smooth and paired well with the sweet and salty pistachios. The peach ice cream was my favorite. I think I could have added more spice-the turmeric flavor was present but I think I was looking for something with a kick. Maybe next time I'll add chili powder to spice it up. 

This is one of many ways to make ice cream. It probably isn't creme de la creme -so if anyone churns up any tips, suggestions, or ideas for me, comment below! I am eager to hear them.

Until next time, happy eating!

Crispy Oven-Baked Garlic Fries & Homemade Garlic Aioli

Simply put, I love potatoes. For the past two weeks my body was telling me I *needed* fries. None of that fried, greasy, stale, fast food stuff either. I wanted something hearty, flavorful, and full of starchy goodness but I couldn’t find time to give into the cravings.

I was perusing Instagram the other day and the many food-related accounts that I follow when an incredible hashtag appeared before my eyes, #NationalFrenchFriesDay. WHAT?! Is that even a thing?! The internet loves making stuff up but, man. It was like the hashtag signaled an alert to my brain, telling me my potato fix was very much overdue and regardless of whether or not there was truth to this food-tastic holiday, I suddenly had all the time in the world to cook up these fries. (Listen to your cravings! ;)

Come to find out, this year, July 13th is actually National French Fries Day! -But I can dig this recipe any day. Try it yourself! 

Ingredients

Garlic Aioli
1/2 c. mayonnaise
1/2 tsp honey
1 TBS fresh lemon juice
1 1/2 TBS Dijon mustard
1/4 tsp cayenne pepper
1 tsp garlic powder
cracked black pepper to taste

Garlic Fries
8-10 medium-sized potatoes, washed and unpeeled
olive oil
cracked black pepper
sea salt
garlic powder
feta
chives, or green onions

Directions
Garlic Aioli

Mix all wet ingredients until creamy and well-combined. Stir in dry ingredients until aioli is homogenous throughout. Garnish with chives.

Fries
Preheat oven to 450 degrees. Cut potatoes into matchsticks or wedges. Line two baking sheets with foil and generously coat the bottom of the baking sheets with olive oil, garlic powder, and a pinch of black pepper. Add fries plus a drizzle of oil, even MORE pepper and garlic powder and toss them to coat. Fries should be arranged in a single layer. Make sure that they aren’t touching too much in order for them to crisp and cook evenly. 

Bake for 35-45 minutes, tossing/flipping at least twice for even baking. I tend to check on my fries more than twice to make sure they aren’t burning. Personally, I like them a little burnt-especially on the tips so if you’re gutsy enough, leave them in a little longer. 

Remove from heat and lightly sprinkle sea salt over the fries. Top with 2 TBS of feta cheese, freshly cracked black pepper, and garnish with minced chives or green onion. 

That's it! Enjoy and happy National French Fries Day!

Homemade Chicken and Vegetable Ramen

The ramen craze hasn't yet died down-and there is no reason that it should! Good ramen soothes the soul. Since I have been feeling under the weather lately, I thought I needed that kind of magic in my life.

I had never concocted a "healthy" homemade ramen before and this one incorporates made-from-scratch broth (yum!). I'm sharing with you a chicken broth ramen recipe I crafted out of craving and curiosity. I guarantee this recipe is slurp-worthy!

Ingredients
2 TBS olive oil
1/2 large yellow onion, sliced
1- 1 1/2 tsp ginger, minced
2-3 cloves garlic, minced
garlic and onion powder
4 c. chicken broth
1 1/2-2 TBS soy sauce
1/2 c. celery, chopped
1/2 c. carrots, chopped
1 c. mushrooms, sliced
1 1/2-2 c. kale, coarsely chopped
2 TBS miso paste
3 packages of instant ramen (discard seasoning packets), or soba noodles
1/4 c. green onions, coarsley chopped
1/4 c. cilantro, minced
3 eggs, hard-boiled


Directions
In a large stock-pot, heat olive oil and add onions, ginger, garlic and onions powders, and minced garlic until light brown. Carefully add chicken broth and stir in soy sauce and bring to a boil. Once boiled, add celery, carrots, mushrooms, and let simmer, covered. After about 5 minutes, melt miso paste into soup. Add noodles and cook for 2-3 minutes or until softened. Add kale until wilted. You can add more soy sauce or even salt to taste at this point. Cover and let simmer. Cook eggs in the meantime.

Serve HOT in a bowl and garnish with green onions; cilantro; cooked eggs, halved; and Sriracha if desired. 

Happy eating!

Blueberry-Orange Zest Cupcakes with Citrus Frosting

Warm weather brings with it the fondest memories that leave you nostalgic for bare feet and green grass; blue, sunny skies; tiny, baby buds on the tips of every branch; and the scent of fresh, damp air waiting to turn into rain. Spring is such a tease sometimes.

Iowa's been mid-50's to low-60's for much of the week and that was enough for me to want spring to arrive sooner. I was inspired to bake something I could enjoy on those early foggy mornings with a warm cup of coffee while waiting for the sun. 

Ingredients (frosting)
8 oz. cream cheese
1/2 stick unsalted butter
1 TBS vanilla extract
2 TBS orange zest
2 TBS orange juice
2 1/2 c. powdered sugar

Directions (frosting)
Mix cream cheese, vanilla, and butter until creamy. Add orange juice and orange zest. Gradually add powdered sugar into the mixture until thick or until it is enough to accommodate to your desired consistency. Let cool in fridge for 1-2 hours.

Ingredients (batter)
1 1/2 sticks of unsalted butter (room temp)
3 eggs (room temp)
1 3/4 c. all purpose flour
1/4 tsp baking soda
1/4 tsp baking powder
dash of cinnamon
pinch of salt
1 c. granulated sugar
1/4 c. milk
3 TBS orange zest
1 TBS vanilla extract
blueberries

Directions (batter)
Preheat the oven to 350* and line a cupcake baking tray with paper cups or parchment paper.

In a medium-sized bowl, mix the butter and eggs until creamy. In a separate bowl, mix the flour, baking soda, baking powder, cinnamon, and salt. Combine these two and mix well. In another bowl, mix sugar, milk, vanilla, and orange zest. Gradually pour the flour mixture into the sugar mixture until a thick batter forms. 

Fill each paper cup with a little more than half of the batter. Drop/press 4-5 blueberries on top of the batter. Fill the paper cups again with remaining batter-enough to cover the blueberries. Bake for 17-20 minutes. 

Once finished, set aside to cool completely before frosting.
Garnish with fresh blueberries, fresh mint leaflets, or sprinkle with orange zest.

Enjoy!


Tofu and Sesame Kale Stir-Fry

Didn't have my camera on hand when hunger was on the brain so thank you, iPhone.

Didn't have my camera on hand when hunger was on the brain so thank you, iPhone.

I am certainly no vegetarian but I love my veggies and I am definitely not opposed to some good tofu. This recipe really hit the spot. I wanted something light, healthy, green, and slightly tangy so I whipped up what I thought my palate needed. 

Ingredients
2-3 c. kale, coarsely chopped
1/2 c. baby carrots, sliced length-wise
1/2 c. portabella mushroom, sliced
1 package of firm tofu, diced
toasted sesame seeds for garnish

Sauce Ingredients
2 1/2 TBS sesame oil
1-2 TBS olive oil
1 TBS soy sauce
1 TBS fresh lime juice (or white rice vinegar)
onion and garlic powder
black pepper
handful of fresh cilantro, minced

Directions
After having diced the tofu, place the cubes on dry paper towels to soak up extra moisture. Set oven to 400* and place the cubes on a cookie sheet to bake. This baking helps to firm the tofu for a nice, toasty texture and taste. 

For the sauce, mix all of the ingredients into a medium-sized bowl. These measurements, as usual, are an estimate of the proportions. Feel free to add or subtract any of the listed ingredients or even add more to the list than is there! These recipes are all about YOUR taste and what you consider sufficient. I tend to go heavier on the garlic and onion powder.

Pour the sauce mixture onto a skillet and wait for it to heat up (on high setting). Since they take longer to cook, place the carrots in the skillet first. Cover and let it cook until it is soft enough to your liking. Stir in kale, then mushrooms and lower the burner to medium heat. -Still leave the pan covered. There will be juices from the vegetables. 

Remove tofu from the stove and mix them with 1 TBS of soy sauce and 2 TBS of sriracha until they are completely covered with the two ingredients. 

Uncover the vegetable mix and add the tofu. Continue to stir and this time turn the heat back up to reduce the juices. You may add more lime at this time (optional). Occasionally stir and mix until most of the tofu has been seared.

Remove from heat and enjoy with (MORE) sriracha and sprinkled with toasted sesame seeds.

Happy eating!